
As the autumn chill sets in, I find my kitchen becoming a cozy haven filled with warmth and inviting scents. The thought of indulging in the sweet, caramelized goodness of Baked Pears is enough to make my heart flutter. It’s magical how simple ingredients transform into a luscious dessert that feels both homey and indulgent. I can still hear the gentle bubbling of the pears as they roast, mingling with the aromas of cinnamon and orange—a delightful promise of what’s to come.
What I love most about this recipe is its effortless versatility; whether served warm with a scoop of vanilla ice cream or enjoyed solo as a guilt-free treat, these baked pears never disappoint. Plus, the beauty of crafting this dish in just 45 minutes makes it the perfect solution for anyone looking to elevate their weeknight meals. So, grab a few ripe pears and let’s dive into this deliciously simple recipe that’s sure to impress your family and friends!
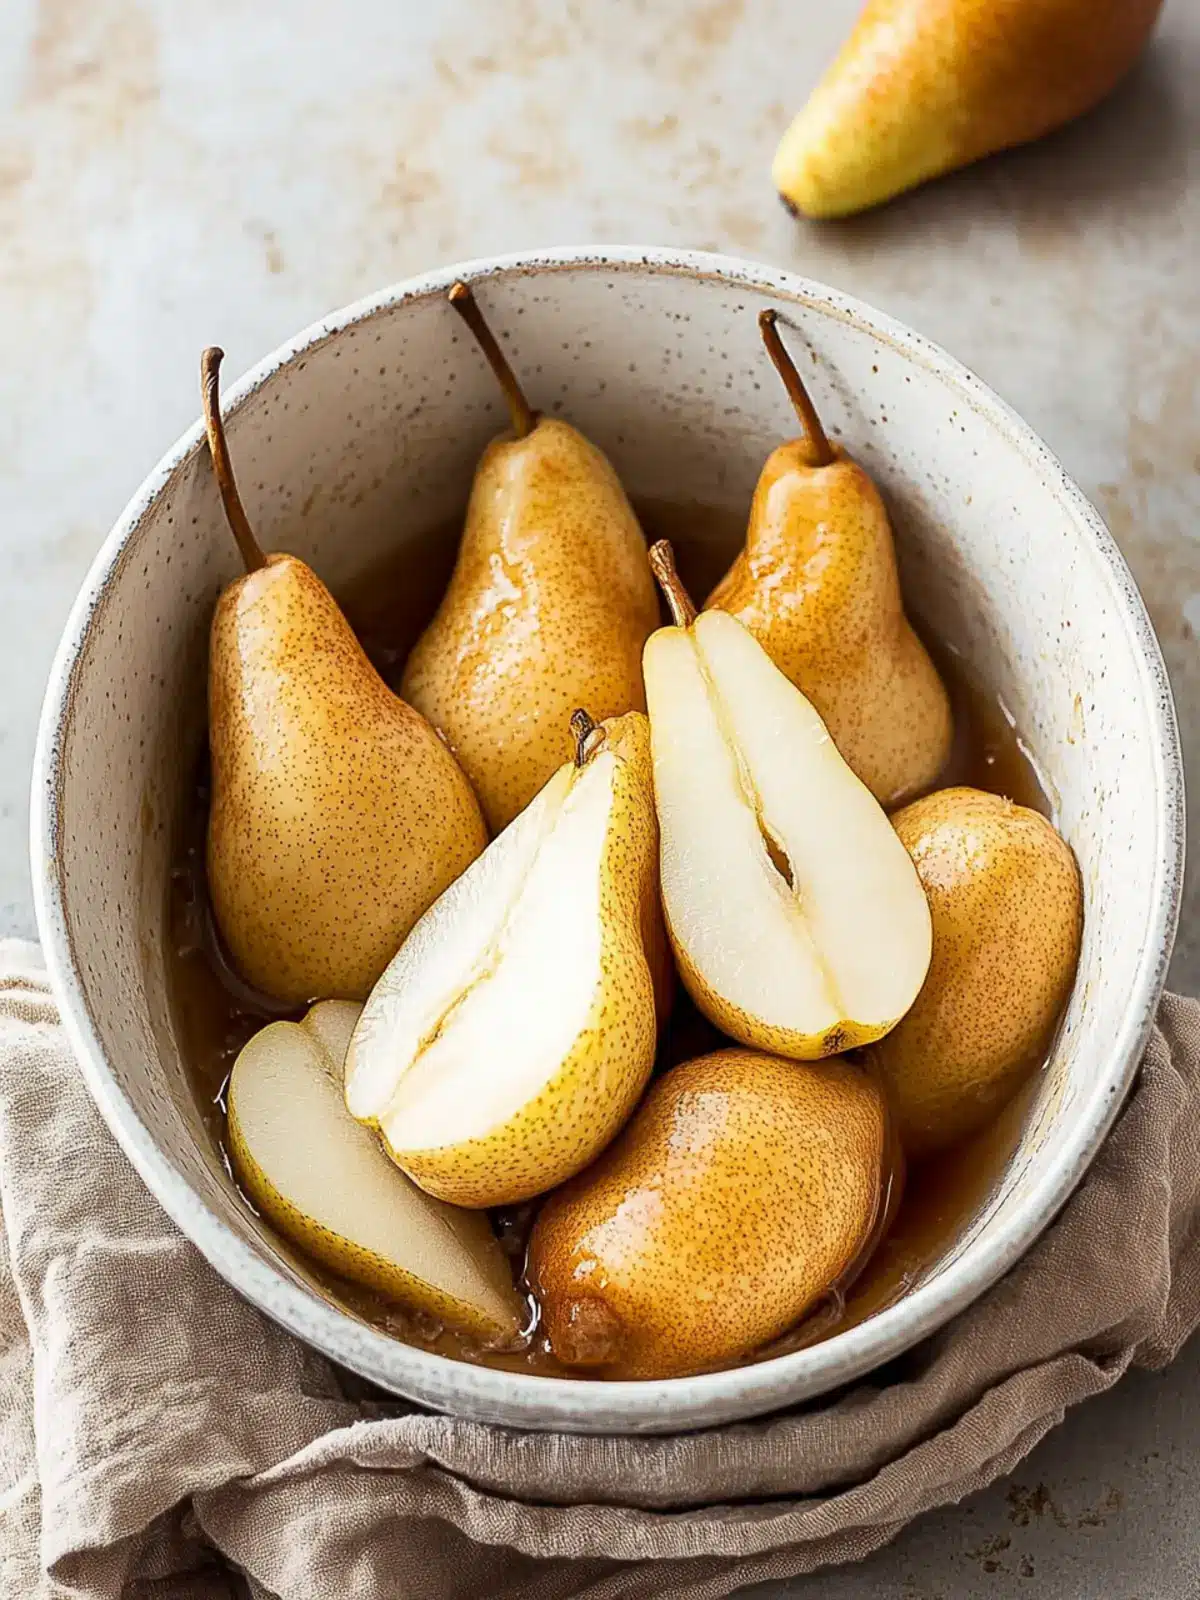
Why are Baked Pears a Must-Try?
Irresistible aroma fills your kitchen, transforming the mundane into something magical. Effortless preparation means you’ll spend minimal time cooking while achieving maximum flavor. Healthy indulgence is at your fingertips with nutritious pears naturally sweetened by warm spices. Versatile serving options allow you to enjoy these delightful pears with ice cream, yogurt, or simply on their own. Perfect for cozy nights, this quick and scrumptious recipe is one you’ll want to revisit regularly for a warm embrace of autumn in every bite.
Baked Pears Ingredients
For the Pears
• 4 large pears – select ripe pears for the best sweetness and texture after baking.
For the Sweet Spice Mixture
• 60 g light brown sugar – adds a rich caramel flavor that enhances the baked pears.
• ½ teaspoon ground cinnamon – a warming spice that pairs perfectly with the sweetness of the fruit.
• ½ teaspoon ground ginger – adds a lovely warmth and depth of flavor to the dish.
• ⅛ teaspoon sea salt – enhances the natural sweetness of the pears and balances the flavors.
• 1 teaspoon vanilla extract – infuses a delightful fragrance and richness into the baked pears.
For the Citrus Touch
• 4 strips orange peel – imparts a bright, zesty aroma that elevates the overall flavor.
• 2 tablespoon orange juice – adds moisture and a tangy kick to the sweet mixture.
For the Finish
• 2 tablespoon unsalted butter – dotting the pears with butter creates a luscious, golden glaze as they bake.
These Baked Pears will surely warm your heart and home as they bake into a beautiful, sweet treat!
How to Make Baked Pears
-
Preheat your oven to 200 degrees C (390 F). This ensures an even cooking temperature, allowing your pears to roast perfectly and caramelize beautifully.
-
Mix the dry ingredients in a small bowl. Combine the brown sugar, cinnamon, ginger, salt, and vanilla, creating a fragrant blend that will enhance your baked pears.
-
Prepare the pears by peeling and halving them. Remove the core carefully from each half, and trim the calyx for a neat presentation in your baking dish.
-
Slice each pear half into quarters and add them to a large baking dish. Ensure the pieces are arranged evenly for consistent cooking.
-
Add the citrus by tossing in the orange peel strips and orange juice with the pears. This adds a burst of brightness to the warm spices.
-
Sprinkle the sugar and spice mixture evenly over the pears. This step will result in deliciously caramelized bits that melt in your mouth.
-
Dot the unsalted butter over the top of the pears. As they bake, this will create a luscious glaze that enhances both flavor and richness.
-
Bake the pears in the oven for about 15 minutes. Then, remove the dish and gently turn the pear pieces over to ensure even cooking.
-
Return the dish to the oven for another 15 minutes. Keep an eye on the pears and check if they’re soft and caramelized to your liking.
-
Toss the cooked pears in the baking dish to coat them in the juices. This will ensure every bite is sweet and flavorful.
-
Serve warm with yogurt, ice cream, granola, or enjoy them on their own. Each option adds its unique touch to this delightful dessert!
Optional: Serve with a sprinkle of chopped nuts for added crunch.
Exact quantities are listed in the recipe card below.
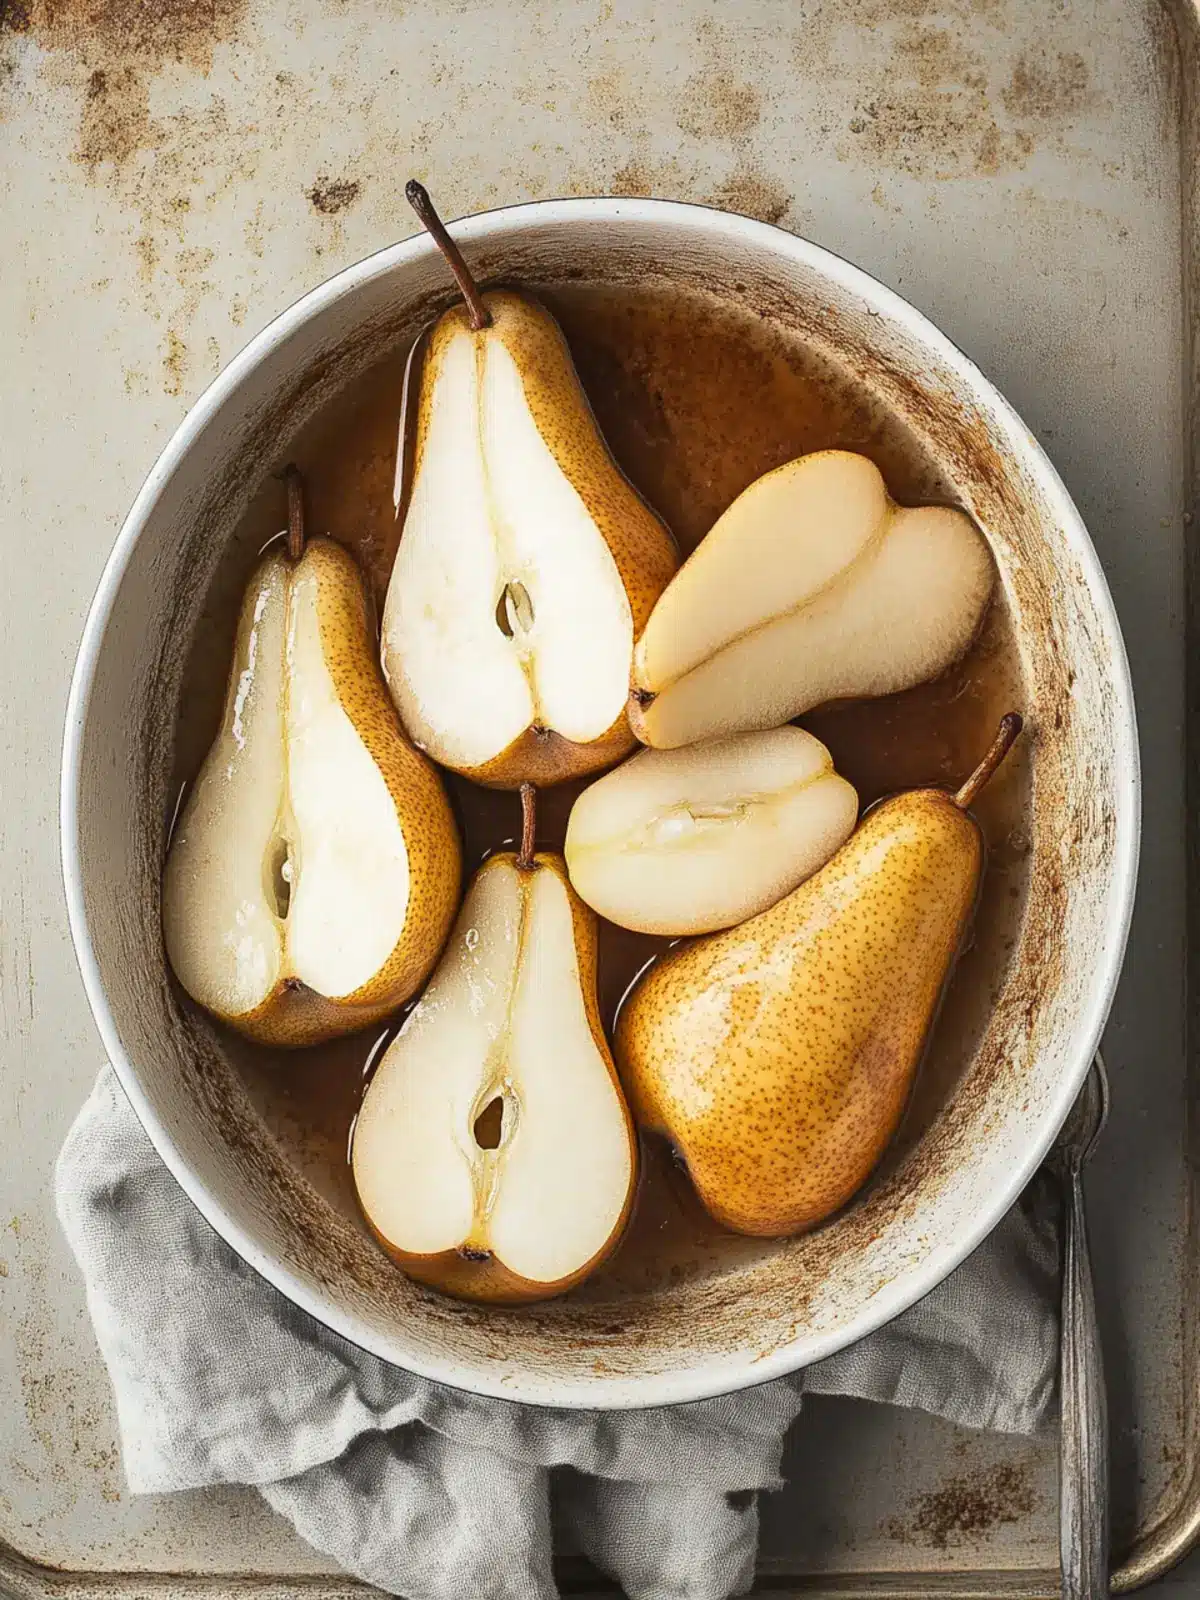
Expert Tips for Baked Pears
• Choose Ripe Pears: Opt for ripe pears that yield slightly to pressure; they’ll be sweet and tender after baking.
• Uniform Sizes: Cut pears into similar sizes to ensure even cooking, preventing some pieces from getting overly soft while others remain firm.
• Spice Variations: Feel free to experiment with spices like nutmeg or cardamom for a personalized twist on your baked pears—just remember to keep the essence balanced!
• Avoid Overbaking: Check your pears periodically. Overbaking can lead to mushiness; aim for a soft texture while maintaining their shape.
• Serving Suggestions: Try pairing with a dollop of Greek yogurt or a scoop of vanilla ice cream for a delicious contrast that enhances the baked pears.
These helpful tips will ensure your baked pears turn out perfectly every time!
How to Store and Freeze Baked Pears
Fridge: Store leftover baked pears in an airtight container in the fridge for up to 3 days. This keeps them fresh while maintaining their delightful flavors.
Freezer: For longer storage, freeze baked pears in a single layer on a baking sheet. Once frozen, transfer them to a freezer-safe container, where they can last for up to 3 months.
Reheating: To enjoy frozen baked pears, thaw them overnight in the fridge and then warm them in the oven at 175°C (350°F) until heated through, about 10-15 minutes.
These quick storage tips ensure your delicious baked pears stay as delightful as the day you made them!
Baked Pears Variations & Substitutions
Feel free to get creative with this recipe and explore flavors your taste buds will love even more!
- Honey Drizzle: Substitute brown sugar with honey for a natural sweetness and a floral note.
- Nutty Crunch: Top with chopped walnuts or pecans before baking to add a delightful crunchy texture.
- Maple Twist: Swap out the orange juice for pure maple syrup for a warm, comforting flavor.
- Berry Goodness: Toss some fresh or frozen berries in with the pears for a sweet and tangy contrast.
- Ginger Snap: Incorporate crushed ginger cookies in the baking dish for a spicy crunch that complements the pears.
- Spice Blend: Experiment with a mix of cardamom and nutmeg instead of cinnamon and ginger for an exciting aroma.
- Chili Kick: For a touch of heat, add a pinch of cayenne pepper to the sugar mixture; the warmth balances the pear’s sweetness beautifully.
- Dairy-Free Delight: Replace unsalted butter with coconut oil for a dairy-free option that still delivers rich flavor.
Each of these variations invites you to discover new dimensions of deliciousness while baking your pears!
What to Serve with Baked Pears?
As you relish the warm sweetness of your baked pears, consider these delightful companions to enhance your dining experience.
-
Creamy Greek Yogurt:
A dollop of tangy Greek yogurt provides a luscious contrast, balancing the sweetness of the pears beautifully. -
Rich Vanilla Ice Cream:
The cold, creamy texture of vanilla ice cream makes for a delicious fusion with warm baked pears, creating an indulgent experience. -
Crunchy Granola:
Add a sprinkle of granola on top for a satisfying crunch that contrasts with the soft, caramelized fruit. This makes for a fantastic textural delight! -
Toasted Nuts:
Walnuts or almonds can add a rich, nutty flavor that elevates the dish. Their crunchiness brings an additional layer of enjoyment. -
Fresh Mint Leaves:
A sprinkle of fresh mint brightens the dish and adds a refreshing note, enhancing the overall flavor profile of your baked pears. -
Spiced Chai Tea:
Serve alongside a cup of spiced chai tea for a cozy meal. The warm spices echo the flavors in the dish, creating a comforting atmosphere. -
Pumpkin Spice Latte:
This seasonal drink pairs perfectly with the warm dessert, intertwining flavors that mirror the cozy essence of baked pears. -
Dark Chocolate Shavings:
For a decadent twist, garnish with dark chocolate shavings that melt slightly into the warm pears, presenting a rich pairing of flavors.
Each of these delightful accompaniments will elevate your baked pears, ensuring every bite is an experience to savor!
Make Ahead Options
These Baked Pears are perfect for busy home cooks looking to save time during meal prep! You can peel and core the pears up to 24 hours in advance; simply store them submerged in a mixture of water and lemon juice in the refrigerator to prevent browning. Additionally, you can mix the spice blend ahead of time and keep it in an airtight container for up to 3 days. When you’re ready to serve, just toss the prepared pears with the orange peel and juice, sprinkle with the spice mixture, and dot with butter before baking. This ensures you’ll have deliciously roasted pears with minimal effort, perfect for those cozy nights!
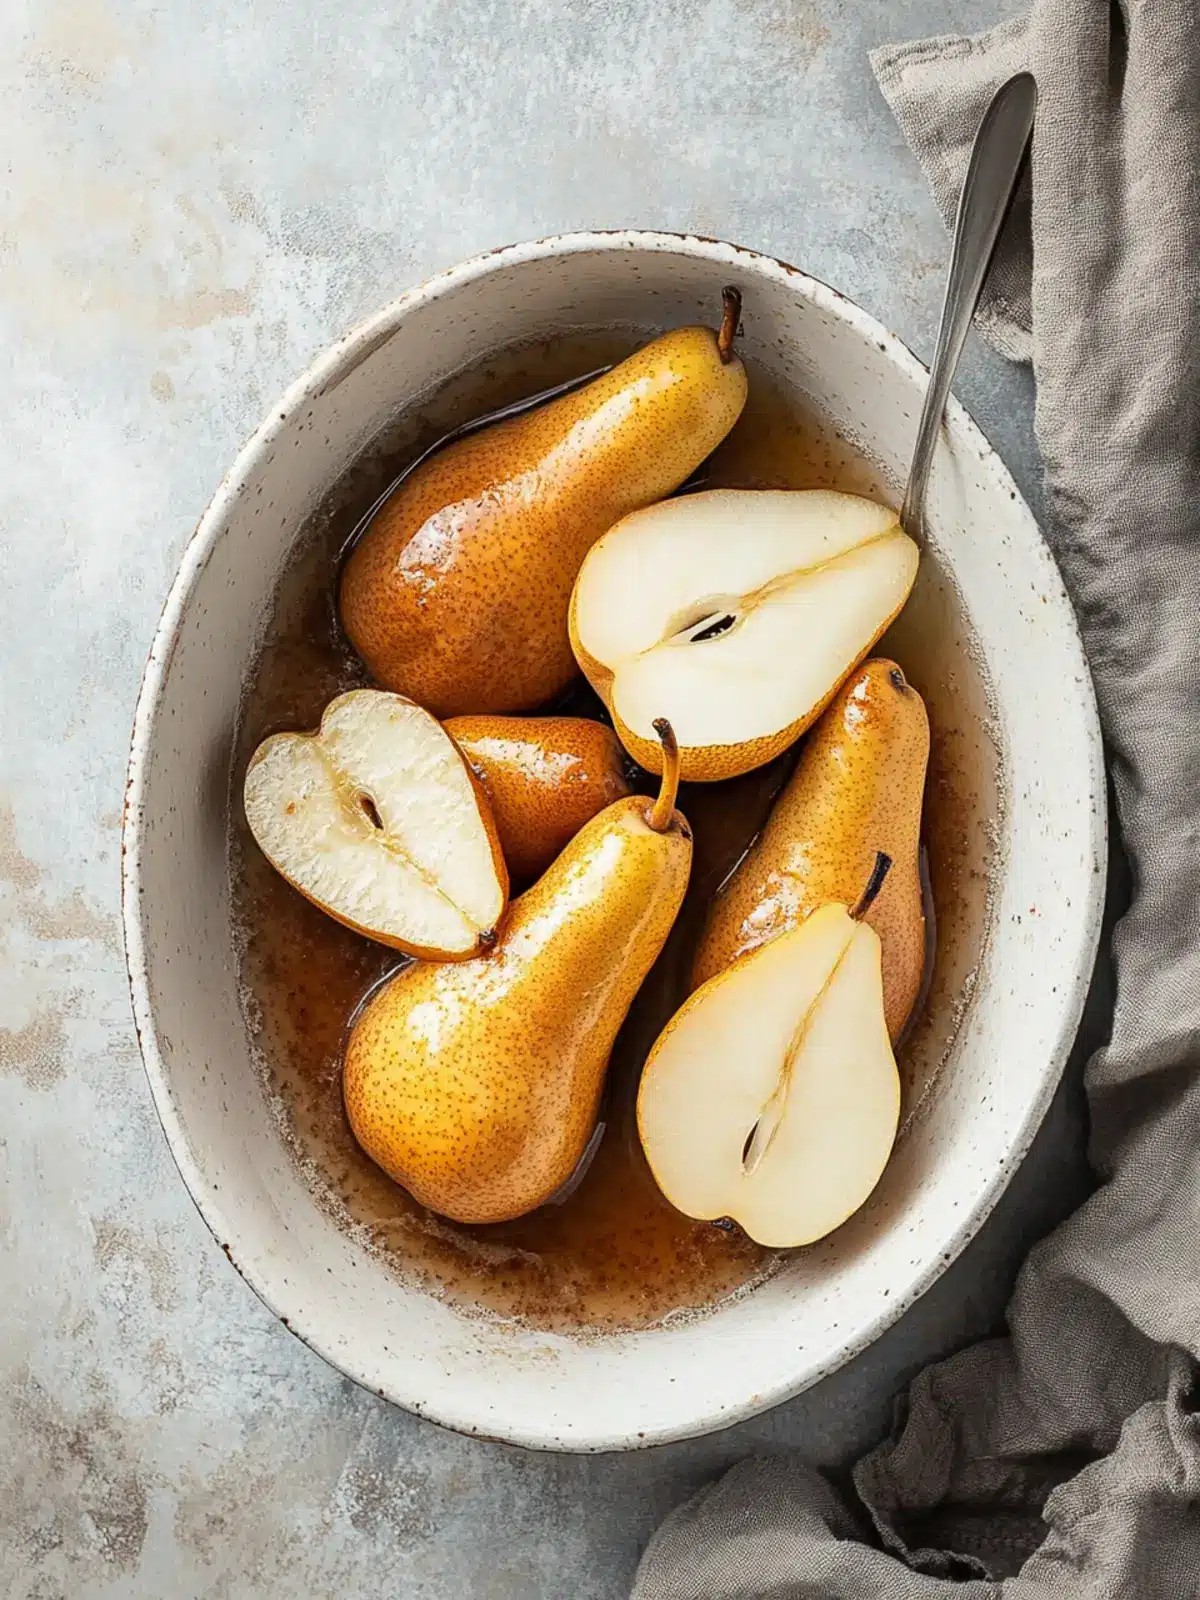
Baked Pears Recipe FAQs
What type of pears should I use for baked pears?
Absolutely! For the best flavor and texture, choose ripe pears like Bosc or Anjou. They should yield slightly to pressure to indicate they’re sweet and tender after baking, ensuring a lovely dessert.
How do I store leftover baked pears?
To keep your baked pears fresh, store them in an airtight container in the refrigerator for up to 3 days. This way, you can enjoy the delightful flavors even after the initial serving!
Can I freeze baked pears?
Yes, you can! Start by freezing the baked pears in a single layer on a baking sheet. Once they are frozen solid, transfer them to a freezer-safe container or bag. They can be stored in the freezer for up to 3 months, so you can savor this treat whenever you like!
What should I do if my baked pears end up too mushy?
If you find your pears too soft, it may be due to overbaking or using overly ripe fruit. To prevent this, make sure to check them periodically toward the end of the cooking time. If they feel mushy, lower the baking time on your next batch—aim for a soft texture while still holding their shape.
Are baked pears safe for pets or anyone with allergies?
While pears themselves are generally safe for pets in small amounts, it’s best to avoid the sugar and spices when offering baked pears. If you have allergies to any of the ingredients, such as cinnamon or nuts (if you decide to add them), you might want to customize the recipe accordingly. Always consult with a doctor if unsure about any dietary restrictions!
How do I reheat frozen baked pears?
To reheat frozen baked pears, first, thaw them overnight in the refrigerator. Once thawed, warm them in an oven preheated to 175°C (350°F) for around 10-15 minutes, or until heated through. This helps regain their lovely texture and flavor as if they were freshly baked!
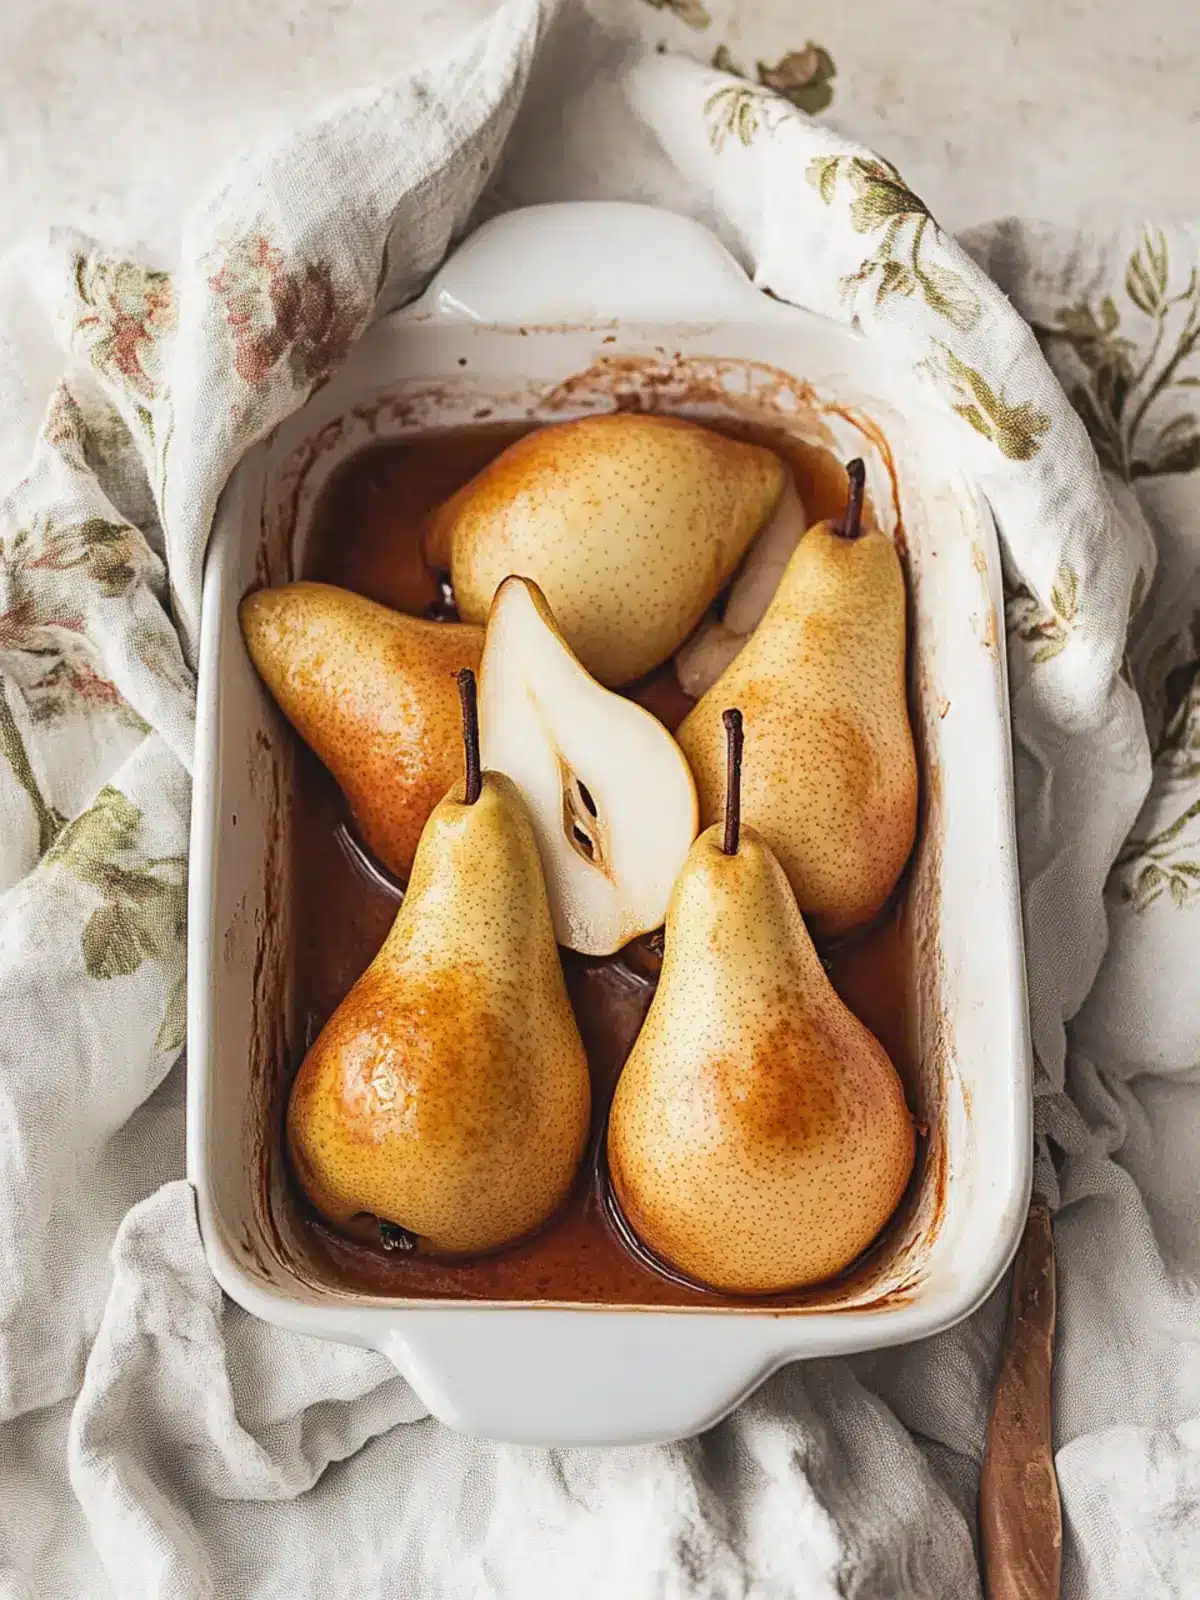
Delicious Baked Pears with Orange Bliss for Cozy Nights
Ingredients
Equipment
Method
- Preheat your oven to 200 degrees C (390 F). This ensures an even cooking temperature, allowing your pears to roast perfectly and caramelize beautifully.
- Mix the dry ingredients in a small bowl. Combine the brown sugar, cinnamon, ginger, salt, and vanilla, creating a fragrant blend that will enhance your baked pears.
- Prepare the pears by peeling and halving them. Remove the core carefully from each half, and trim the calyx for a neat presentation in your baking dish.
- Slice each pear half into quarters and add them to a large baking dish. Ensure the pieces are arranged evenly for consistent cooking.
- Add the citrus by tossing in the orange peel strips and orange juice with the pears. This adds a burst of brightness to the warm spices.
- Sprinkle the sugar and spice mixture evenly over the pears. This step will result in deliciously caramelized bits that melt in your mouth.
- Dot the unsalted butter over the top of the pears. As they bake, this will create a luscious glaze that enhances both flavor and richness.
- Bake the pears in the oven for about 15 minutes. Then, remove the dish and gently turn the pear pieces over to ensure even cooking.
- Return the dish to the oven for another 15 minutes. Keep an eye on the pears and check if they're soft and caramelized to your liking.
- Toss the cooked pears in the baking dish to coat them in the juices. This will ensure every bite is sweet and flavorful.
- Serve warm with yogurt, ice cream, granola, or enjoy them on their own. Each option adds its unique touch to this delightful dessert!