
There’s a certain thrill that comes with whipping up a sweet treat without even turning on the oven. When I first encountered the concept of No Bake Rocky Road Bars, I was instantly drawn in by the idea of indulging in something delicious without spending hours in the kitchen. As I mixed chocolate, creamy peanut butter, and marshmallows, the familiar scents enveloped my home, evoking childhood memories of cozy afternoons spent with friends.
The best part? This recipe is a breeze! Perfect for those moments when you’re craving a quick dessert or need a last-minute contribution to a gathering, these bars deliver a satisfying crunch with each bite. The delightful combination of flavors and textures makes them a hit with everyone, from kids to fellow dessert lovers. Grab some Rice Krispies, and let’s dive into making this no-fuss, no-bake masterpiece!
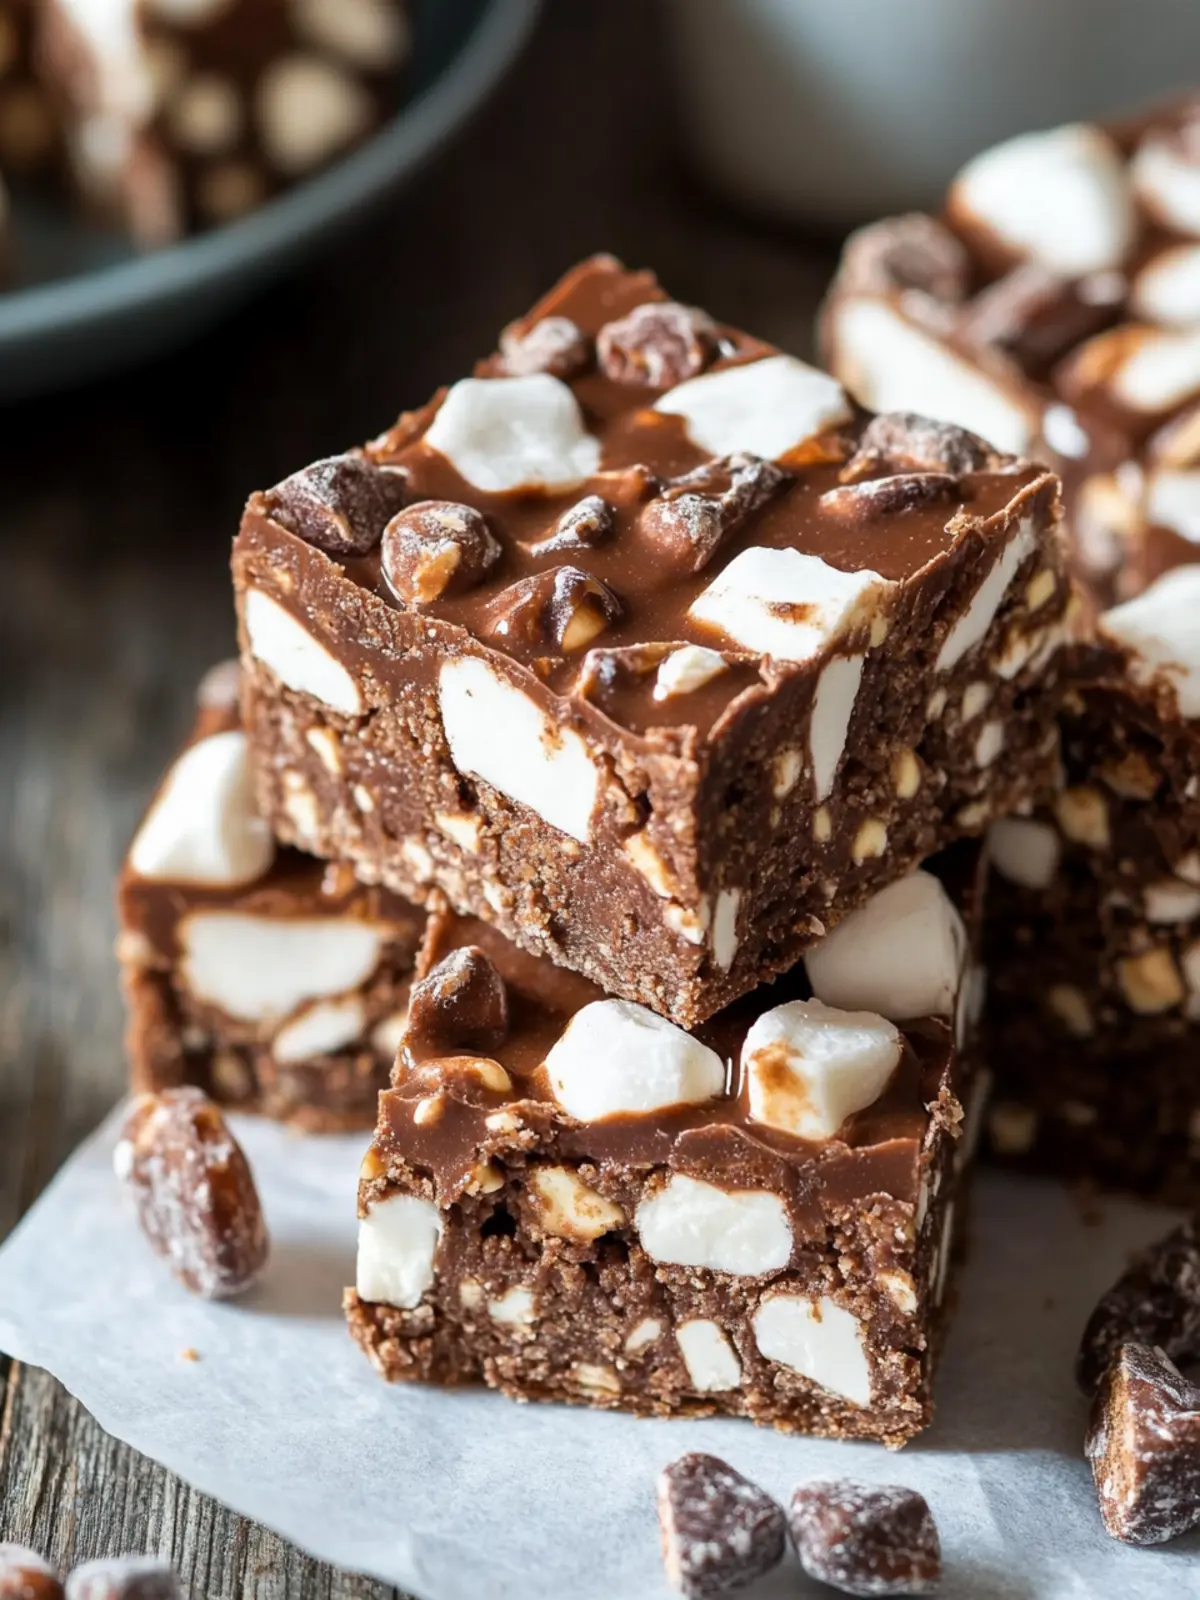
Why are No Bake Rocky Road Bars a must-try?
Effortless Indulgence: You can whip these treats up in no time—just mix and chill, no baking required!
Decadent Flavor: The rich chocolate, creamy peanut butter, and chewy marshmallows create an irresistible combination.
Crowd-Pleasing: Perfect for parties, potlucks, or movie nights; everyone will be coming back for seconds!
Customize Your Way: Feel free to add nuts, dried fruit, or other goodies to make them truly your own.
Quick to Make: Ideal for busy days or last-minute dessert needs, these bars can be ready in a flash.
Kid-Friendly Fun: Get the little ones involved—they’ll love mixing and layering this delightful treat!
Consider pairing these bars with other enjoyable desserts for a full indulgent experience, like our delightful Chocolate Peanut Butter Rice Krispie Treats.
No Bake Rocky Road Bars Ingredients
For the Base
• 3/4 cup peanut butter – Adds a creamy texture and nutty flavor, essential for your No Bake Rocky Road Bars.
• 1/4 cup unsalted butter – Helps bind everything together and adds richness.
• 2 cups chocolate chips – Choose milk, semi-sweet, or a mix for a decadent chocolate experience.
For the Crunch
• 1 1/2 cups Rice Krispies – Provides that satisfying crunch that balances the creamy ingredients.
For the Sweetness
• 3 cups mini marshmallows – Adds gooey sweetness and a delightful chewiness to each bite.
Feel free to mix up the flavors to your heart’s content! It’s all about making these bars uniquely yours.
How to Make No Bake Rocky Road Bars
-
Prepare the Pan: Line an 8×8 or 9×9 inch square pan with parchment paper or aluminum foil, leaving some overhang. This will make it easier to lift the bars out later! Briefly spray with non-stick cooking spray.
-
Combine Ingredients: In a large microwave-safe bowl, add the peanut butter, unsalted butter, and chocolate chips. This mixture is the heart of your No Bake Rocky Road Bars!
-
Melt Mixture: Microwave the bowl in 45-second intervals on medium power. Stir after each interval until everything has melted smoothly. Aim for a creamy consistency without any chunks.
-
Mix Together: Stir the melted ingredients until everything is well combined. Allow the mixture to cool slightly for about 5 minutes, so it’s warm but not hot!
-
Add Crunchy Elements: Gently fold in the Rice Krispies and mini marshmallows, making sure to coat everything evenly. The combination will give you that delightful texture you crave!
-
Spread in Pan: Pour the mixture into your prepared pan. Use a spatula to evenly spread and press the mixture into the corners, ensuring a consistent thickness throughout.
-
Chill Until Set: Refrigerate the bars for 3 hours or until they are firm enough to cut. Patience pays off here, as chilling lets those flavors meld beautifully!
-
Cut and Serve: Lift the bars out using the parchment overhang. Cut into squares, and voilà! Your No Bake Rocky Road Bars are ready to delight friends and family.
Optional: Drizzle with melted chocolate for an extra indulgent touch!
Exact quantities are listed in the recipe card below.
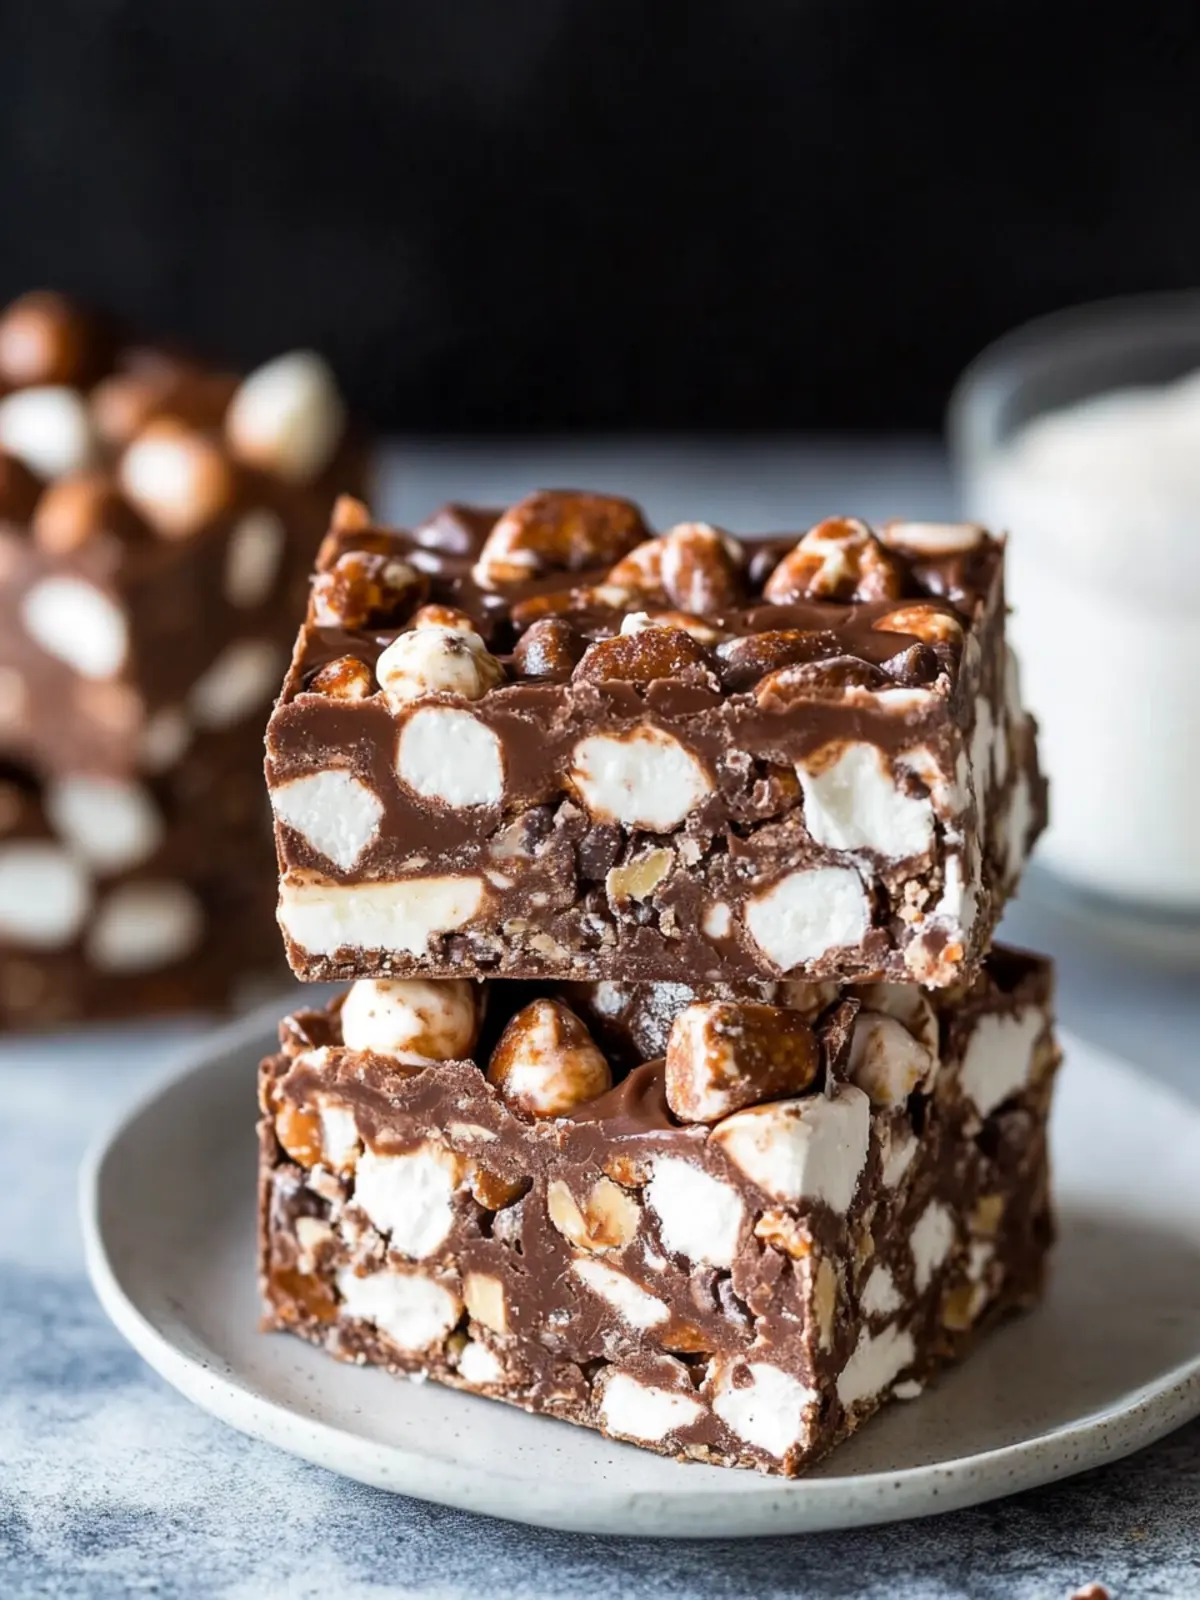
Expert Tips for No Bake Rocky Road Bars
-
Choose Quality Chocolate: Use high-quality chocolate chips for a richer flavor; it truly makes a difference in your No Bake Rocky Road Bars!
-
Spray for Ease: Lightly spray the parchment paper with non-stick cooking spray before pouring in the mixture. This helps the bars release easily after chilling.
-
Fold Gently: When adding Rice Krispies and marshmallows, fold them in gently to maintain their texture. Over-mixing can make them mushy!
-
Chill Long Enough: Don’t rush the chilling process! Allowing the bars to set for a full 3 hours ensures they hold their shape when cut.
-
Experiment with Mix-ins: Feel free to customize your No Bake Rocky Road Bars by adding nuts, dried fruit, or even sprinkles for extra flair.
-
Cut with Care: Use a sharp knife to cut the bars once firm. Warming the knife slightly can help create clean edges for a professional-looking treat!
Storage Tips for No Bake Rocky Road Bars
Room Temperature: Store the bars in an airtight container for up to 3 days at room temperature away from direct sunlight.
Fridge: Keep your No Bake Rocky Road Bars in the fridge for up to 1 week. This helps maintain their texture and keeps them fresh longer.
Freezer: For longer storage, freeze the bars wrapped tightly in plastic wrap and then in foil for up to 2 months. Thaw in the fridge before serving.
Reheating: There’s no need to reheat these bars; simply enjoy them chilled or at room temperature for the best texture and flavor!
Make Ahead Options
These No Bake Rocky Road Bars are perfect for meal prep, allowing you to enjoy delicious treats without the last-minute rush! You can prepare the mixture up to 24 hours in advance; simply follow the first few steps—combine and melt the peanut butter, butter, and chocolate chips, then mix in the Rice Krispies and marshmallows until fully coated. Cover the mixture tightly and refrigerate. When you’re ready to enjoy, press the mixture into the pan and chill for an additional 3 hours until set. To maintain freshness, store any leftovers in an airtight container in the fridge for up to 3 days. Rest assured, they’ll be just as tasty and satisfying!
No Bake Rocky Road Bars Variations & Substitutions
Feel free to make these delicious bars your own with exciting swaps and enhancements!
- Nut-Free: Replace peanut butter with sunflower seed butter for a nut-free alternative but still creamy.
- Vegan: Use dairy-free chocolate chips, coconut oil instead of butter, and maple syrup for a plant-based option.
- Spicy Kick: Add a pinch of cayenne pepper or crushed red pepper flakes for a surprising heat that complements the chocolate.
- Crunchy Twist: Mix in chopped nuts like walnuts or almonds for an extra layer of crunch and flavor.
For a mini-paragraph variation: Consider the delightful addition of crushed pretzels. This creates a sweet-savory balance, offering a satisfying salinity that will keep everyone guessing at your secret ingredient.
- Golden Goodness: Substitute Rice Krispies with crispy rice cereal or even crushed graham crackers for a slightly different texture and taste.
- Fruity Delight: Incorporate dried fruits such as cranberries or cherries to add a chewy sweetness that brightens every bite.
- Swirled Heaven: Drizzle melted caramel or white chocolate over the top before chilling for an indulgent finish that elevates your treat.
With these variations, you can easily elevate your No Bake Rocky Road Bars, making them a perfect fit for any taste or occasion!
What to Serve with No Bake Rocky Road Bars?
Transform your dessert table into a feast of flavors and textures that complement these delightful treats.
- Vanilla Ice Cream: Creamy ice cream balances the rich chocolate bars, creating a deliciously cold contrast.
- Fresh Berries: Juicy strawberries or raspberries add a burst of freshness and a touch of tartness to counter the sweetness.
- Chocolate Sauce: A drizzle of warm chocolate sauce enhances the chocolatey goodness, making every bite more indulgent.
- Caramel Dip: The sweet, buttery flavor of caramel pairs beautifully with the peanut butter and chocolate, adding a delightful twist.
- Milk: A tall glass of cold milk is a classic choice that cuts through the richness and enhances the flavor experience.
- Nut Butter Dip: Pair these bars with a nut butter dip for an added layer of flavor that complements the peanut butter base.
- COFFEE: The rich depth of a freshly brewed cup of coffee enhances the chocolate flavors, perfect for an afternoon treat.
- Mini Fruit Tartlets: Add a touch of elegance to your spread with mini fruit tartlets, providing a crunchy and fruity element.
- Sparkling Water: For a refreshing drink option, sparkling water cleanses the palate and offers a delightful fizz alongside your bars.
- Cupcakes: Bring a variety of textures and flavors to the table by including cupcakes that feature a light frosting to contrast with the bars.
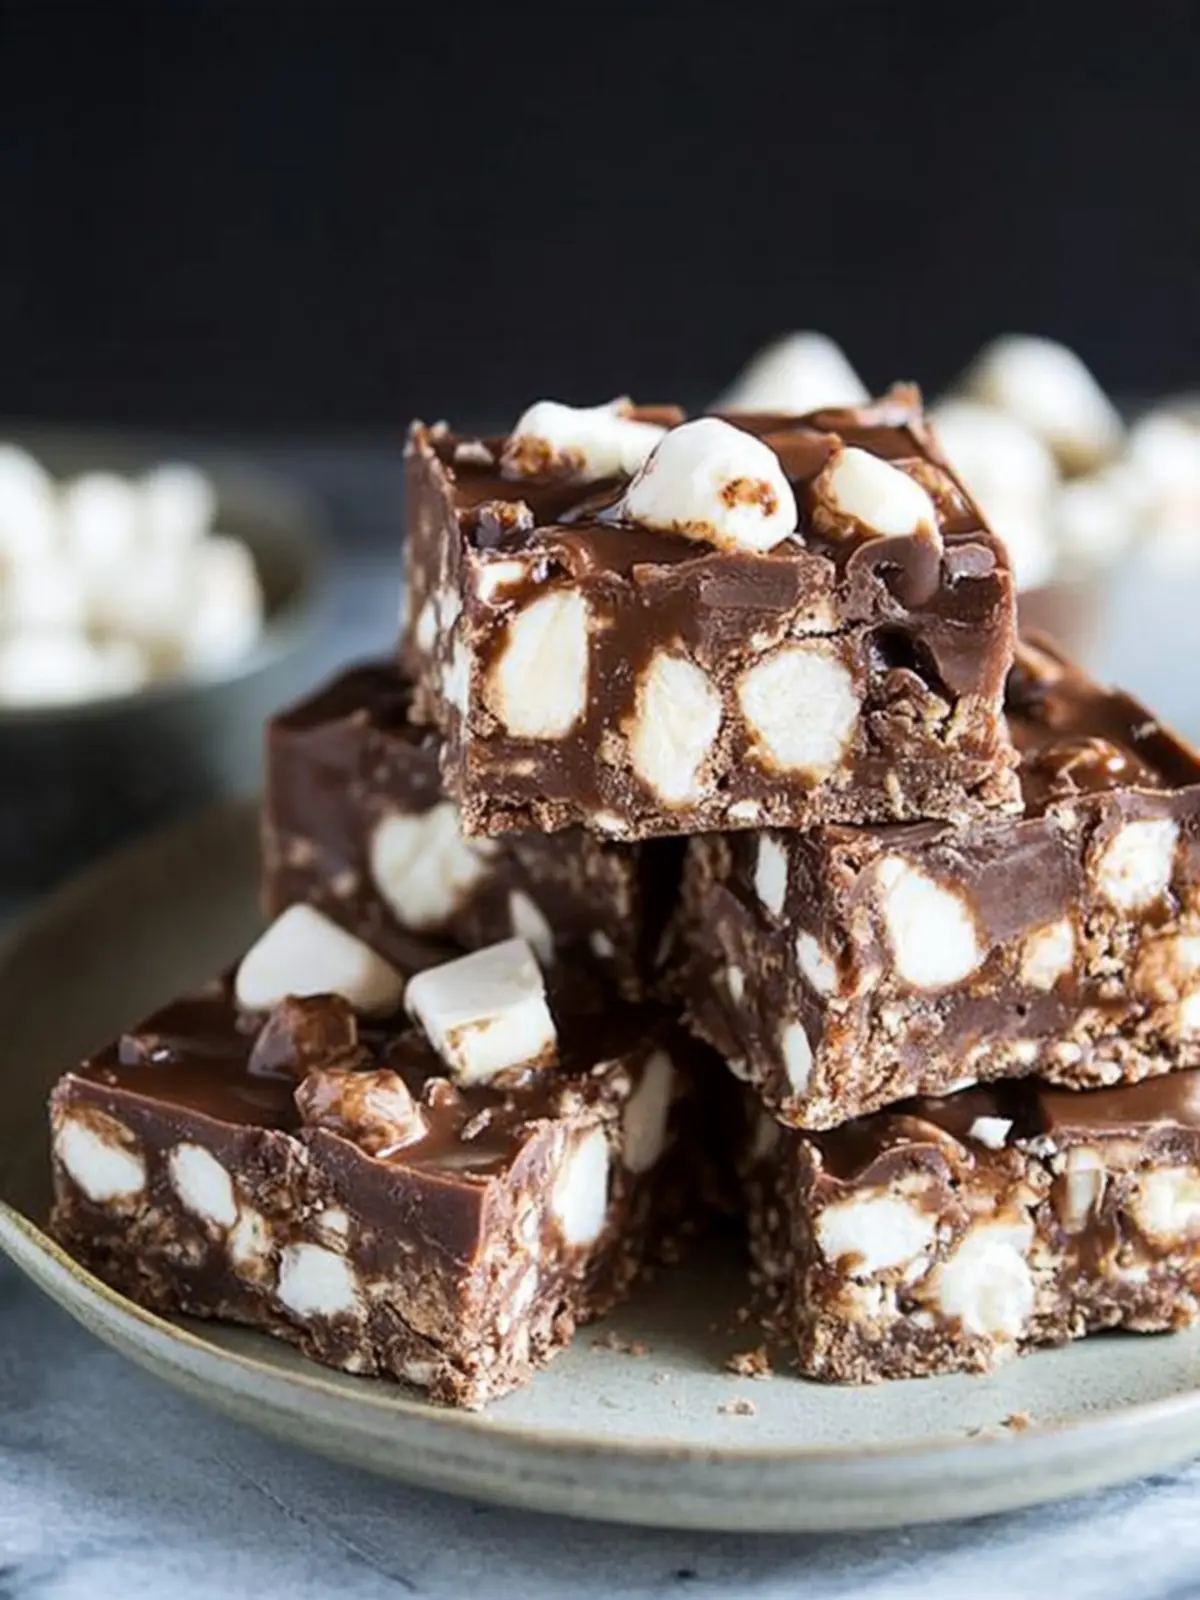
No Bake Rocky Road Bars Recipe FAQs
How do I select the best peanut butter for my No Bake Rocky Road Bars?
Absolutely! Look for natural, creamy peanut butter without added sugars or oils. A good quality peanut butter enhances the flavor of your bars, ensuring that rich, nutty taste comes through beautifully.
What’s the best way to store my No Bake Rocky Road Bars?
For storage, place your bars in an airtight container. They can last up to 3 days at room temperature away from direct sunlight, and in the fridge, they will stay fresh for about a week. If you want to keep them longer, freezing is a great option!
Can I freeze No Bake Rocky Road Bars? How?
Certainly! To freeze your bars, wrap them tightly in plastic wrap, then place them in a freezer bag or container. They can be stored for up to 2 months. When you’re ready to enjoy them, thaw the bars in the fridge overnight for best texture.
What should I do if my bars are not holding together?
If your bars are falling apart, it might be due to not enough binding ingredients or not pressing the mixture firmly enough into the pan. To fix this, you can return the mixture to a bowl, gently melt it again and add a bit more peanut butter or a small amount of melted chocolate. Then, mix well and repackage it into the pan, pressing down firmly.
Are there any dietary considerations I should know about with this recipe?
Yes! If you have allergies, check the labels on your ingredients for allergens such as nuts, dairy, and gluten. You can customize your bars by using gluten-free Rice Krispies and vegan chocolate chips to make them suitable for various dietary needs. Remember always to consider any ingredients if you’re sharing them with others, especially kids!
Can I customize the ingredients in my No Bake Rocky Road Bars?
Very! Feel free to add your favorite mix-ins such as nuts, dried fruits, or even coconut flakes to make the recipe your own. The combination of elements from familiar flavors can elevate your No Bake Rocky Road Bars into something special—what a fun way to get creative with dessert!
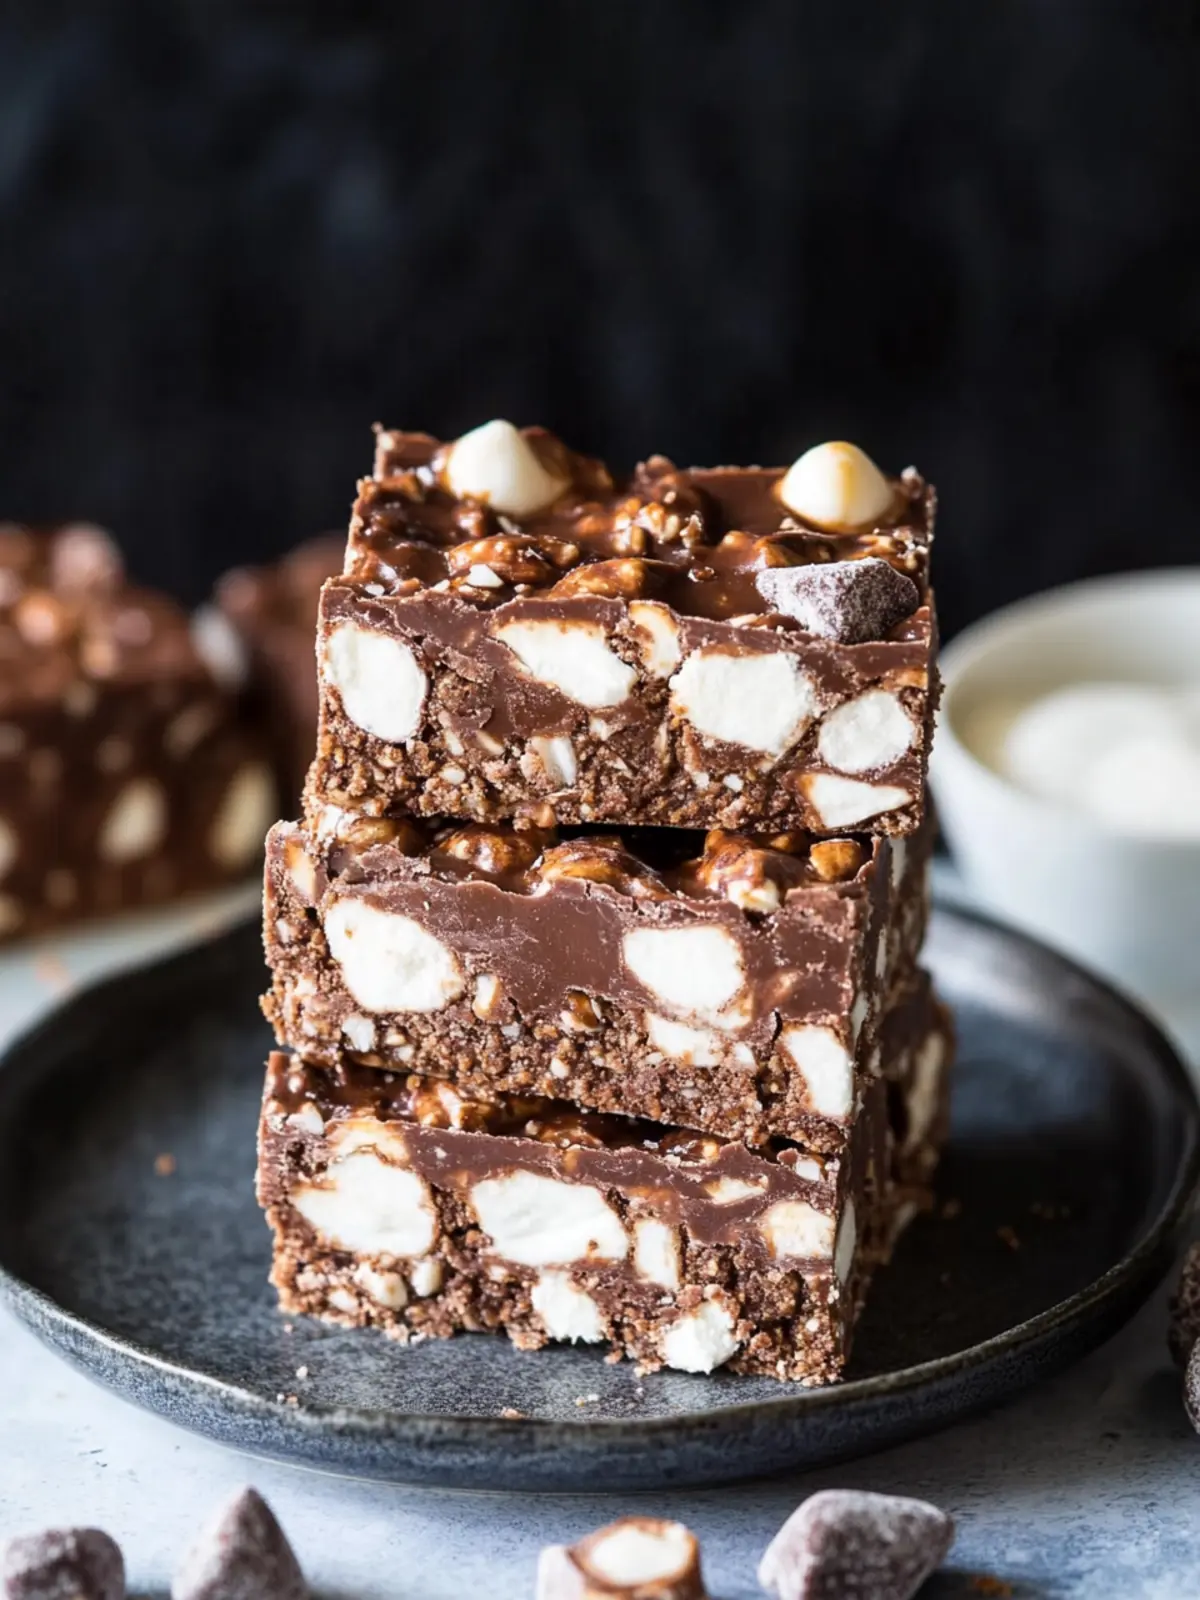
No Bake Rocky Road Bars: Indulge in Chocolatey Bliss
Ingredients
Equipment
Method
- Prepare the Pan: Line an 8x8 or 9x9 inch square pan with parchment paper or aluminum foil, leaving some overhang.
- Combine Ingredients: In a large microwave-safe bowl, add the peanut butter, unsalted butter, and chocolate chips.
- Melt Mixture: Microwave the bowl in 45-second intervals on medium power, stirring after each interval until melted.
- Mix Together: Stir until well combined and allow to cool slightly for about 5 minutes.
- Add Crunchy Elements: Gently fold in the Rice Krispies and mini marshmallows.
- Spread in Pan: Pour the mixture into your prepared pan and press evenly.
- Chill Until Set: Refrigerate for 3 hours or until firm.
- Cut and Serve: Lift out using the parchment overhang and cut into squares.