
When summer rolls in and the cherry trees burst into life, I often find myself daydreaming about delicious, sweet ways to savor every last bite of the season. One of my favorite discoveries has been these Cherry Breakfast Bars—quick to whip up and perfect for breakfast or snack time! Picture this: the vibrant, juicy cherries bursting with flavor, paired with wholesome oats and nutty almonds.
These bars are not just a treat; they’re a delightful shift from the usual morning routine, banishing the boredom of fast food once and for all. I love how simple ingredients come together to create something so satisfying and packed with goodness. Whether you’ve got a busy week ahead or are planning a cozy brunch with friends, these bars are a crowd-pleaser that will have everyone coming back for more. Plus, they only take about 45 minutes from prep to plate. Let’s dive into this recipe and make mornings a little brighter!
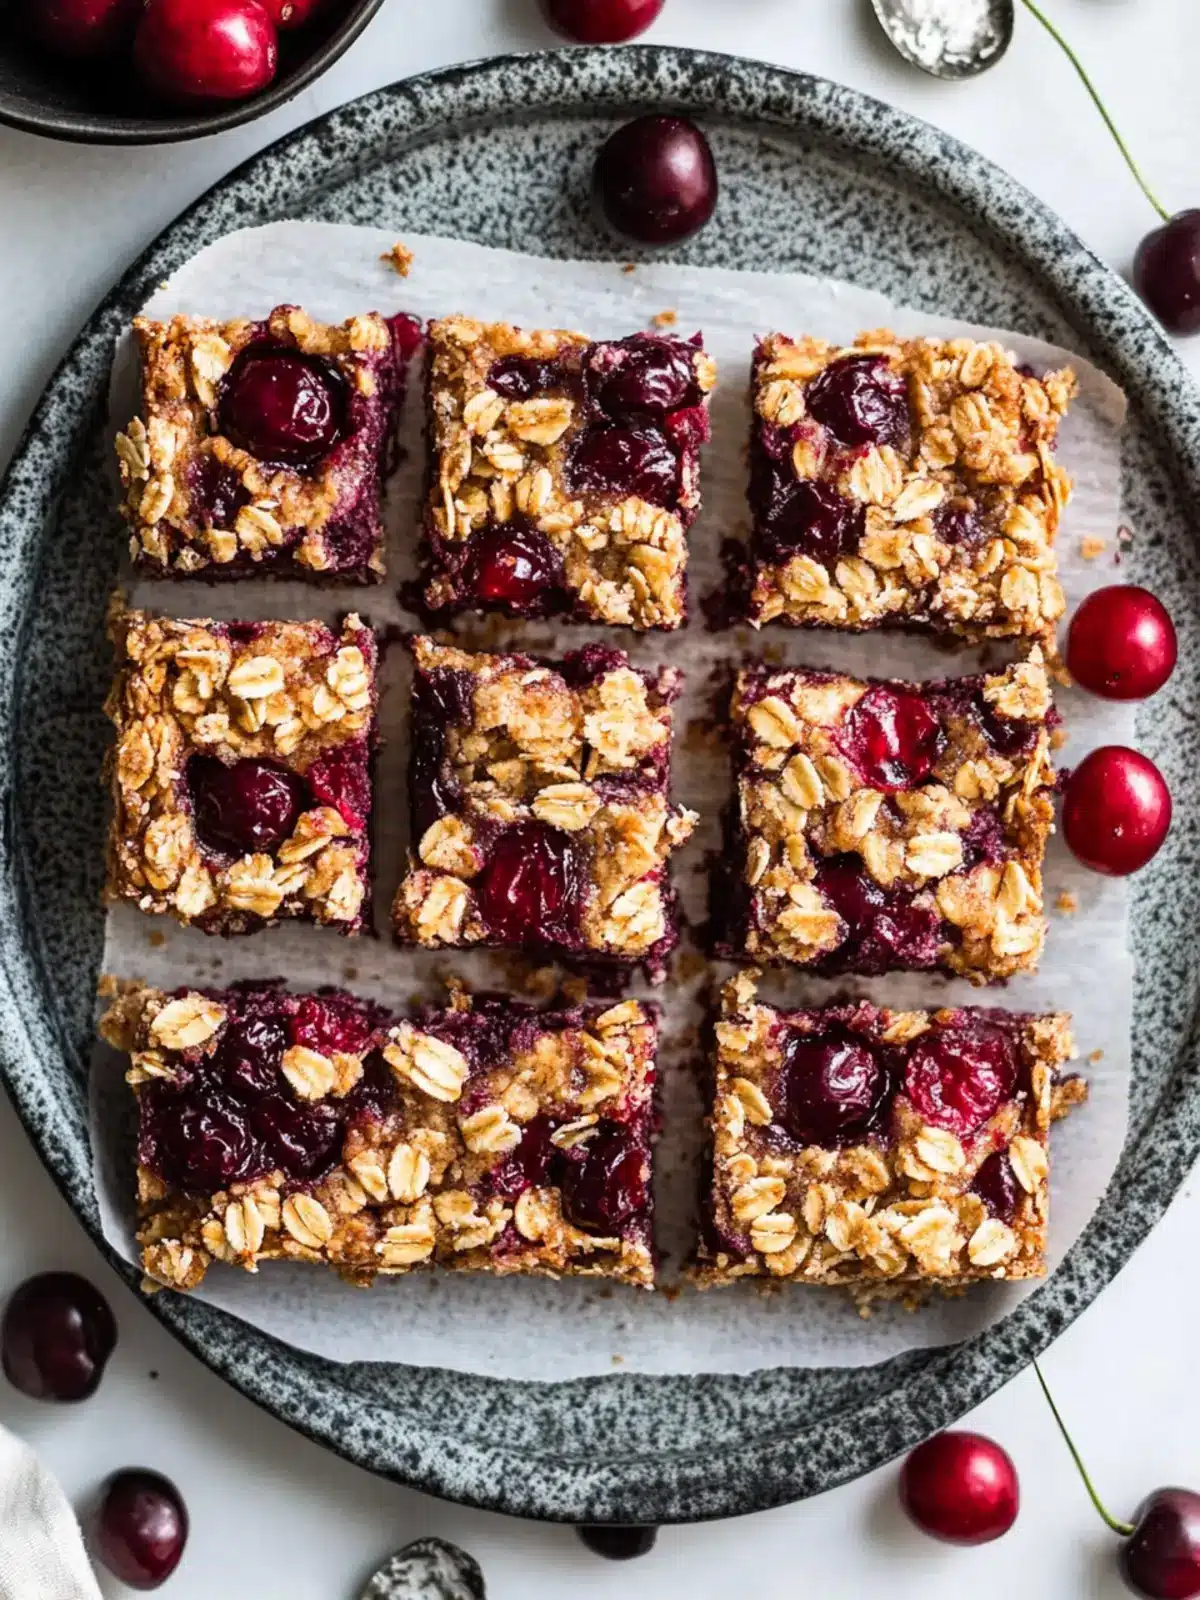
Why are Cherry Breakfast Bars a must-try?
Irresistible flavors: The juicy cherries mingle with wholesome oats, creating a breakfast that’s both delightful and healthy.
Quick and easy: In just 45 minutes, you can whip up a batch, making it perfect for busy mornings.
Nutritious ingredients: Packed with oats and nuts, these bars provide a satisfying, fiber-rich start to your day.
Versatile option: Enjoy them for breakfast, as a snack, or even a sweet treat for brunch gatherings.
Boredom-buster: Say goodbye to fast food, and welcome a homemade delight that will keep you coming back for more!
Cherry Breakfast Bars Ingredients
• Discover the essentials to bake these delightful Cherry Breakfast Bars!
For the Base
• Rolled oats – a wholesome foundation that adds heartiness and fiber.
• Flour – helps bind the ingredients together for a perfect texture.
• Light brown sugar – provides just the right amount of sweetness with a hint of caramel flavor.
• Chopped almonds – add a delightful crunch and healthy fats.
• Baking soda – helps the bars rise and become fluffy.
• Salt – enhances all the flavors for a balanced taste.
For the Filling
• Northwest sweet cherries – the star ingredient that lends a burst of juicy flavor to each bite.
• Lemon juice – brightens the cherry filling, balancing the sweetness.
• Maple syrup – a natural sweetener that complements the cherries beautifully.
• Cornstarch – thickens the cherry filling for a satisfying texture.
With these carefully selected ingredients, you’re all set to create Cherry Breakfast Bars that not only taste incredible but also elevate your morning routine!
How to Make Cherry Breakfast Bars
-
Preheat your oven to 350°F. This temperature ensures a nice golden brown finish on your bars, creating that appealing texture.
-
Prepare an 8-inch square baking dish by lining it with parchment paper and greasing it with coconut oil. This will help your bars come out easily after baking.
-
Mix together rolled oats, flour, light brown sugar, chopped almonds, baking soda, and salt in a large bowl. Then, pour the melted coconut oil over the mixture and stir until it’s fully coated and crumbly.
-
Combine the cherry filling by placing the pitted and chopped Northwest sweet cherries, lemon juice, maple syrup, and cornstarch in a medium-sized bowl. Gently mix until everything is well combined.
-
Set aside 1 cup of the oat mixture. Then, use your hands to evenly press the remaining mixture into the bottom of the prepared baking dish. This will serve as your delicious base.
-
Spread the cherry filling over the oat base using a spatula, ensuring to fill in all corners and edges. Then, evenly crumble the reserved oat mixture on top.
-
Bake for 30 minutes or until the top turns a lovely golden brown. Once baked, let the bars cool completely before removing them from the pan to slice.
Optional: Sprinkle some extra chopped almonds on top for an added crunch!
Exact quantities are listed in the recipe card below.
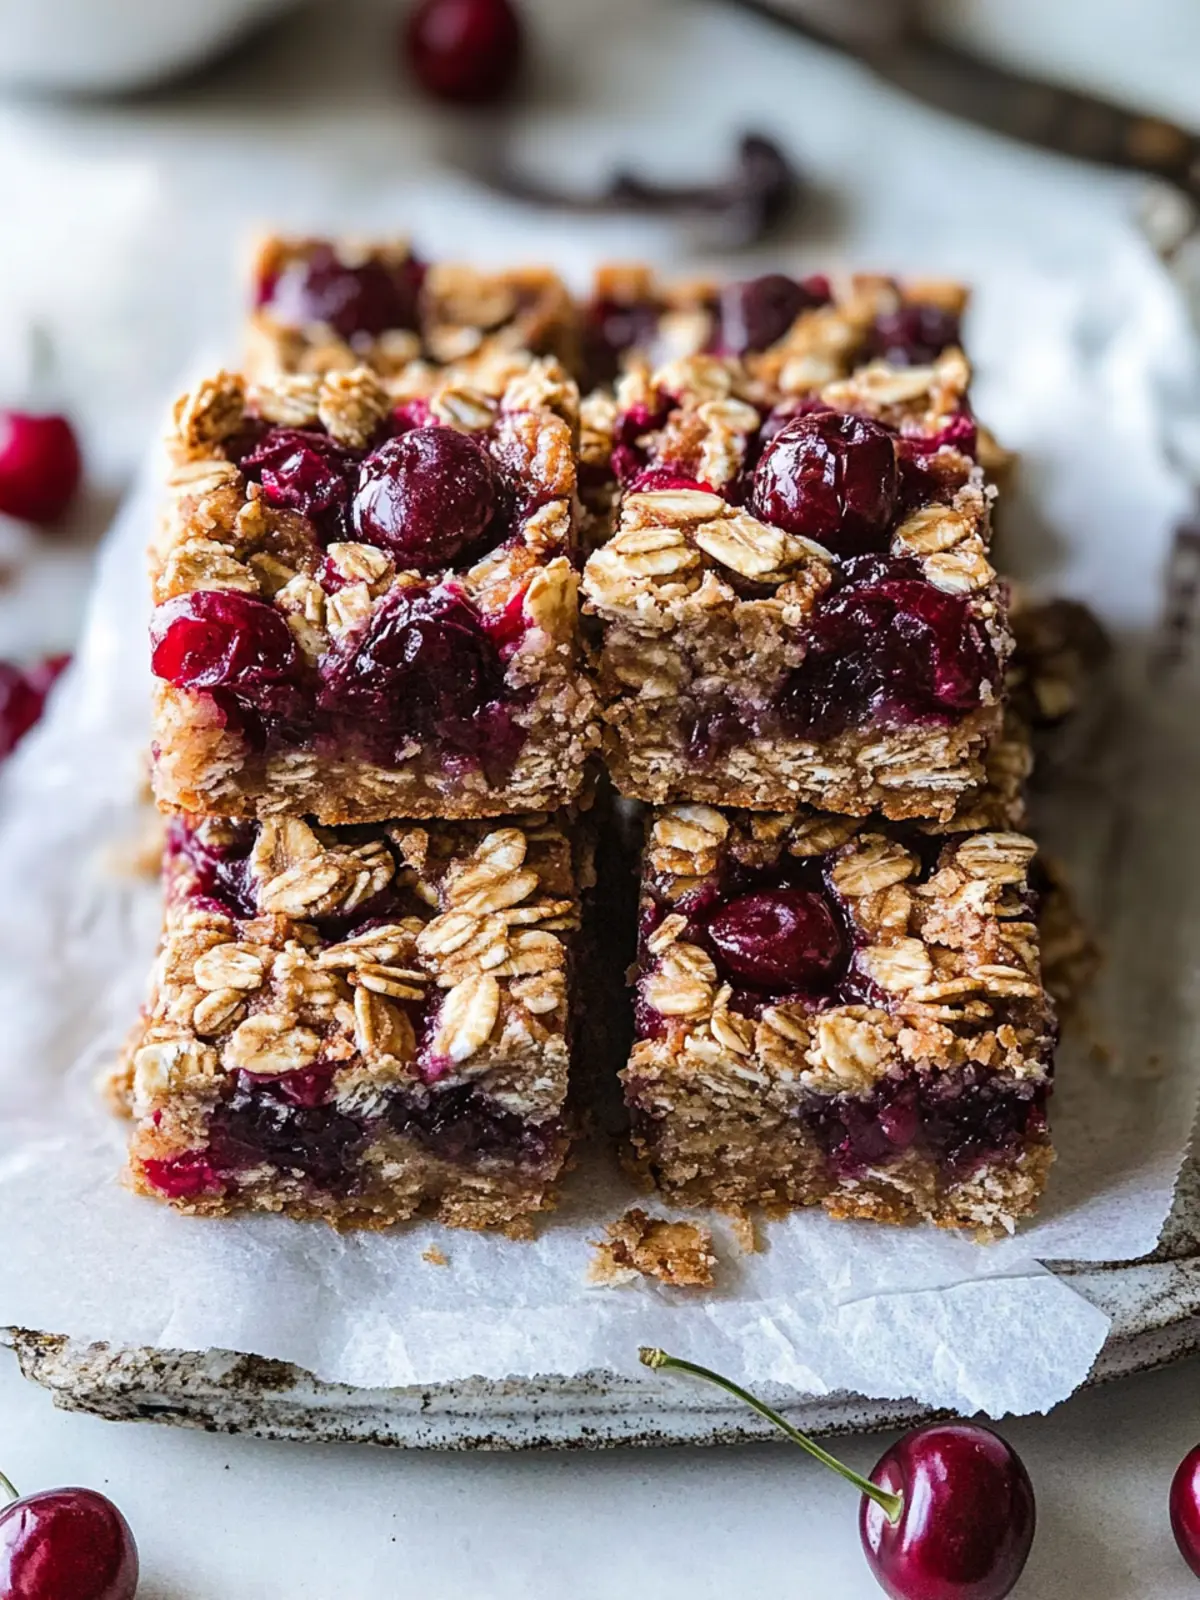
Expert Tips for Cherry Breakfast Bars
-
Fresh Cherries: Ensure you use ripe Northwest sweet cherries, as they provide the best flavor and juiciness for your Cherry Breakfast Bars.
-
Oat Texture: Don’t overmix the oat mixture; it should be crumbly but not too fine. This gives your bars the perfect bite.
-
Cooling Time: Let the bars cool completely in the baking dish. This helps them set properly and prevents them from falling apart when slicing.
-
Sweetness Check: Adjust the maple syrup according to your taste; if your cherries are particularly sweet, you might want to reduce it slightly.
-
Storage Tips: Store any leftovers in an airtight container at room temperature for a few days or in the fridge for up to a week to maintain freshness.
Cherry Breakfast Bars Variations
There’s so much fun to be had when customizing these delicious bars to suit your taste and dietary needs!
-
Nut-Free: Substitute chopped almonds with sunflower seeds or pumpkin seeds for a crunchy alternative that’s allergy-friendly.
-
Gluten-Free: Use certified gluten-free oats and flour to make this recipe suitable for those with gluten sensitivities. You’ll hardly notice the difference!
-
Vegan: Replace coconut oil with melted vegan butter and use maple syrup to ensure these bars are completely plant-based.
-
Spicy Twist: Add a pinch of cayenne pepper or a sprinkle of cinnamon for a warm, spicy contrast to the sweet cherries. It adds a whole new depth of flavor!
-
Fruit Swap: Try replacing Northwest sweet cherries with raspberries or blueberries for a berry-framed snack that’s just as tasty and colorful.
-
Extra Crunch: Fold in some granola into the oat mixture for added texture. It creates delightful clusters that enhance every bite.
-
Chocolate Drizzle: Finish with a drizzle of melted dark chocolate on top for a decadent treat that’s irresistible.
-
Double Batch: Make twice the amount and freeze half for later! You’ll thank yourself during those busy mornings when you reach for a ready-made, scrumptious breakfast.
How to Store and Freeze Cherry Breakfast Bars
Room Temperature: Store the bars in an airtight container at room temperature for up to 3 days for optimal freshness.
Fridge: If you need a bit more time, keep them in the refrigerator for up to a week. Just make sure they’re covered well to prevent drying out.
Freezer: To extend their life, freeze the bars in an airtight container or freezer bag for up to 2 months. Thaw them overnight in the fridge before enjoying.
Reheating: Enjoy cold, or reheat in the microwave for 10-15 seconds. This brings back their delightful texture and warms the cherry filling!
What to Serve with Cherry Breakfast Bars?
When you savor the sweet, juicy bites of these delightful bars, it’s natural to wonder what else complements such a fruity treat.
-
Greek Yogurt: Creamy and tangy, a dollop of Greek yogurt adds a refreshing contrast while boosting protein for a balanced breakfast.
-
Fresh Berries: A vibrant medley of blueberries, raspberries, or strawberries enhances the fruity theme, adding brightness and extra antioxidants.
-
Nut Butter: Drizzling almond or peanut butter over the bars can elevate their flavor with nutty richness, making every bite more indulgent.
-
Herbal Tea: A cup of chamomile or mint tea complements the sweetness perfectly, providing a calming touch to your morning routine.
-
Honey Drizzle: A touch of raw honey enhances the sweetness naturally and brings warmth, making it a perfect pairing for these breakfast bars.
-
Coconut Flakes: Lightly toasted coconut flakes sprinkled on top add a tropical flair, creating texture and balance with the tartness of cherries.
-
Chia Seed Pudding: This creamy and satiating side dish offers an extra boost of omega-3s, making your breakfast spread nutritious and inviting.
-
Homemade Granola: Serving a side of crunchy granola adds an intriguing texture contrast, enhancing the flavor profile in this wholesome breakfast.
-
Sweetened Almond Milk: Pouring a glass of sweetened almond milk alongside the bars can create a delightful, creamy complement that carries the cherry flavor beautifully.
Make Ahead Options
These Cherry Breakfast Bars are perfect for meal prep enthusiasts! You can prepare the oat base and cherry filling up to 24 hours in advance, making your morning routine a breeze. To do this, simply mix the oat ingredients and store them in an airtight container, and do the same for the cherry filling (just add the lemon juice right before baking to prevent browning). When you’re ready to bake, combine the prepped ingredients in the baking dish and top them with the reserved oat mixture. Bake as instructed, and you’ll enjoy delicious, homemade bars just as fresh as if you made them on the spot!
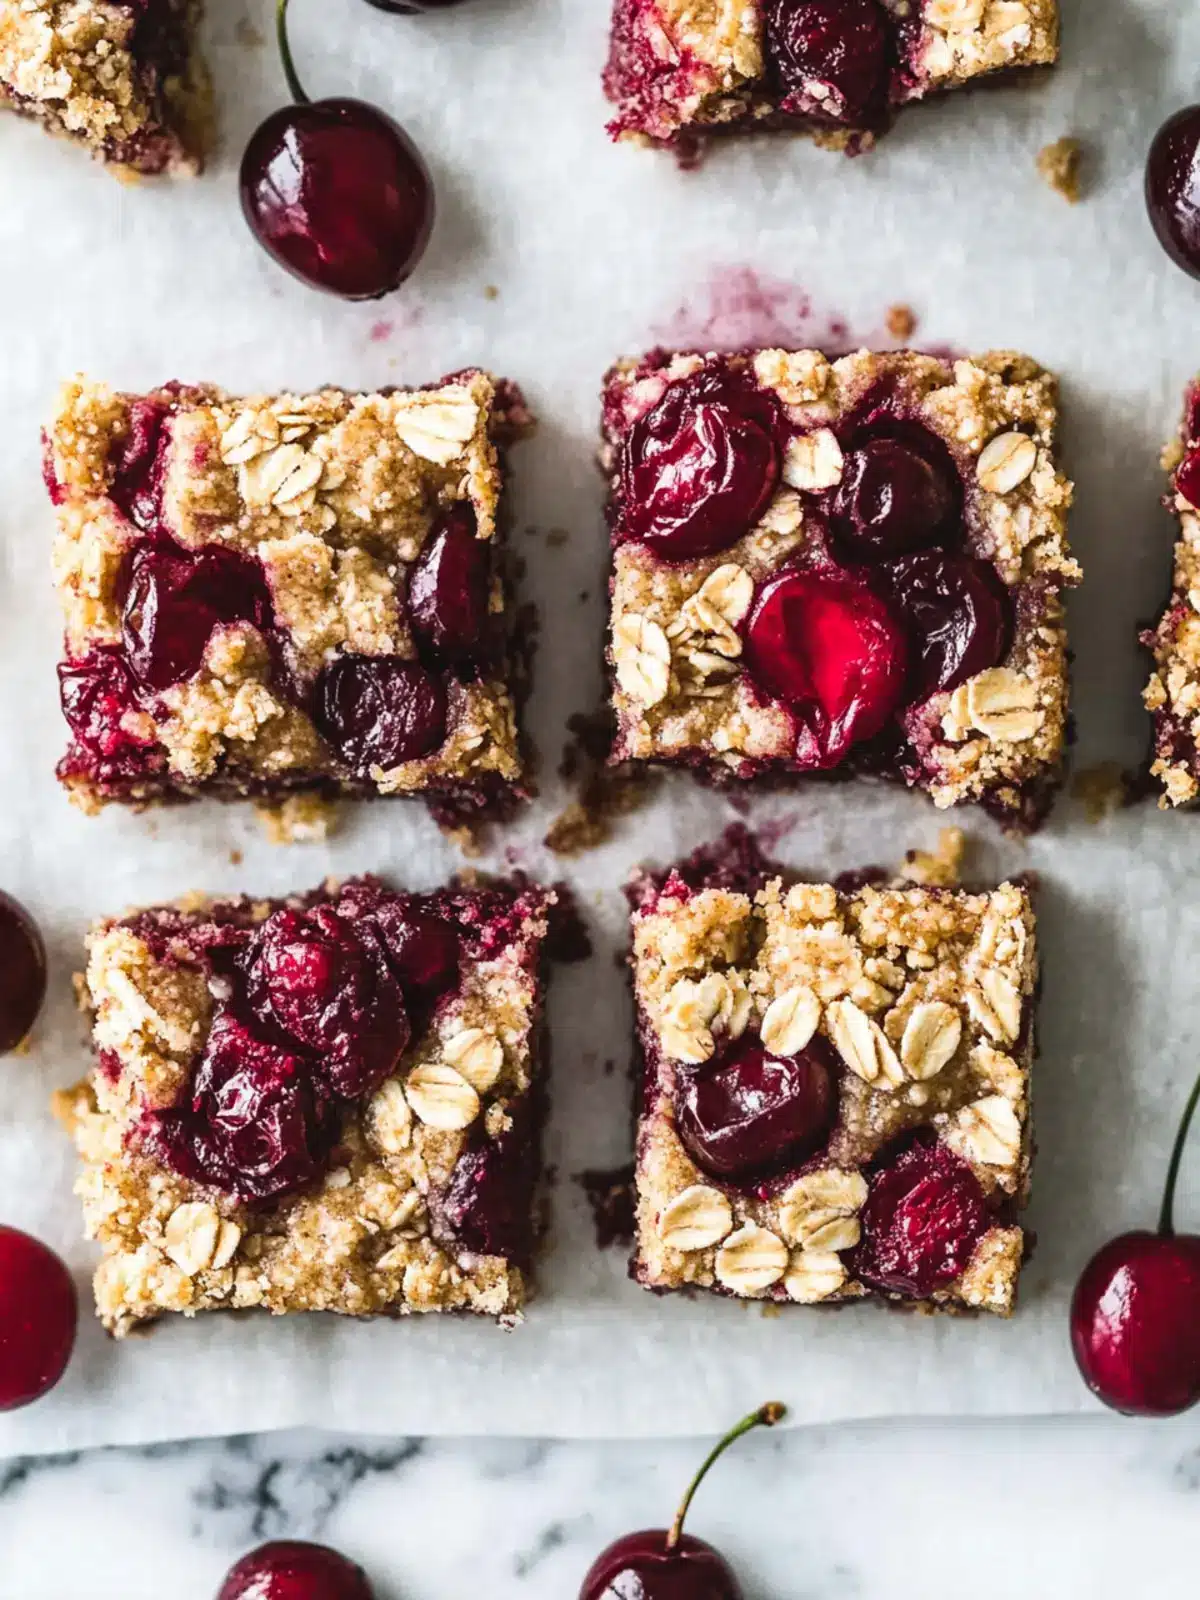
Cherry Breakfast Bars Recipe FAQs
How do I choose the best cherries for my recipe?
Absolutely! When selecting cherries, look for firm, plump Northwest sweet cherries without any dark spots or blemishes. They should be deep red, indicating ripeness, and should have a shiny appearance. Avoid cherries with wrinkles, as these are signs of overripeness.
What is the best way to store Cherry Breakfast Bars?
You can store Cherry Breakfast Bars at room temperature in an airtight container for up to 3 days. For longer freshness, pop them in the fridge, where they will stay good for up to a week. Just ensure they’re well-covered to avoid drying out.
Can I freeze my Cherry Breakfast Bars?
Very much! To freeze the bars, first allow them to cool completely. Then, wrap them individually in plastic wrap or place them in an airtight container or freezer bag. They’ll stay fresh in the freezer for up to 3 months. When you’re ready to enjoy, just thaw overnight in the fridge and they’re good to go!
What should I do if my bars crumble when cutting?
No worries! If your Cherry Breakfast Bars are crumbling, it’s often because they weren’t cooled completely before slicing. Allow them to cool in the pan for at least 15-20 minutes and, ideally, to room temperature for a firmer texture. Using a sharp knife can also help achieve cleaner cuts.
Are these bars safe for my pet or someone with nut allergies?
It’s important to be cautious! While the cherry bars themselves are safe for humans, the chopped almonds in the recipe can pose a risk for those with nut allergies. As for pets, cherries can be harmful to animals, so please avoid sharing these delicious bars with your furry friends. Opt for nut-free modifications if needed!
How can I adjust the sweetness of my Cherry Breakfast Bars?
Definitely! If you find your cherries are particularly sweet, feel free to reduce the amount of maple syrup to taste. Start by cutting it in half and then slowly mix in more if you want additional sweetness. Remember, the balance is key, and tasting as you go is the best approach!
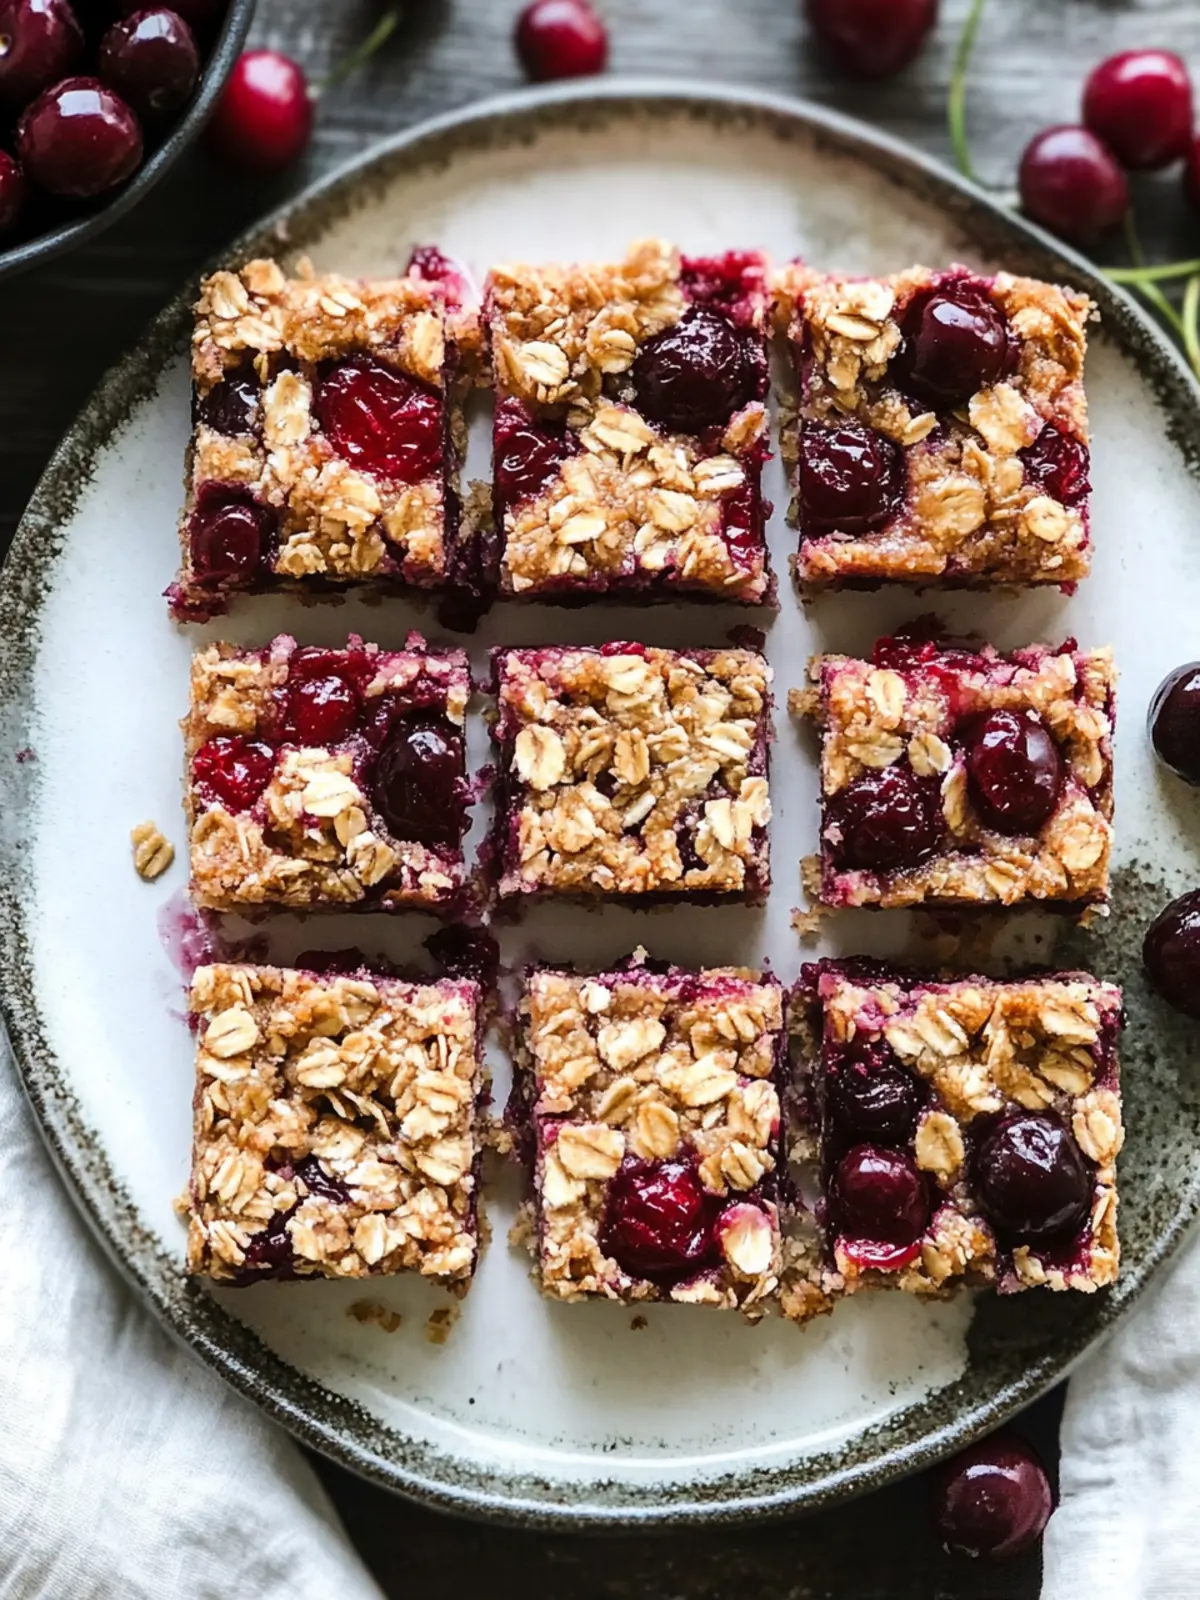
Cherry Breakfast Bars that Elevate Your Morning Routine
Ingredients
Equipment
Method
- Preheat your oven to 350°F.
- Prepare an 8-inch square baking dish by lining it with parchment paper and greasing it with coconut oil.
- Mix together rolled oats, flour, light brown sugar, chopped almonds, baking soda, and salt in a large bowl. Then, pour the melted coconut oil over the mixture and stir until it’s fully coated and crumbly.
- Combine the cherry filling by placing the pitted and chopped Northwest sweet cherries, lemon juice, maple syrup, and cornstarch in a medium-sized bowl. Gently mix until everything is well combined.
- Set aside 1 cup of the oat mixture. Then, use your hands to evenly press the remaining mixture into the bottom of the prepared baking dish.
- Spread the cherry filling over the oat base using a spatula, ensuring to fill in all corners and edges. Then, evenly crumble the reserved oat mixture on top.
- Bake for 30 minutes or until the top turns a lovely golden brown. Once baked, let the bars cool completely before removing them from the pan to slice.