There’s a certain warmth that fills the kitchen when I prepare Magnolia Bakery Banana Pudding from Scratch. With each step, the familiar aroma of creamy vanilla and ripe bananas drifts through the air, evoking memories of backyard barbecues and sunny picnics. This isn’t just any dessert; it’s a delightful nod to the classic that’s become a family favorite—the kind of rich, velvety pudding that gathers everyone around the table, sharing stories and laughter.
I remember the day I decided to tackle this recipe. It was a rainy afternoon when takeout just wouldn’t cut it. As I browsed through my pantry, I found everything I needed to create this luscious treat, something more satisfying than fast food. Each layer of Nilla wafers, bananas, and that heavenly homemade pudding comes together effortlessly, making this an impressive yet uncomplicated joy. Ready to unleash your inner chef? Let’s dive into the sweet nostalgia of this irresistible dessert!
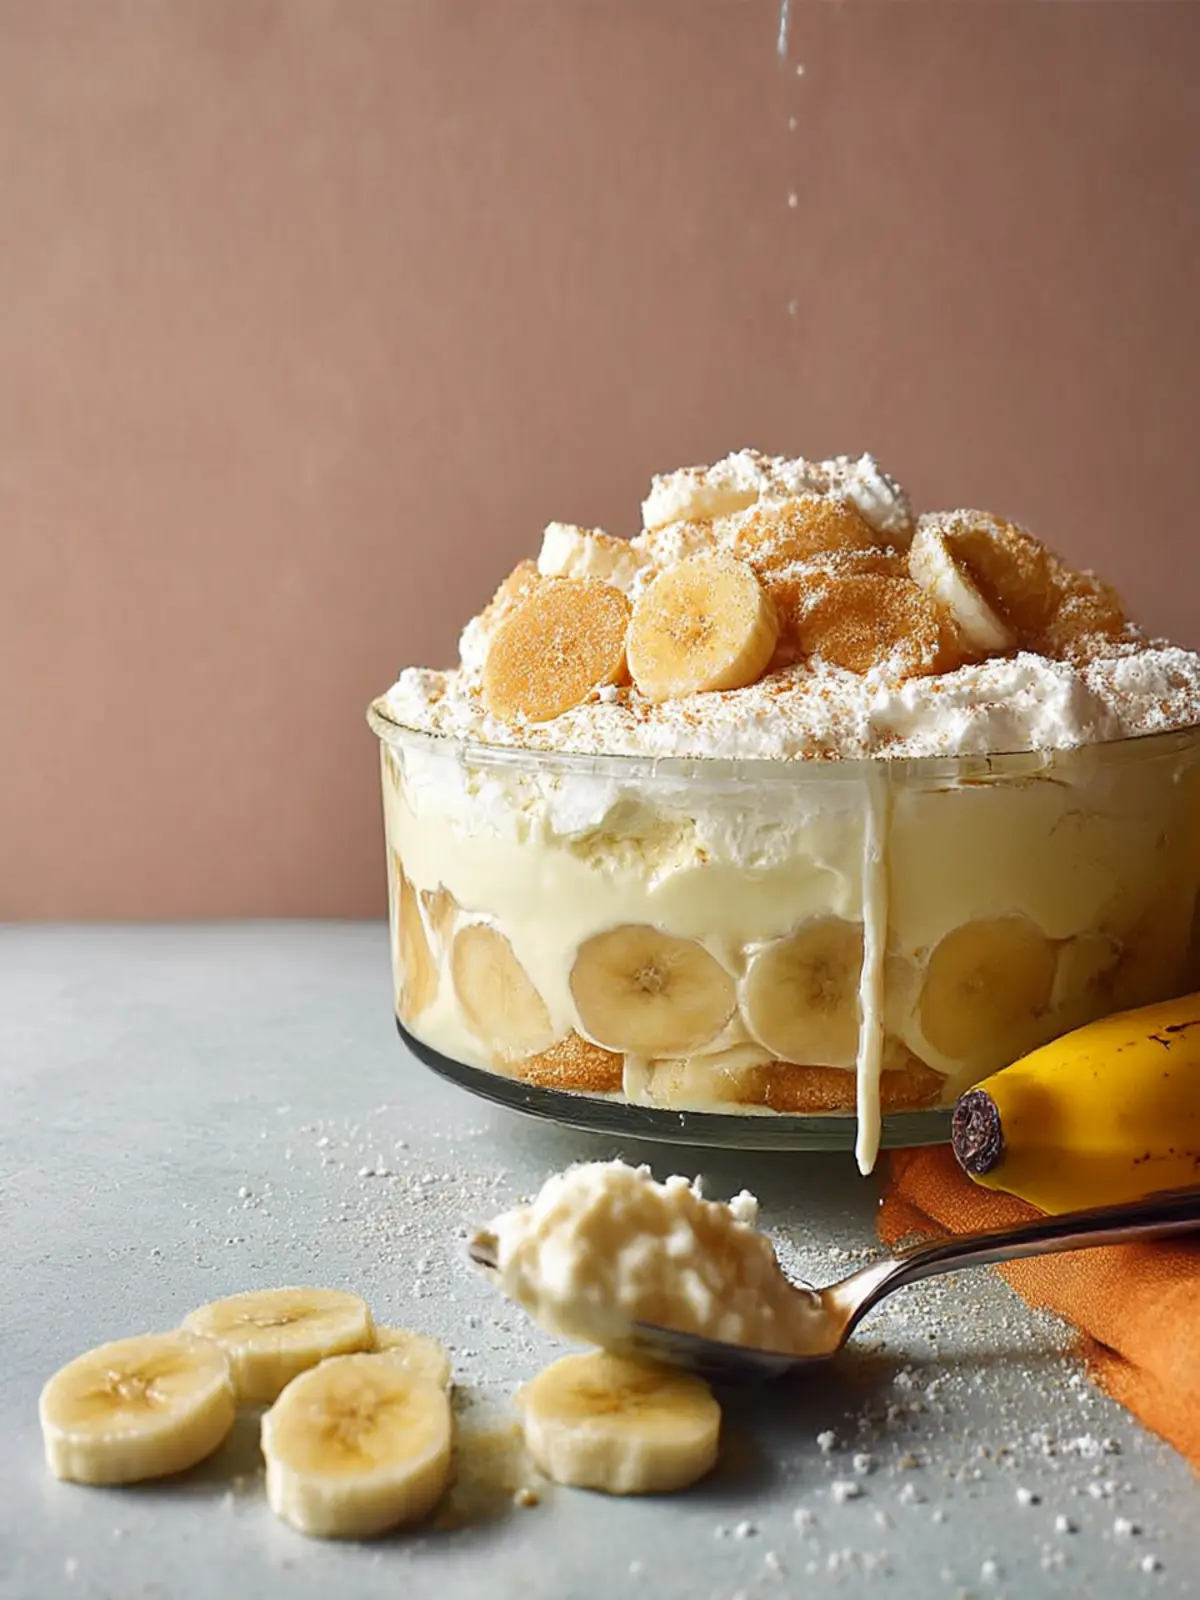
Why is Magnolia Bakery Banana Pudding special?
Irresistible flavor: The blend of creamy pudding and fresh bananas creates a harmony of taste that you simply can’t resist.
Homemade goodness: Preparing this dessert from scratch means you control the quality of each ingredient, ensuring a rich, authentic flavor like no other.
Easy assembly: Layering the ingredients is straightforward, making it perfect for both experienced cooks and kitchen novices alike.
Crowd-pleaser: This dish brings people together and creates lasting memories, making it a must for gatherings.
Memorable texture: Expect a delightful balance of gooey pudding and crunchy wafers in every bite.
Enjoy this delectable treat at your next gathering, and if you’re looking for more delightful ideas, check out my collection of easy homemade desserts.
Magnolia Bakery Banana Pudding Ingredients
For the Pudding Base
- Cornstarch – 2 tbsp + 2 tsp, essential for thickening the pudding to a velvety consistency.
- Granulated Sugar – 8 tbsp (divided), sweetens the pudding perfectly; it balances the flavors nicely.
- Salt – a pinch to enhance the overall taste of the pudding.
- Large Eggs – 2, they enrich the pudding’s texture for a creamy result.
- Whole Milk – 2 cups, adds a rich creaminess that makes the pudding luscious.
- Vanilla Extract – 1 tbsp, infuses delightful flavor that complements the bananas beautifully.
For the Whipped Cream
- Heavy Cream – 2 cups, cold, whipping this creates a light and airy topping.
- Sweetened Condensed Milk – 1 tbsp, adds a hint of sweetness and creaminess to the whipped cream.
For Layering
- Mini Nilla Wafers – 4 cups, these iconic cookies provide a satisfying crunch and classic flavor.
- Ripe Bananas – 4 large, use them sliced for a fresh and fruity layer that brightens the dessert.
When crafting this Magnolia Bakery Banana Pudding from Scratch, each ingredient plays a vital role, contributing to the harmonious blend of flavors and textures you’ll adore!
How to Make Magnolia Bakery Banana Pudding
-
Combine cornstarch, 2 tablespoons of sugar, and a pinch of salt in a small bowl. This mixture will help thicken your pudding and create that silky texture you crave.
-
Whisk the eggs in a medium bowl for about 3-4 minutes until they’re smooth and fluffy. This step is crucial to incorporate air, which adds lightness to the pudding.
-
Mix in the cornstarch blend slowly, whisking continuously until everything is combined perfectly. You want a smooth mixture with no lumps!
-
Heat the milk and the remaining 6 tablespoons of sugar in a medium saucepan over medium-high heat for about 5 minutes, taking care not to bring it to a boil. You’ll know it’s ready when it’s steaming and just starting to bubble around the edges.
-
Pour the hot milk into the egg mixture slowly, whisking vigorously as you go to prevent the eggs from curdling. This step can be a game changer in creating a rich pudding!
-
Return the mixture to the saucepan and add vanilla extract. Cook over medium-high heat for 6-7 minutes, whisking continuously until it thickens to coat the back of a spoon. Watch for that glorious transformation!
-
Remove from heat and transfer your pudding mixture to a large bowl. Cover it with plastic wrap, pressing it directly onto the surface to prevent a skin from forming. Chill in the fridge for 3 hours to enhance the flavors.
-
Whip the heavy cream together with the sweetened condensed milk on high speed for about 5 minutes in a medium-sized bowl until soft peaks form. This will be the dreamy topping that elevates your dessert!
-
Fold the whipped cream into the chilled pudding mixture gently until just combined. You want to keep that lovely airiness—pop it back in the fridge to stay cool!
-
Crush ¾ cup of Nilla wafers in a Ziploc bag using a rolling pin or skillet, setting the crumbs aside for later. This will add a delightful crunch to your layers.
-
Spread a thin layer of pudding in the bottom of your serving dish, laying the groundwork for your beautiful dessert.
-
Layer whole Nilla wafers atop the pudding, followed by half of the crushed wafer crumbs. This gives texture and flavor in every bite.
-
Repeat with another thin layer of pudding, ensuring a luscious base of layers.
-
Add a layer of thinly sliced bananas next, bringing brightness and sweetness into the mix.
-
Top with another thin layer of pudding over the bananas to secure them in place.
-
Add another layer of whole wafers followed by the remaining crushed wafers. The contrast of textures is simply irresistible!
-
Repeat with another thin layer of pudding and a final layer of thinly sliced bananas for that perfect finish.
-
Pour any remaining pudding on top to complete your masterpiece.
-
Decorate the surface with whole wafers, then cover the dish with plastic wrap and refrigerate for at least 4 hours. The longer, the better for flavor fusion!
-
Serve by scooping generous amounts into dishes and topping with extra wafer pieces and banana slices for that extra touch of sweetness.
Optional: A sprinkle of crushed Nilla wafers on top adds a lovely finishing touch.
Exact quantities are listed in the recipe card below.
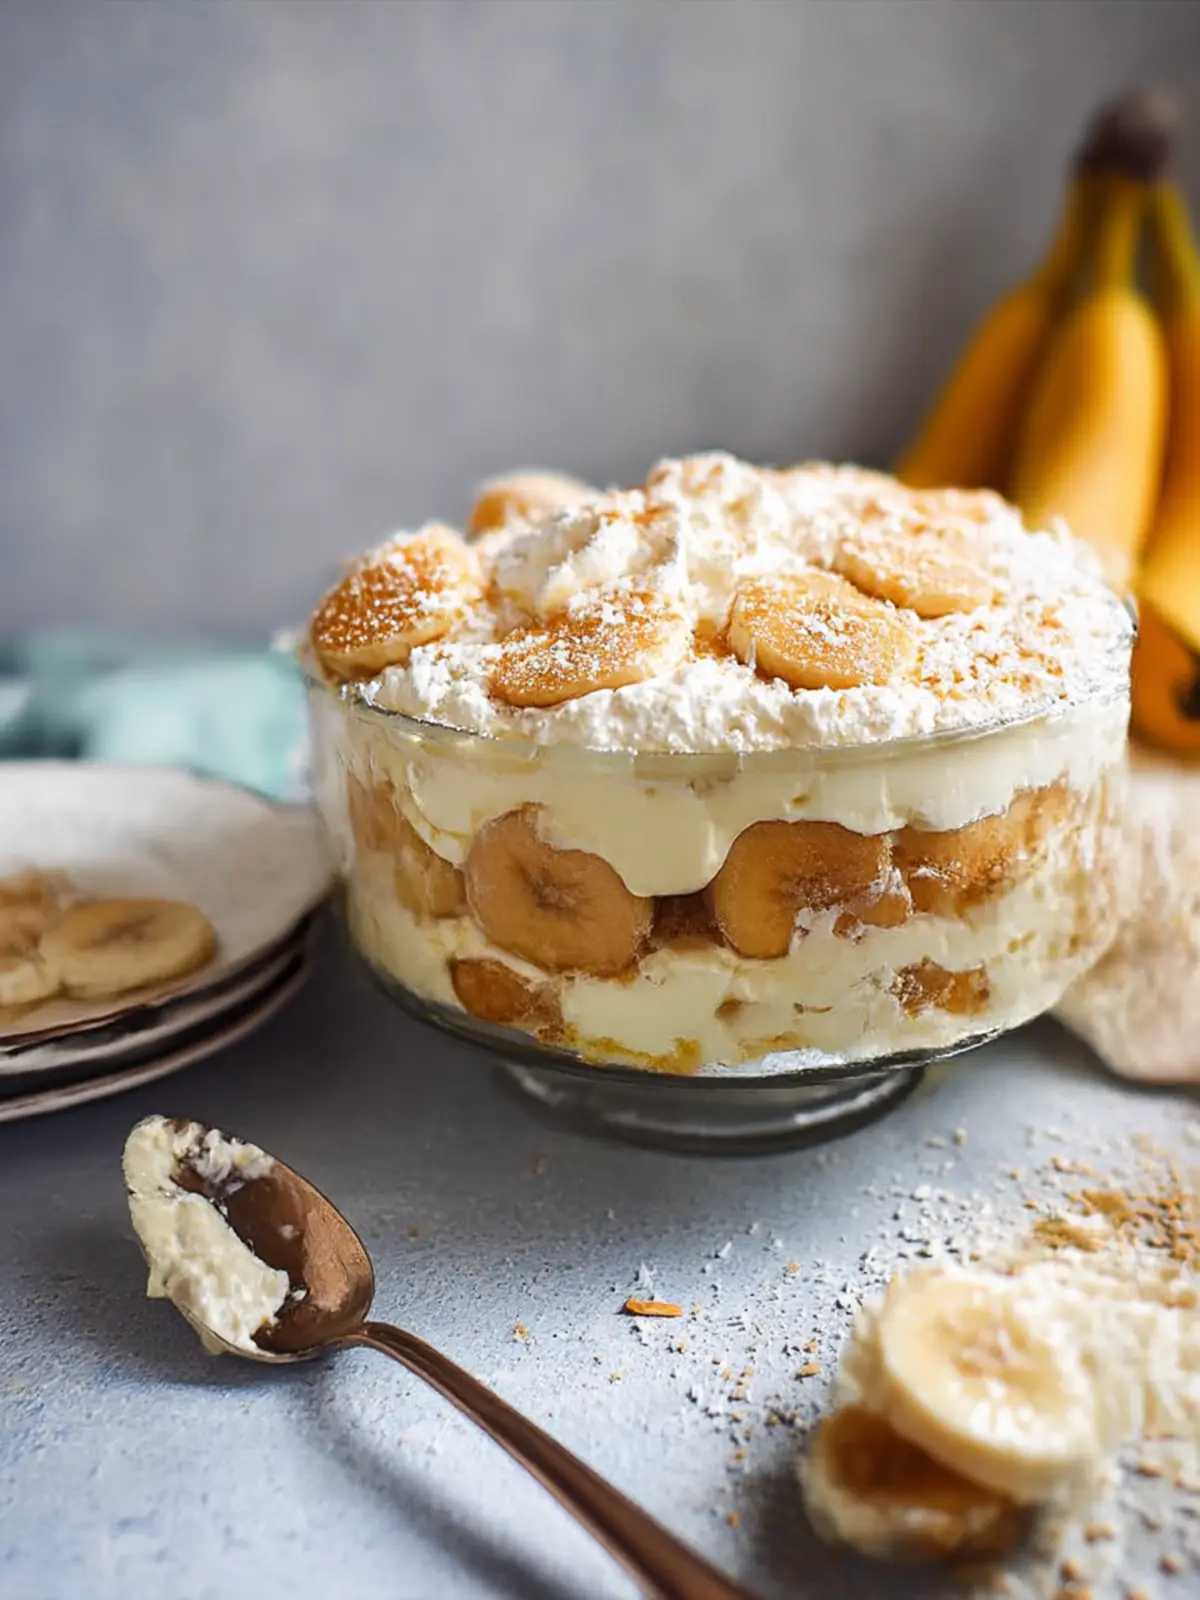
Magnolia Bakery Banana Pudding Variations
Feel free to make this classic dessert your own with these delightful twists and substitutions!
-
Dairy-Free: Swap whole milk for almond or coconut milk and use coconut cream instead of heavy cream for a creamy vegan version.
-
Nutty Crunch: Incorporate crushed almonds or pecans between pudding layers for an added texture that complements the bananas beautifully. The nutty flavor pairs perfectly with the sweetness!
-
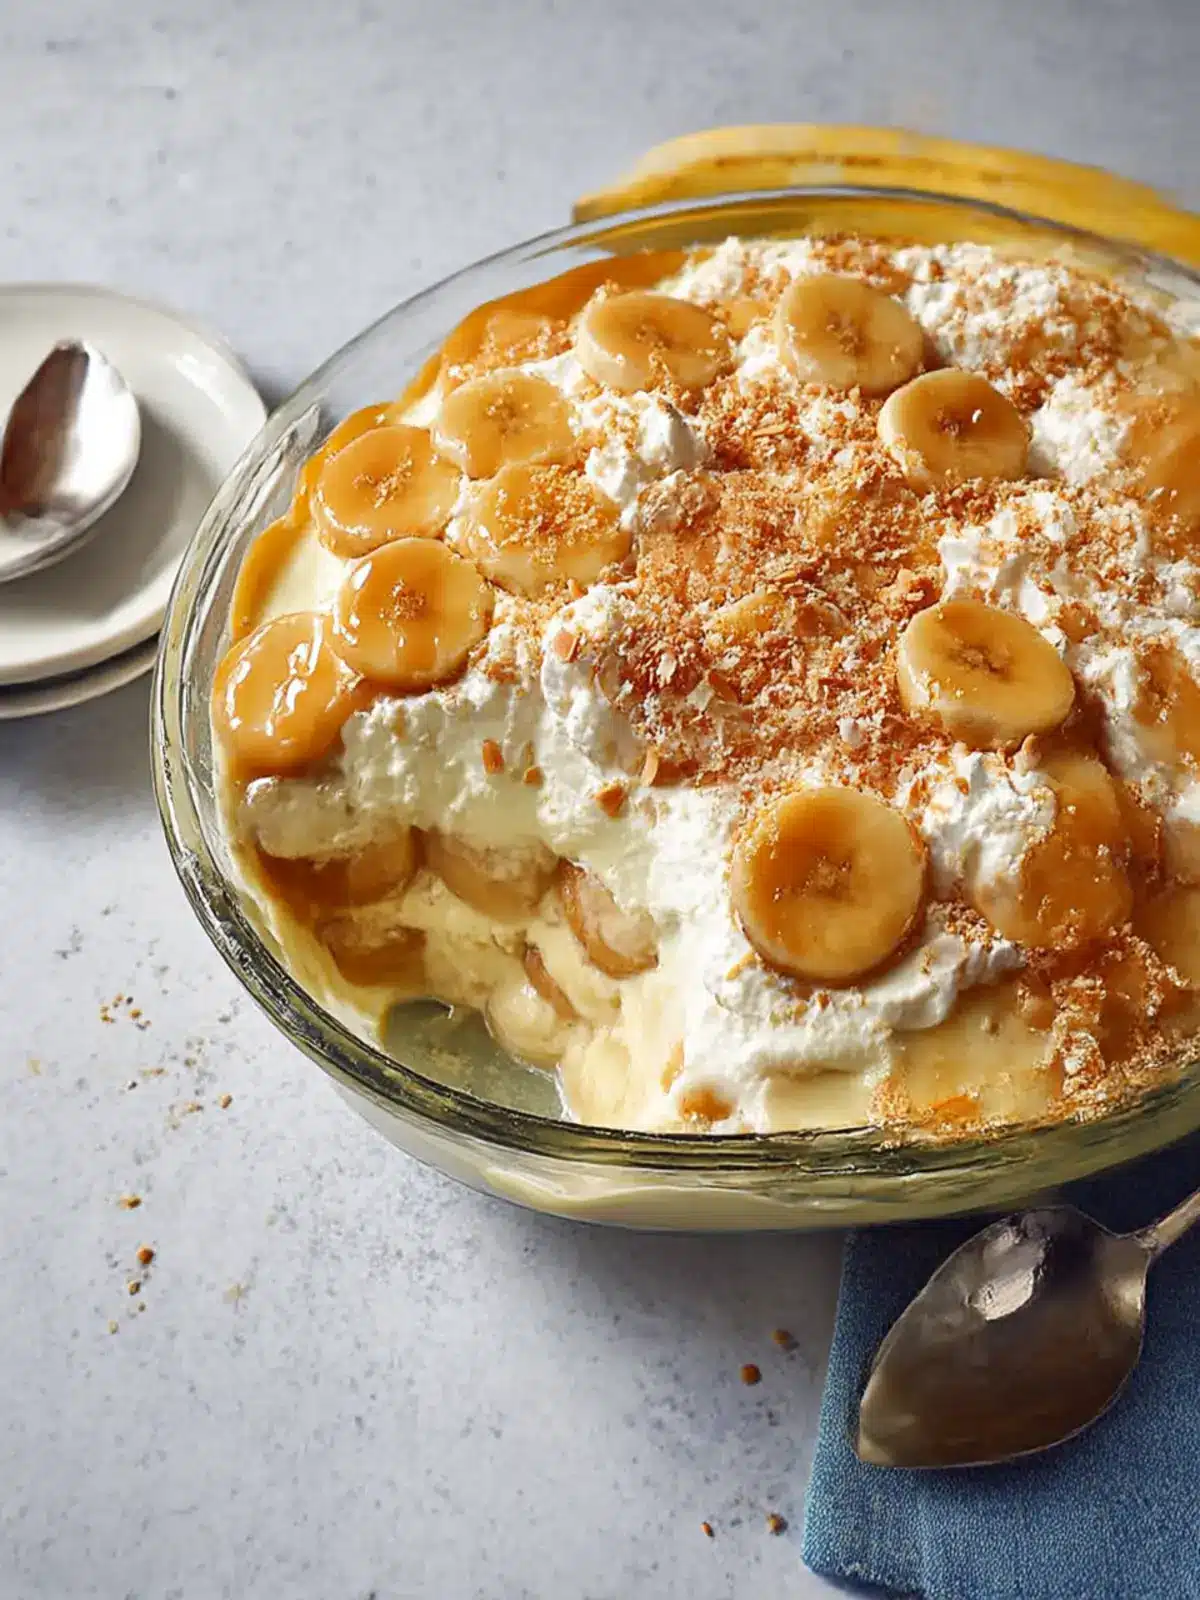
Caramel Drizzle: Add a luscious caramel layer between the pudding and bananas for a decadent caramel twist that takes this treat to a whole new level of indulgence.
-
Banana Boost: Mix in a spoonful of banana puree into the pudding base for an extra banana flavor. This will enhance the natural sweetness!
-
Chocolate Lovers: Add cocoa powder to the pudding mixture or layer in chocolate wafer cookies to create a rich chocolate version that will satisfy any sweet tooth.
-
Spiced Up: Add a dash of cinnamon or nutmeg to the pudding for a warm, comforting spice that enhances the flavor profile without overpowering it. It’s like a cozy hug!
-
Fruit Fiesta: Layer in fresh strawberries or blueberries along with the bananas for a fruity explosion in every bite, adding not just flavor but a beautiful pop of color.
-
Zesty Twist: A hint of lemon or orange zest in the pudding adds a refreshing twist that brightens the flavor, offering an unexpected but delightful surprise in each spoonful.
Elevate your Magnolia Bakery Banana Pudding from Scratch experience with these fun variations!
How to Store and Freeze Magnolia Bakery Banana Pudding
Fridge: Keep your Magnolia Bakery Banana Pudding refrigerated for up to 3 days in an airtight container. This ensures freshness while maintaining its delicious creamy texture.
Freezer: For longer storage, you can freeze the pudding for up to 2 months. Be sure to store it in a freezer-safe container, leaving some space for expansion.
Reheating: It’s not recommended to reheat this dessert. Enjoy it chilled right from the fridge to savor its delightful layers!
Texture Tip: If you choose to freeze, the texture might slightly change upon thawing. To salvage it, stir gently before serving for a smoother consistency.
Expert Tips for Magnolia Bakery Banana Pudding
Perfect Pudding Texture: Always whisk vigorously while combining the hot milk with the egg mixture to prevent curdling. This ensures a smooth pudding base.
Chill Properly: Cover the pudding with plastic wrap touching its surface. This essential step prevents a skin from forming as it chills in the fridge for 3 hours.
Whipped Cream Magic: For a voluminous whipped cream, ensure your heavy cream is cold. This helps achieve the perfect fluffy texture that’s irresistible in your Magnolia Bakery Banana Pudding.
Layering Love: When layering, don’t overfill each layer with pudding. A thin layer allows for a beautiful, even structure and showcases the cookies and bananas beautifully.
Banana Freshness: Use ripe bananas, as they offer maximum sweetness and flavor. Don’t slice them too far in advance to prevent browning.
Serving Tip: For an eye-catching presentation, decorate the top with extra Nilla wafers and banana slices just before serving.
What to Serve with Magnolia Bakery Banana Pudding?
There’s nothing quite like enjoying a sweet, creamy dessert at the end of a meal, and pairing it with the right flavors makes the experience even more special.
-
Fresh Fruit Salad: A refreshing blend of seasonal fruits lightens up the meal, bringing a burst of natural sweetness that complements the pudding beautifully.
-
Homemade Biscotti: Crunchy and nutty, biscotti can be dipped into the pudding for an extra satisfying crunch that contrasts the creaminess perfectly.
-
Chocolate Chip Cookies: The classic, chewy goodness of warm cookies adds a beloved nostalgic touch, making each bite of pudding even more delightful.
-
Coffee or Espresso: A rich cup of coffee offers a great balance to the sweetness of the pudding, adding a touch of bitterness that enhances the overall dessert experience.
-
Vanilla Ice Cream: Scoop some velvety vanilla ice cream on the side. Together with the banana pudding, it creates a decadent, indulgent treat that feels like a celebration.
-
Mint Sprigs: For a touch of freshness, garnish with mint. Its cool flavor beautifully brightens the entire dish, adding an aromatic dimension to each spoonful.
Pairing these delightful options with Magnolia Bakery Banana Pudding will ensure a memorable meal filled with warmth and joy!
Make Ahead Options
Preparing Magnolia Bakery Banana Pudding from Scratch ahead of time is an ideal solution for busy home cooks! You can make the pudding base and chill it up to 24 hours in advance, allowing it to develop rich flavors. Simply follow Steps 1-7, then cover it with plastic wrap in the bowl to prevent any skin from forming. The whipped cream can also be made up to 3 days ahead—just store it in an airtight container in the fridge. When you’re ready to assemble, layer the pudding, Nilla wafers, and bananas as directed. This way, you’ll enjoy a delectable dessert with minimal effort right before serving, and it will taste just as delicious as when freshly made!
Magnolia Bakery Banana Pudding Recipe FAQs
How do I choose ripe bananas for this recipe?
Absolutely! When selecting bananas for your Magnolia Bakery Banana Pudding, look for bananas that are just ripe—those with a slight yellow skin and a few small brown spots. These bananas are perfectly sweet and will add the best flavor to your pudding. Avoid overly ripe bananas with dark spots all over, as they may be too mushy and affect the texture.
How should I store leftover banana pudding?
Very good question! To keep your Magnolia Bakery Banana Pudding fresh, store any leftovers in an airtight container in the fridge. It should be good for up to 3 days. Just remember to cover the surface of the pudding with plastic wrap directly touching it to prevent a skin from forming.
Can I freeze Magnolia Bakery Banana Pudding?
Absolutely! If you want to enjoy this dessert later, you can freeze it for up to 2 months. Just ensure you place it in a freezer-safe container, leaving a little space for expansion. When you’re ready to enjoy it, thaw it in the fridge overnight and gently stir before serving to help restore its smooth consistency.
What should I do if my pudding doesn’t thicken?
Don’t worry! If you find your pudding isn’t thickening properly after cooking it on the stove, it could be due to not cooking it long enough or not whisking it effectively. Make sure to continue whisking until it coats the back of a spoon, typically about 6-7 minutes over medium-high heat. If it’s still not thickening, a little extra cornstarch mixed with a small amount of cold milk can sometimes help—it’s worth a try!
Does this pudding contain any allergens I should be aware of?
Great point! This Magnolia Bakery Banana Pudding recipe contains common allergens such as eggs, dairy (milk and heavy cream), and gluten from the Nilla wafers. If you’re making this for someone with allergies, you might want to explore gluten-free wafer alternatives or a dairy-free whipped cream. Always check labels for specific brands to ensure they meet dietary needs!
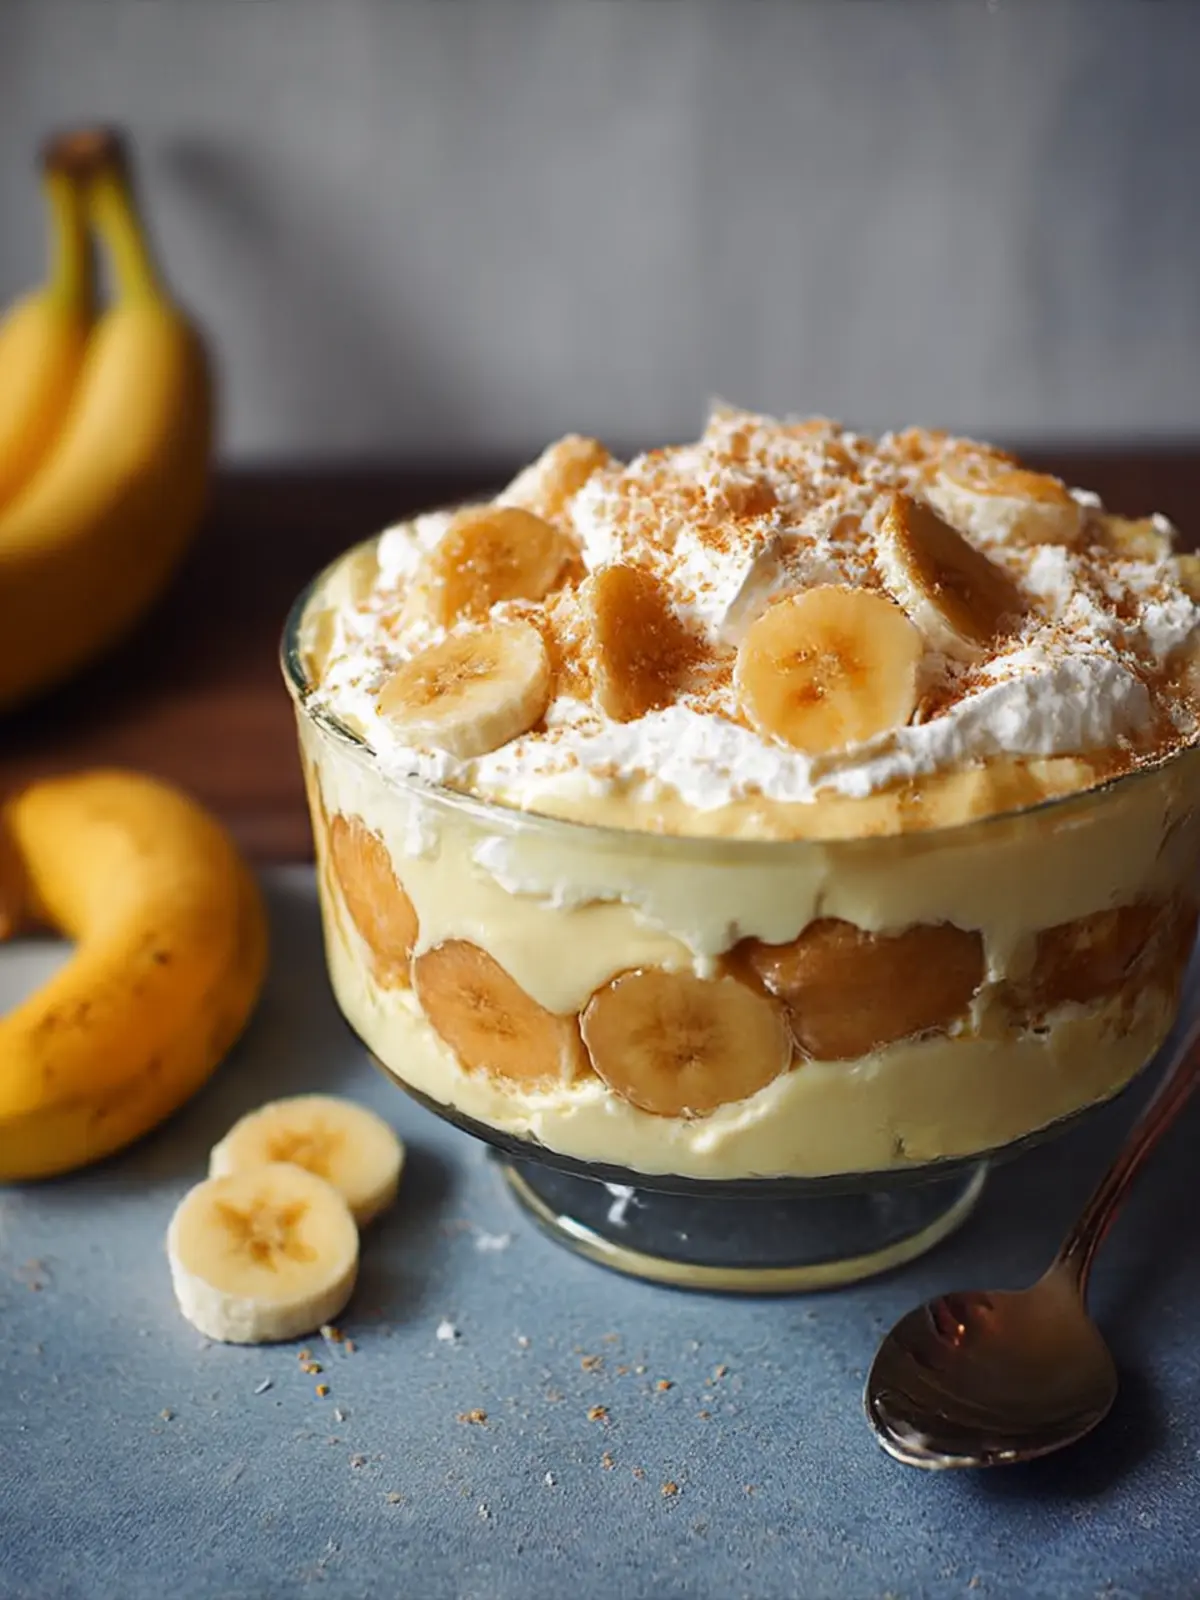
Magnolia Bakery Banana Pudding from Scratch
Ingredients
Equipment
Method
- Combine cornstarch, 2 tablespoons of sugar, and a pinch of salt in a small bowl.
- Whisk the eggs in a medium bowl for about 3-4 minutes until they're smooth and fluffy.
- Mix in the cornstarch blend slowly, whisking continuously until combined.
- Heat the milk and remaining 6 tablespoons of sugar in a medium saucepan over medium-high heat for about 5 minutes.
- Pour the hot milk into the egg mixture slowly, whisking vigorously to prevent curdling.
- Return the mixture to the saucepan and add vanilla extract; cook over medium-high heat for 6-7 minutes until thickened.
- Remove from heat, transfer pudding mixture to a large bowl, cover with plastic wrap, and chill in the fridge for 3 hours.
- Whip the heavy cream together with the sweetened condensed milk on high speed for about 5 minutes until soft peaks form.
- Fold the whipped cream gently into the chilled pudding mixture until just combined.
- Crush ¾ cup of Nilla wafers in a Ziploc bag and set the crumbs aside.
- Spread a thin layer of pudding in the bottom of your serving dish.
- Layer whole Nilla wafers atop the pudding, followed by half of the crushed wafer crumbs.
- Repeat with another thin layer of pudding.
- Add a layer of thinly sliced bananas.
- Top with another thin layer of pudding.
- Add another layer of whole wafers followed by the remaining crushed wafers.
- Repeat with another thin layer of pudding and a final layer of thinly sliced bananas.
- Pour any remaining pudding on top.
- Decorate the surface with whole wafers, cover the dish, and refrigerate for at least 4 hours.
- Serve by scooping generous amounts into dishes and topping with extra wafer pieces and banana slices.