
There’s something undeniably satisfying about the sound of chicken sizzling in a hot pan, a melody that brings me straight to the heart of my kitchen. The simple combination of salt and pepper transforms this humble protein into an unforgettable dish. I first discovered this delightful recipe while experimenting with pantry staples, and it quickly became a weeknight favorite. With just a handful of ingredients, you can create a crispy, seasoned crust that balances perfectly with juicy, tender meat.
Perfect for those evenings when fast food just won’t cut it, this Salt and Pepper Chicken is not only easy to whip up but also a crowd-pleaser that even the pickiest eaters will love. Whether you’re a seasoned chef or just diving into the world of homemade meals, this recipe will reignite your passion for wholesome, comforting cooking. So, let’s dive in and bring the joy back to your dinner table with this delectable dish!
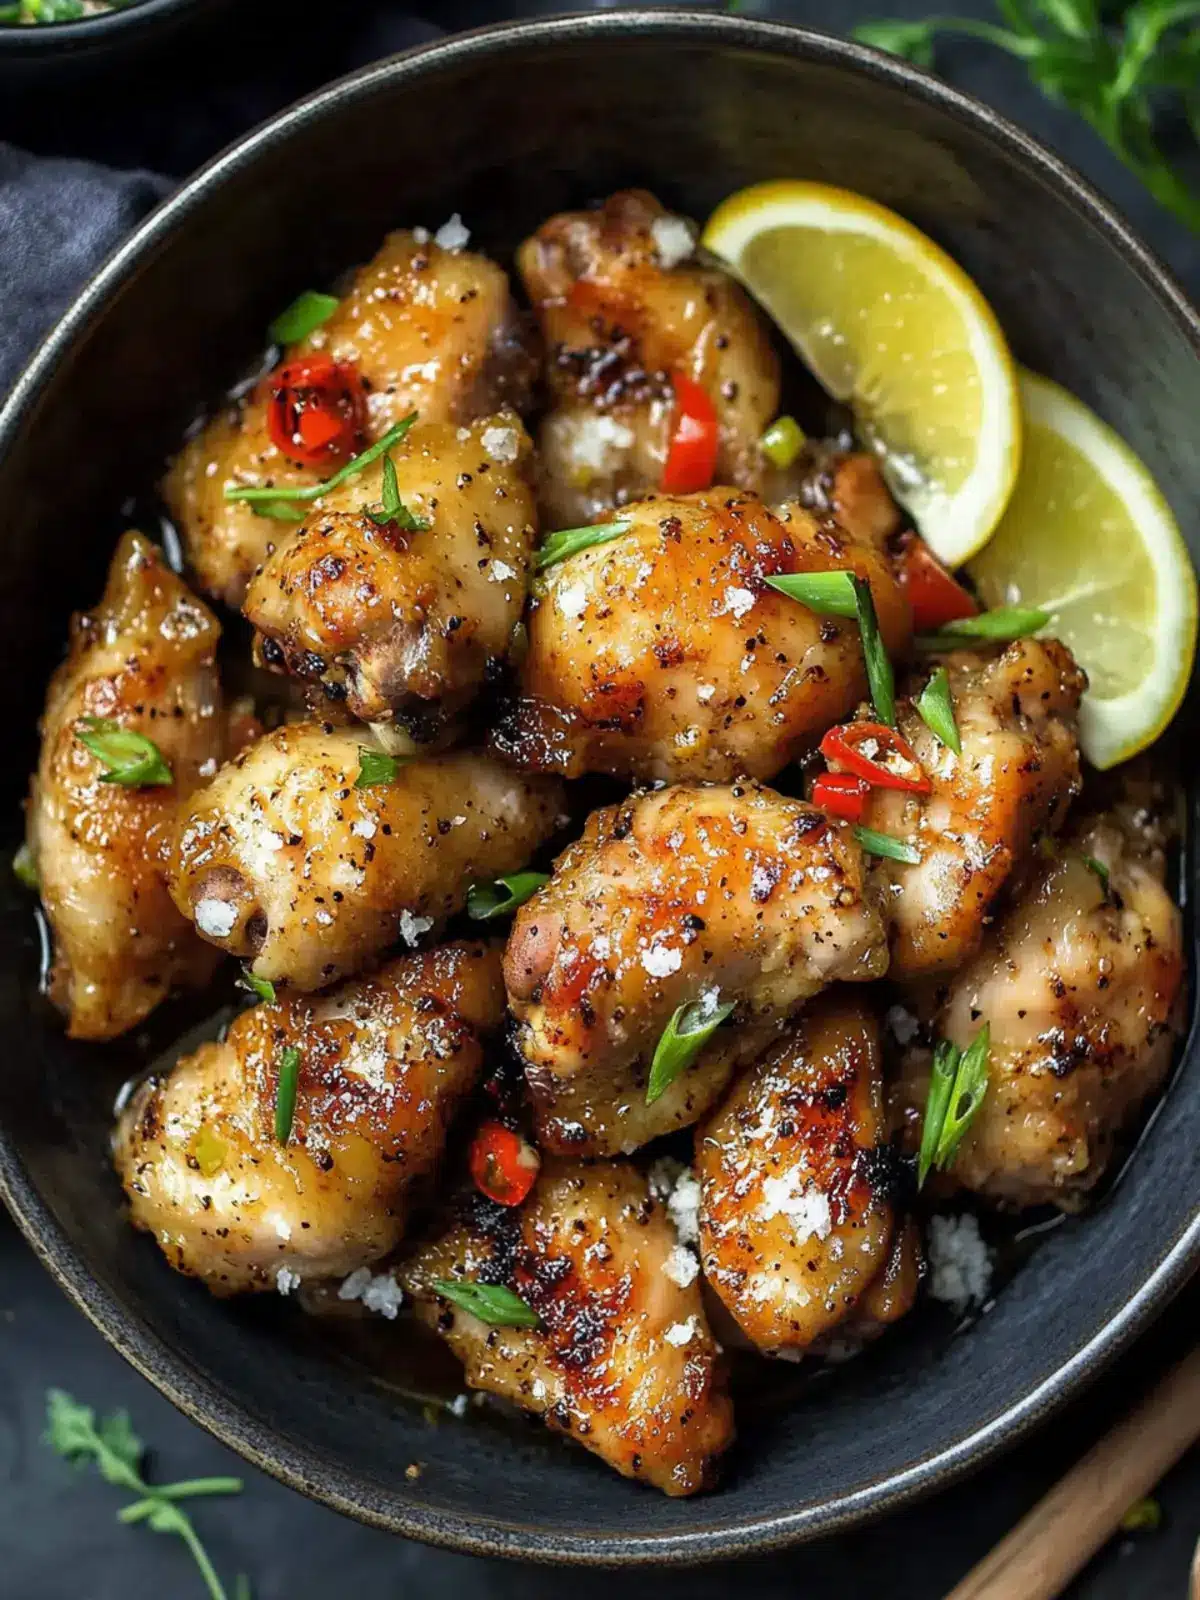
Why is Salt and Pepper Chicken a must-try?
Simplicity at its finest: With minimal ingredients and straightforward steps, this recipe caters to both novice cooks and kitchen pros alike.
Crispy, flavorful crust: The salt and pepper seasoning creates a delectable, savory coating that elevates the chicken perfectly.
Quick preparation: Ready in under 30 minutes, it’s an ideal choice for busy weeknights when time is of the essence.
Crowd-pleasing appeal: Even picky eaters will be asking for seconds with this delightful dish!
Versatile dish: Pair it with a salad or some steamed veggies to create a wholesome meal experience. For a delicious side, check out my easy homemade fries.
Salt and Pepper Chicken Ingredients
For the Chicken
• Boneless, skinless chicken breasts – ideal for quick cooking and absorbing flavors beautifully.
• Salt – brings out the natural taste of the chicken while infusing it with savory goodness.
• Black pepper – adds a hint of heat and depth, perfect for a balanced seasoning experience.
• Garlic powder – elevates the flavor profile with a subtle garlic aroma without overwhelming the dish.
For the Coating
• All-purpose flour – creates a light, crispy exterior that locks in moisture for juicy chicken.
• Cornstarch – enhances the crispiness of the coating, giving your Salt and Pepper Chicken that irresistible crunch.
For Cooking
• Cooking oil – choose a high smoke point oil like canola or vegetable oil for optimal frying results.
• Lemon juice (optional) – a splash can brighten the flavors and add a zesty finish to your dish.
Dive into your kitchen and let this Salt and Pepper Chicken transform your mealtime with its satisfying flavors!
How to Make Salt and Pepper Chicken
-
Prep Chicken: Begin by trimming any excess fat from the boneless, skinless chicken breasts. Cut them into evenly sized pieces, then season them with salt, black pepper, and garlic powder in a bowl to infuse them with flavor.
-
Mix Coating: In a separate bowl, whisk together all-purpose flour and cornstarch. This combination will create the perfect light and crispy coating for your chicken.
-
Coat Chicken: Dredge each chicken piece in the flour-cornstarch mixture, ensuring they’re fully coated. Shake off any excess flour to achieve an even texture when frying.
-
Heat Oil: In a large pan, heat a generous amount of cooking oil over medium-high heat. Once the oil is shimmering, it’s ready for frying. A good test is to drop in a small piece of chicken; it should sizzle when the oil is hot enough.
-
Fry Chicken: Carefully place the coated chicken pieces in the hot oil, ensuring they don’t overcrowd the pan. Fry them for about 5-7 minutes on each side until they are golden brown and crispy.
-
Drain and Serve: Once cooked, transfer the chicken to a plate lined with paper towels to soak up excess oil. Optional: Squeeze some fresh lemon juice over the top for a zesty finish.
Optional: Serve with sliced green onions for a fresh crunch!
Exact quantities are listed in the recipe card below.
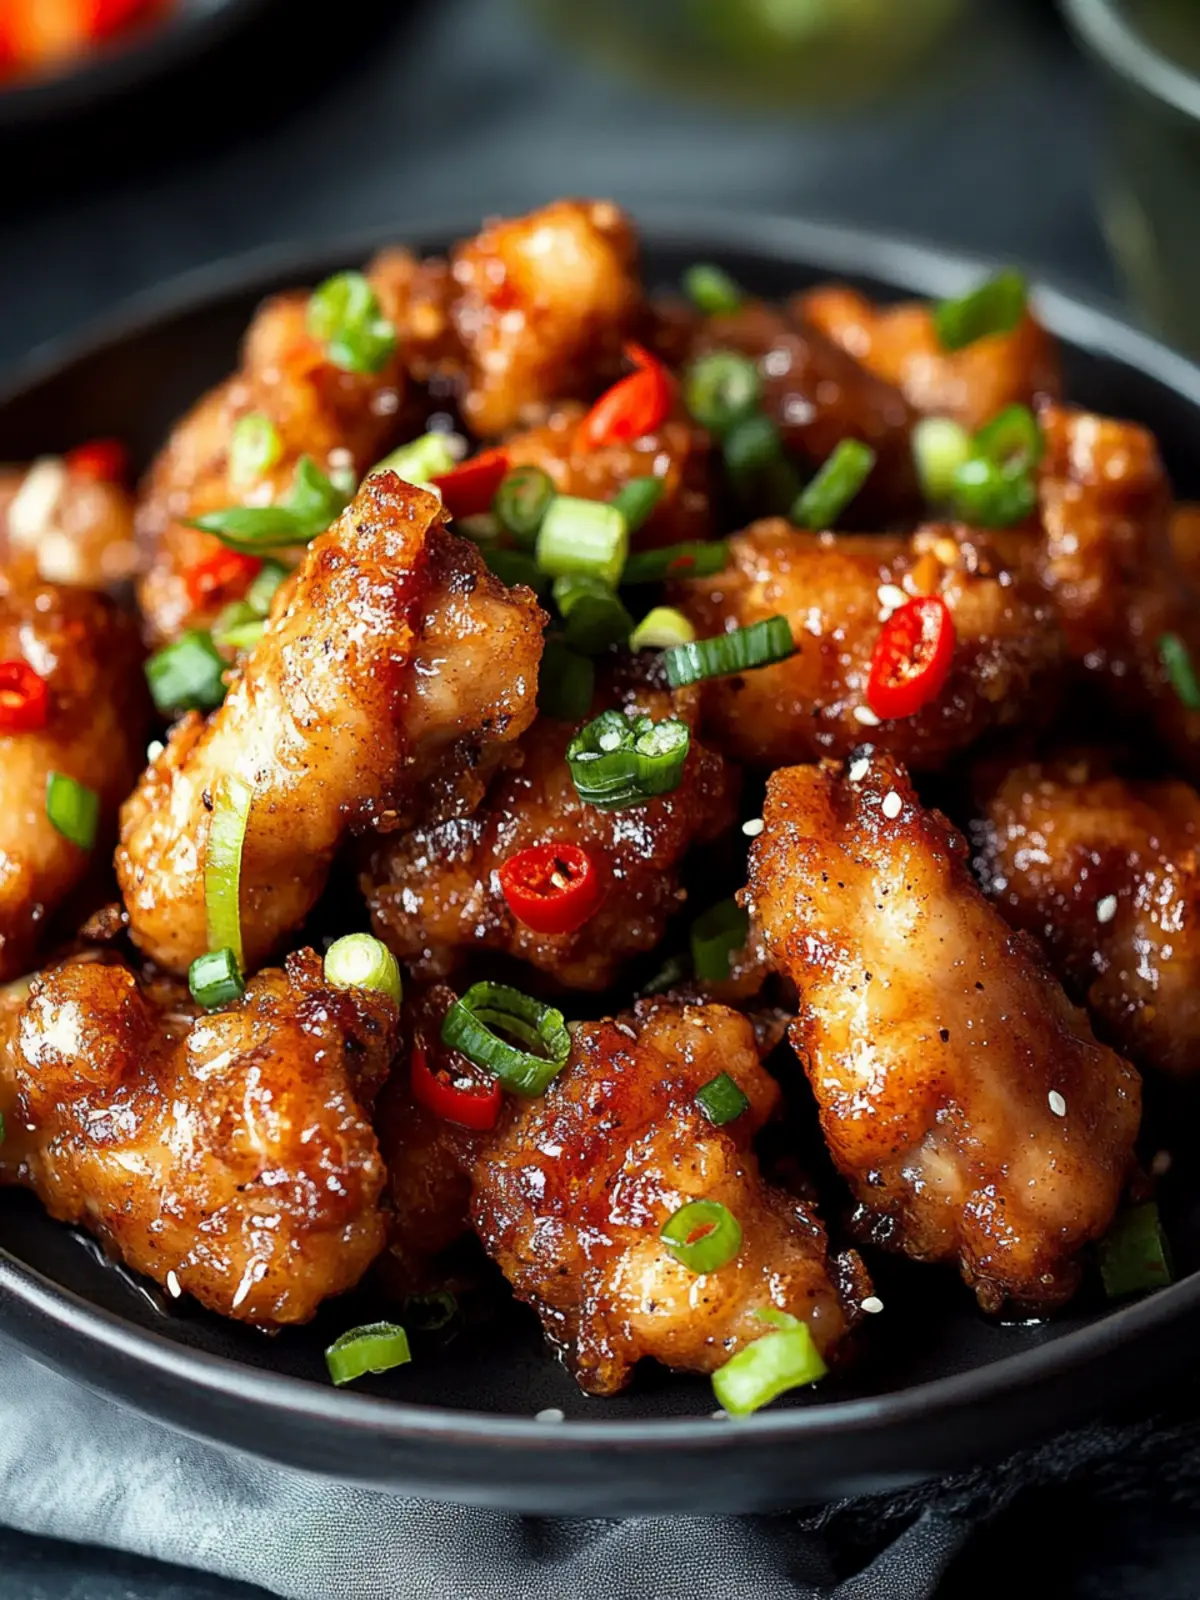
Make Ahead Options
These Crispy Salt and Pepper Chicken pieces are perfect for meal prep! You can coat the chicken with the salt, pepper, and garlic powder mixture and refrigerate it up to 24 hours before cooking. This advance prep keeps the chicken flavorful and saves you time on busy weeknights. Additionally, prepare the flour and cornstarch coating in a separate container for a quick finish when you’re ready to fry. Just before cooking, heat the oil and dredge the chicken in the coating for extra crispiness. When finished, they’ll taste just as delicious as if you made them fresh that night, delighting your family with minimal effort!
Expert Tips for Salt and Pepper Chicken
-
Crispy Perfection: Fry in batches to avoid overcrowding, which prevents the chicken from getting crispy and leads to steaming instead.
-
Check Oil Temperature: Use a thermometer to ensure your oil reaches around 350°F (175°C) before frying; this guarantees that your Salt and Pepper Chicken cooks evenly.
-
Let It Rest: After frying, allow the chicken to rest on paper towels for a moment. This helps to absorb excess oil, keeping it crispy.
-
Season After Cooking: For an extra pop of flavor, sprinkle a little more salt and pepper on your chicken immediately after frying while it’s still hot.
-
Use Fresh Ingredients: Fresh garlic and chillies amplify flavors in the dish; it’s worth using the freshest options for the best results.
How to Store and Freeze Salt and Pepper Chicken
Fridge: Store cooked Salt and Pepper Chicken in an airtight container for up to 3 days to maintain freshness.
Freezer: For longer storage, freeze the chicken in a single layer; once frozen, transfer to a freezer bag for up to 3 months.
Reheating: To restore crispiness, reheat in an air fryer for 5-7 minutes at 375°F (190°C) or until heated through. Avoid microwave reheating, as it can make the chicken soggy.
Prep Ahead: If you’re short on time, you can coat the chicken in flour and cornstarch, then store it in the fridge for up to 24 hours before frying.
What to Serve with Crispy Salt and Pepper Chicken?
There’s no better way to complete your dinner than with delightful sides that perfectly complement the bold flavors of your chicken.
-
Steamed Jasmine Rice: A fragrant base that soaks up the savory juices, jasmine rice adds a comforting touch to the meal.
-
Garlic Butter Noodles: Silky noodles tossed in garlic butter create a deliciously rich side, enhancing the dish’s delicious seasoning.
-
Crunchy Cucumber Salad: The cool, refreshing crunch of cucumber salad balances the dish’s heat, making each bite feel rejuvenating.
-
Stir-Fried Bok Choy: This tender green adds a vibrant color and nutritious element, a delightful contrast to the crispy chicken.
-
Sweet and Sour Sauce: A small drizzle brings a tangy sweetness that complements the saltiness of the chicken, creating a delicious flavor explosion.
-
Chilled Lemonade: A refreshing drink, its citrus brightness cuts through the richness of the chicken, leaving you feeling refreshed.
-
Mango Sticky Rice: For dessert, this sweet treat with a creamy coconut sauce offers a soothing finish, wrapping up your meal beautifully.
-
Hot and Sour Soup: Starting your meal with this warming soup ignites your taste buds, paving the way for the crispy goodness to come!
Salt and Pepper Chicken Variations
Feel free to mix things up and make this recipe your own with these fun twists!
-
Spicy Garlic: Add minced garlic and extra chili flakes to the coating for a flavor-packed punch. Each bite will be a little explosion of zest!
-
Coconut Flavored: Swap out the oil for coconut oil to add a subtle sweetness and tropical aroma that’s simply irresistible.
-
Add Veggies: Toss in some thinly sliced bell peppers or snow peas while frying the chicken to create a colorful, nutritious mix. They’ll soak up that delicious seasoning!
-
Asian Flair: For an authentic touch, incorporate a splash of soy sauce or tamari into your marinade before coating the chicken. This adds depth and umami.
-
Crunchy Coating: Mix in some crushed cornflakes with the flour and cornstarch for extra texture and crunch. You’ll adore the layered crispiness!
-
Zesty Citrus: Squeeze fresh lime juice over the finished dish for a refreshing citrus kick that contrasts perfectly with the savory chicken.
-
Baked Option: For a healthier twist, bake the coated chicken in the oven at 400°F (200°C) for 20-25 minutes until golden and crispy. A guilt-free delight awaits you!
-
Sweet & Spicy: Create a glaze using honey and chili sauce to brush over the chicken at the end of cooking. It adds the perfect balance of sweet heat!
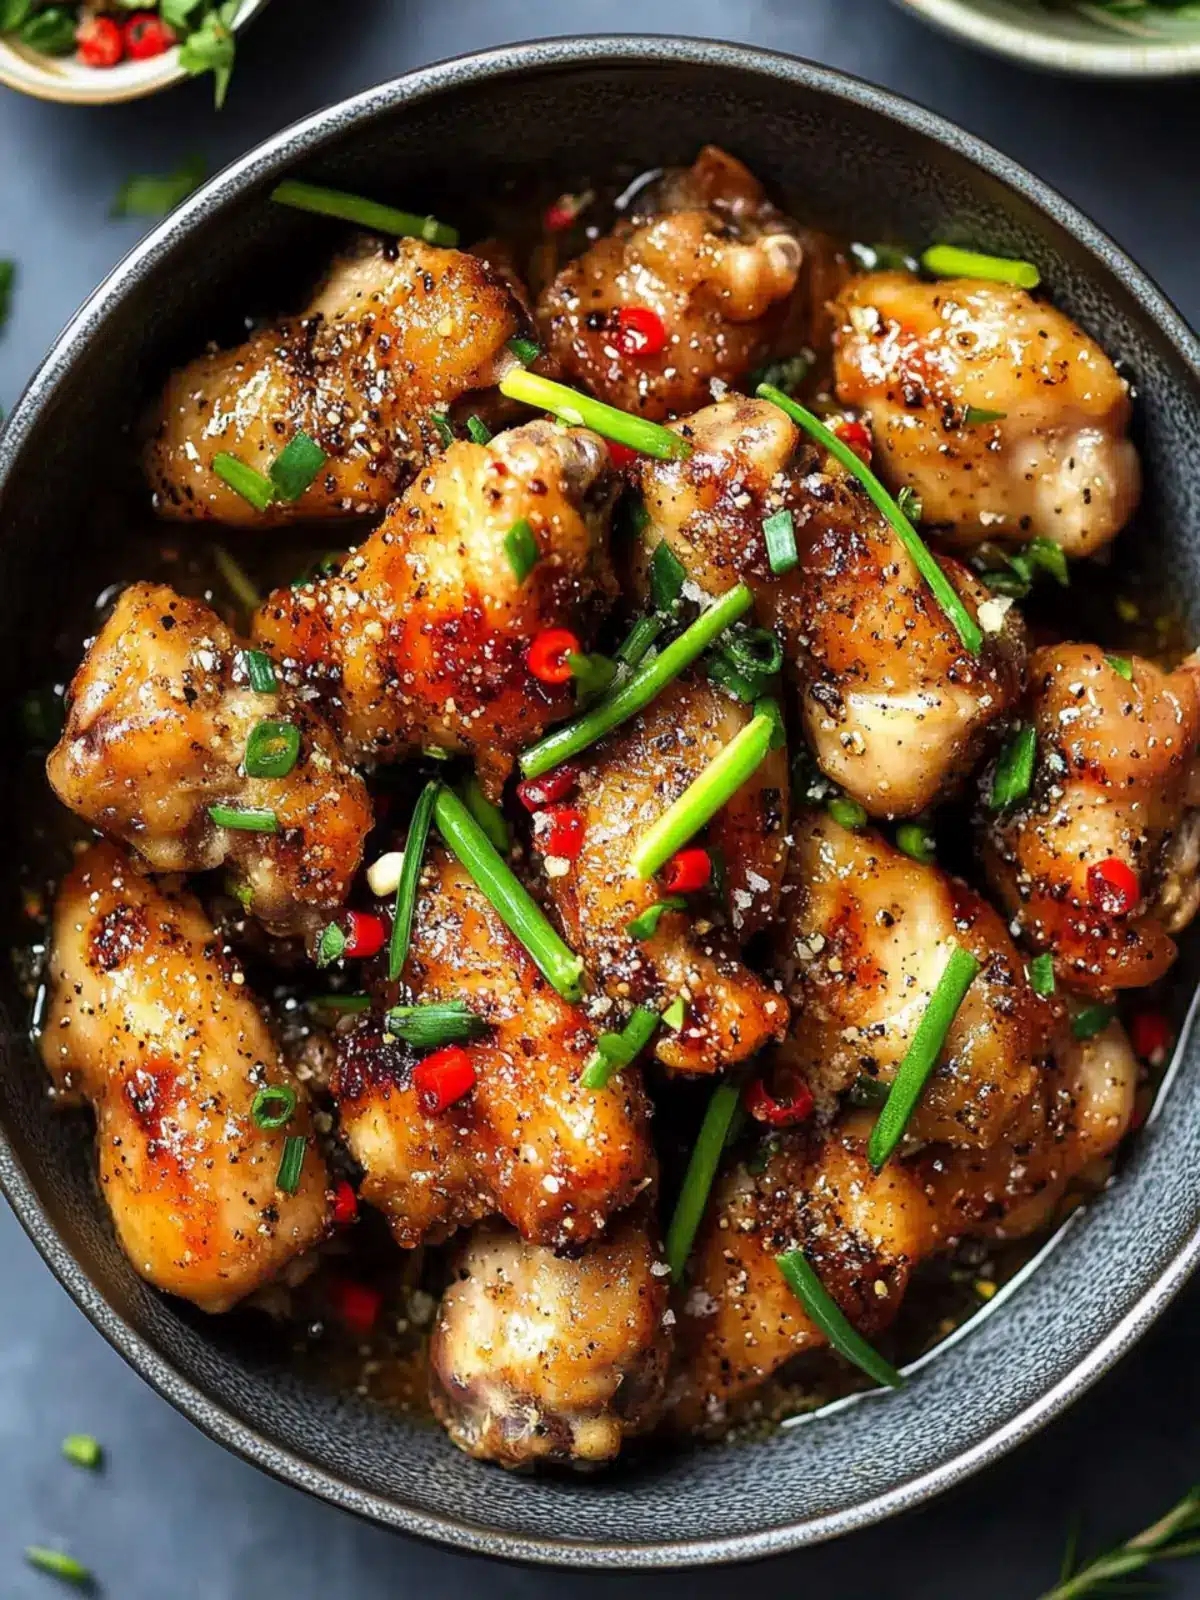
Salt and Pepper Chicken Recipe FAQs
What is the best way to choose ripe chicken thighs for this recipe?
Absolutely! When selecting chicken thighs, look for ones that are a vibrant pink color, and avoid any that have dark spots or unpleasant odors. Fresh chicken should feel firm to the touch and have a moist, not slimy texture.
How should I store leftover Salt and Pepper Chicken?
For optimal freshness, store your cooked chicken in an airtight container in the refrigerator for up to 3 days. When ready to enjoy again, reheat it in an air fryer at 375°F (190°C) for about 5-7 minutes to keep it crispy and delicious.
Can I freeze Salt and Pepper Chicken, and if so, how?
Yes, you can freeze this delightful dish! To do so, arrange your cooked chicken in a single layer on a baking sheet and place it in the freezer until solid. Once frozen, transfer the chicken to a freezer-safe bag and seal it tightly. It can be stored for up to 3 months. When you’re ready to indulge, reheat it in an air fryer or oven until crispy!
What should I do if my chicken isn’t getting crispy while frying?
Oh, that can be a bit of a dilemma! First, ensure you’re not overcrowding the pan, as this can lead to steaming rather than frying. Make sure the oil is hot enough, around 350°F (175°C). If you find that your chicken still isn’t crispy, try using a mix of all-purpose flour and cornstarch for the coating, as the cornstarch will provide extra crunchiness.
Is Salt and Pepper Chicken safe for pets or people with allergies?
For pets, it’s best to avoid giving them any seasoned food, including this dish, as salt and certain spices may not be good for them. If you have allergies, make sure to check all ingredient labels, particularly for the chicken and any oils used. This recipe can easily be adjusted to eliminate allergens—simply omit spices that may cause issues or substitute as necessary!
Can I make this recipe gluten-free?
Very much so! To keep this dish gluten-free, substitute the all-purpose flour with a certified gluten-free flour blend and ensure your cornstarch is also gluten-free. This way, you can enjoy all the crispy goodness without any gluten concerns.
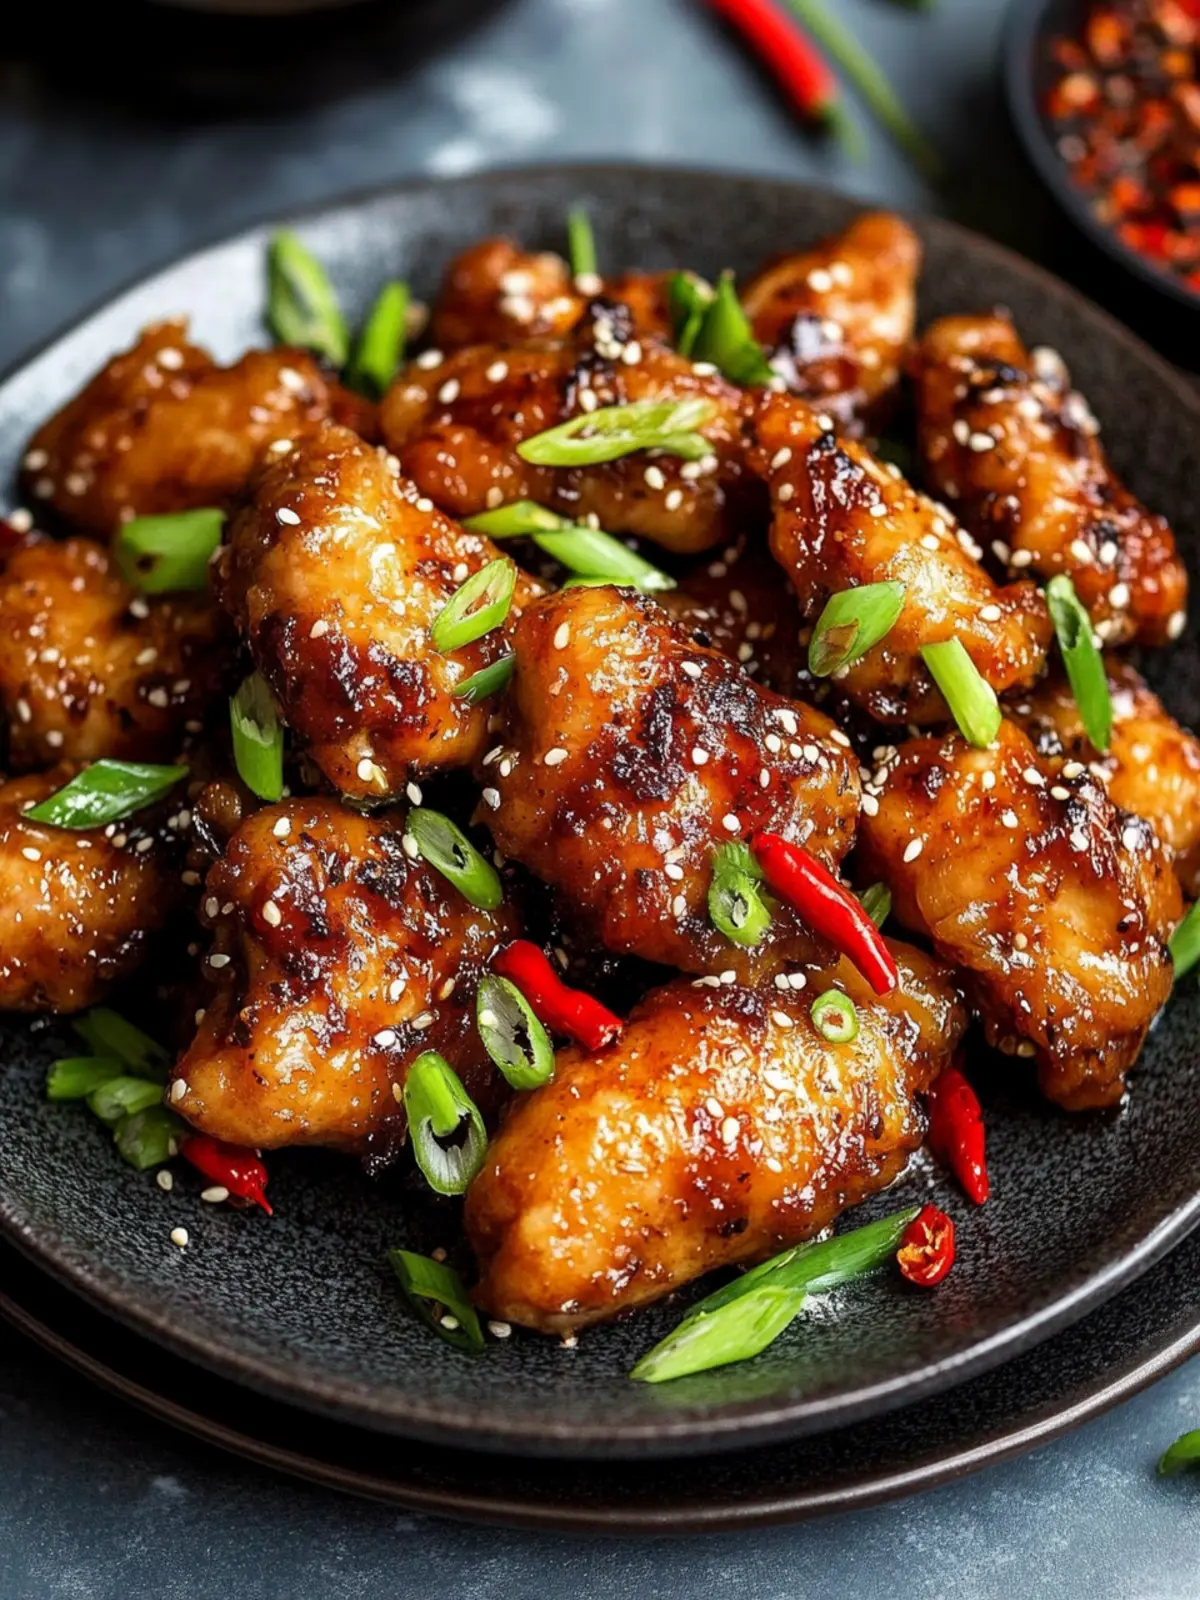
Savory Salt and Pepper Chicken for Easy Weeknight Dinners
Ingredients
Equipment
Method
- Begin by trimming any excess fat from the boneless, skinless chicken breasts. Cut them into evenly sized pieces, then season them with salt, black pepper, and garlic powder in a bowl to infuse them with flavor.
- In a separate bowl, whisk together all-purpose flour and cornstarch. This combination will create the perfect light and crispy coating for your chicken.
- Dredge each chicken piece in the flour-cornstarch mixture, ensuring they’re fully coated. Shake off any excess flour to achieve an even texture when frying.
- In a large pan, heat a generous amount of cooking oil over medium-high heat. Once the oil is shimmering, it's ready for frying.
- Carefully place the coated chicken pieces in the hot oil, ensuring they don’t overcrowd the pan. Fry them for about 5-7 minutes on each side until they are golden brown and crispy.
- Once cooked, transfer the chicken to a plate lined with paper towels to soak up excess oil. Optional: Squeeze some fresh lemon juice over the top for a zesty finish.