
The moment I first tasted Korean Cheese Hotteok, I was instantly transported to the vibrant streets of Seoul, where the enticing aroma of sizzling pancakes fills the air. These delightful creations feature a gooey, melted cheese filling wrapped in a sweet, chewy exterior, making them a perfect comfort food for any season. It was during a chilly evening, while craving something warm and cozy, that I stumbled upon this simple yet irresistible recipe, and I knew it would soon become a staple in my kitchen.
Not only are these hotteok incredibly easy to whip up, but they also use ingredients you probably already have hanging out in your pantry. Whether you’re sharing them with family during a cozy movie night or impressing friends at a gathering, this Korean Cheese Hotteok recipe is sure to bring smiles and satisfied bellies. Get ready to fill your home with the mouthwatering smell of these golden-brown treats, as I take you step-by-step through this memorable culinary adventure!

Why is this Korean Cheese Hotteok Recipe so special?
Irresistible Flavor: The combination of gooey melted cheese and sweet dough creates a delightful fusion that will have your taste buds dancing.
Quick & Easy: With simple ingredients and straightforward steps, this dish is perfect even for novice cooks.
Versatile Treat: Serve them as a snack, appetizer, or dessert; they fit any occasion!
Crowd-Pleasing: Impress family and friends with these cozy treats that everyone will love.
Make Ahead: The dough can be made in advance, allowing you to enjoy hotteok on your schedule.
Dive into this delectable world of homemade goodness, and don’t forget to check out more delightful recipes to excite your palate!
Korean Cheese Hotteok Ingredients
• Get ready to create these flavorful beauties!
For the Dough
- All-Purpose Flour – Provides a perfect structure and delightful chewiness; consider using bread flour for an even chewier bite.
- Instant Yeast – Helps the dough rise beautifully; alternatively, use baking powder for a quicker, cake-like texture.
- Sugar – Adds sweetness to balance flavors; for added depth, swap with brown sugar.
- Salt – Essential for enhancing overall flavor; don’t skip this ingredient!
- Warm Milk – Hydrates the dough and helps it rise; room temperature milk works best for an even rise.
- Melted Butter – Offers richness and flavor; vegetable oil is a lighter substitute if desired.
For the Filling
- Shredded Mozzarella Cheese – Delivers that stretchy, gooey goodness; feel free to substitute with provolone or Monterey Jack for a twist.
- Cornstarch – Crucial for preventing the cheese from leaking out while cooking; ensure you include this for perfect results.
- Pinch of Salt (for cheese filling) – Balances sweetness and enhances cheese flavor, making your filling oh-so-delicious!
For Cooking
- Vegetable Oil (for greasing) – Prevents sticking and ensures your hotteok cook beautifully without tearing.
This Korean Cheese Hotteok recipe is a celebration of sweet and savory, making your cooking experience not just satisfying but joyous! Get your ingredients ready and let’s move on to the fun part!
How to Make Korean Cheese Hotteok
-
Prepare the Dough: In a large mixing bowl, whisk together the flour, instant yeast, sugar, and salt. Create a well in the center, then pour in the warm milk and melted butter. Mix until the mixture becomes shaggy and starts to come together.
-
Knead the Dough: Lightly flour your surface and transfer the shaggy dough. Knead it for about 5-7 minutes until it feels smooth and elastic. The dough should be slightly tacky but not sticky to the touch.
-
Let Dough Rise: Place the kneaded dough into a greased bowl and cover it with a damp cloth. Allow it to rise in a warm area for 1 to 1.5 hours, or until it has doubled in size.
-
Mix Cheese Filling: In a separate bowl, combine the shredded mozzarella cheese, sugar, cornstarch, and a pinch of salt. This creates a creamy, sweet filling that will melt beautifully inside the hotteok.
-
Shape the Hotteok: Once the dough has risen, punch it down to release the air. Divide the dough into 8 equal pieces, rolling each into a ball. Flatten each ball into a circle, add about 2 tablespoons of the cheese filling in the center, and carefully seal the edges, forming them back into a ball.
-
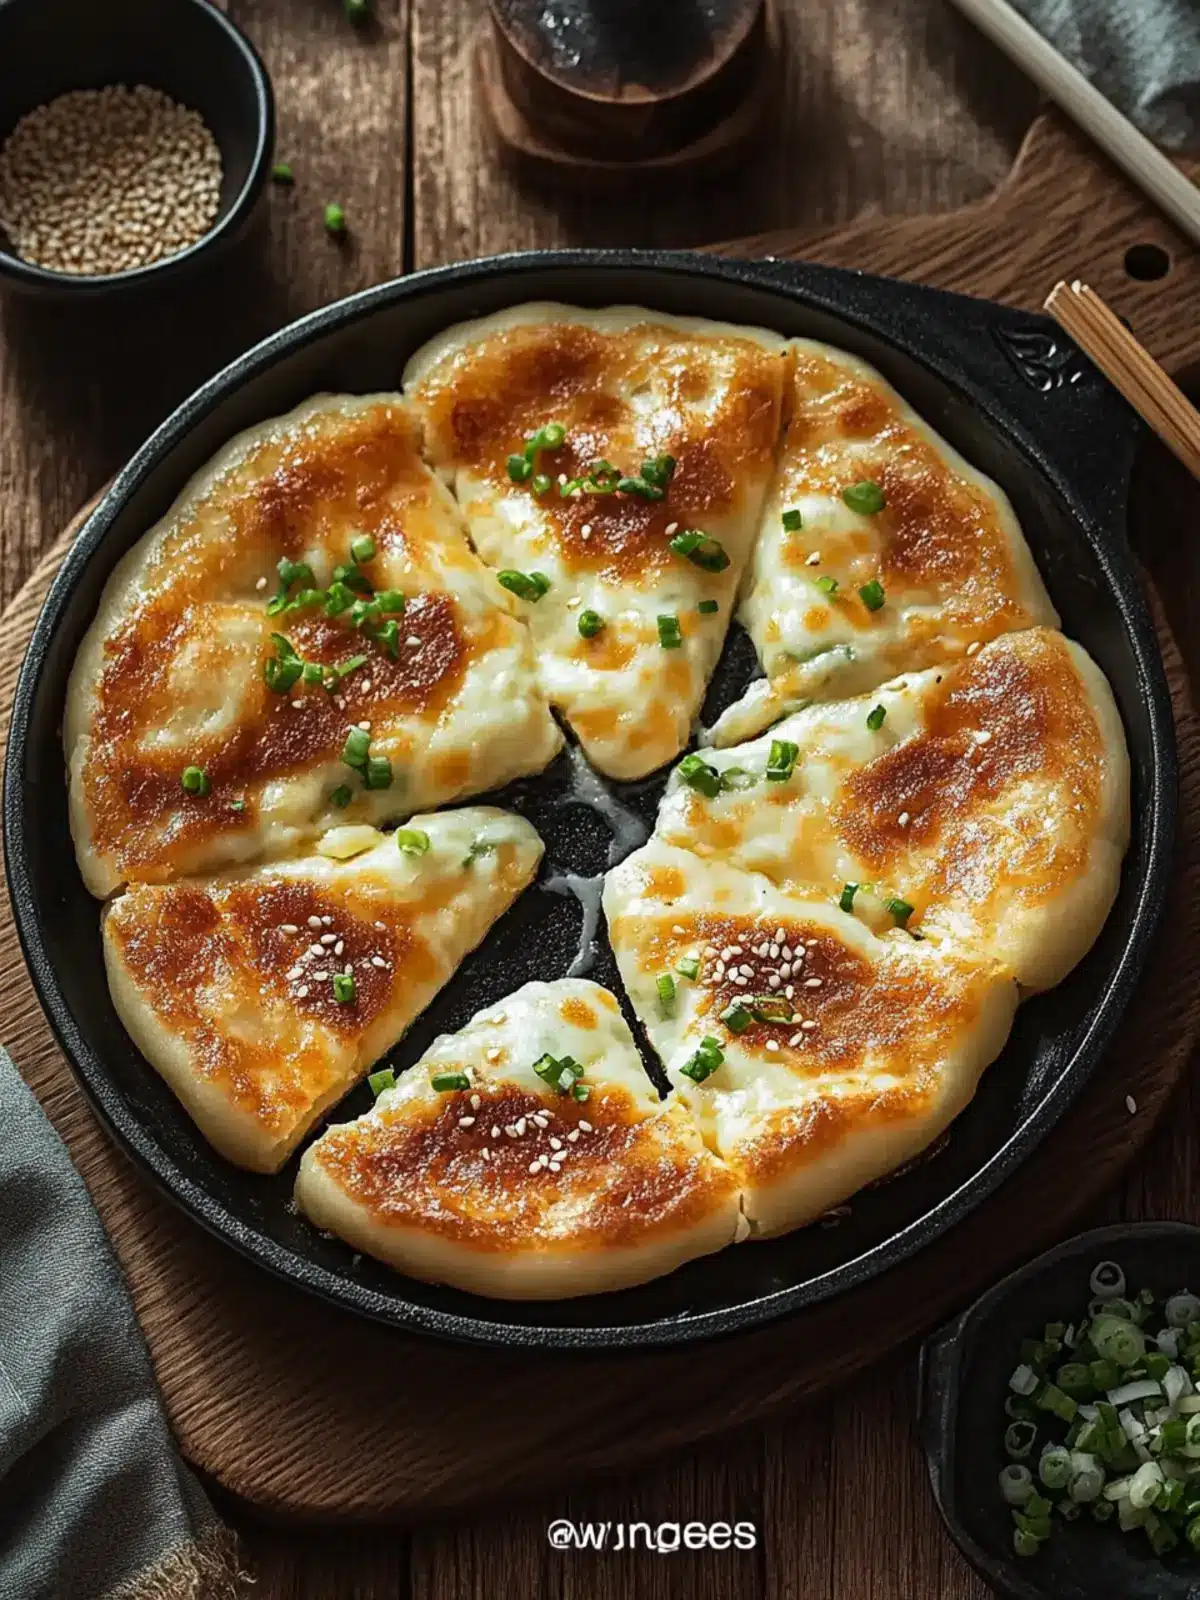
Cook the Hotteok: Heat a non-stick skillet over medium heat and add a little vegetable oil. Place the filled dough balls seam-side down in the skillet, gently flattening them slightly. Cook for about 2-3 minutes per side, or until they are golden brown and the cheese is melted inside.
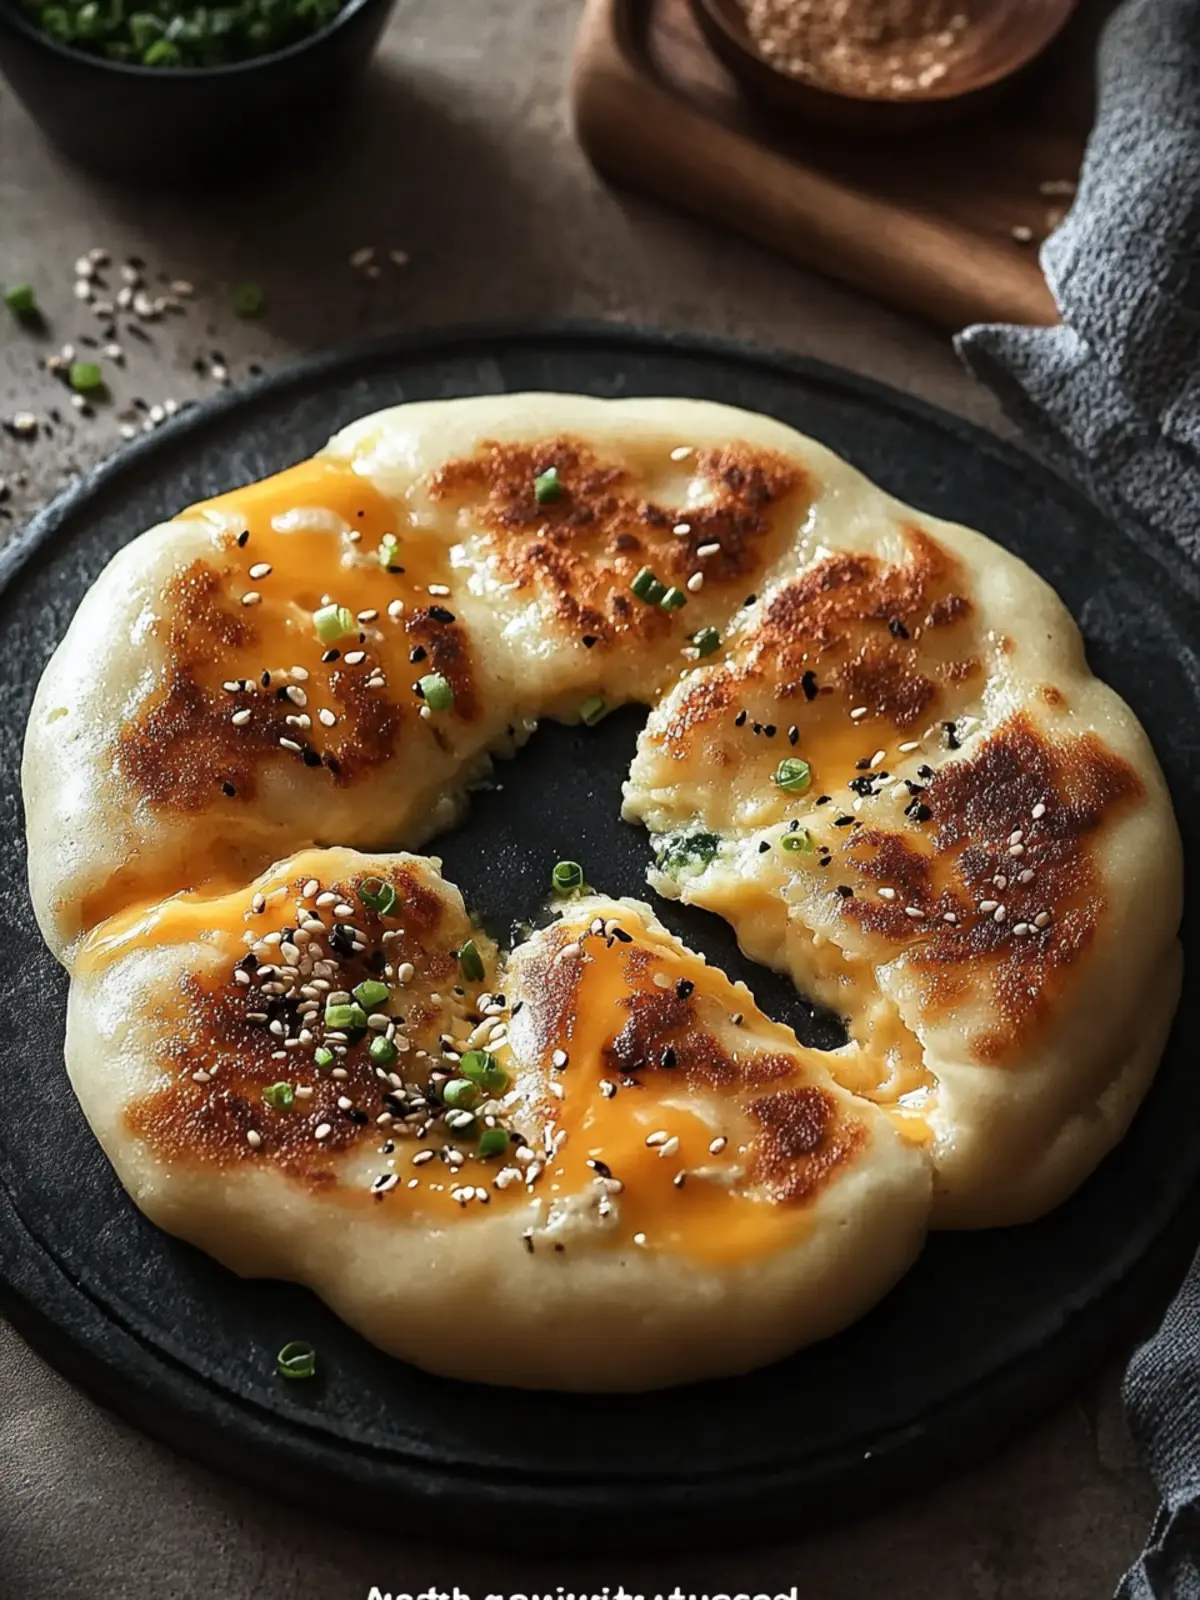
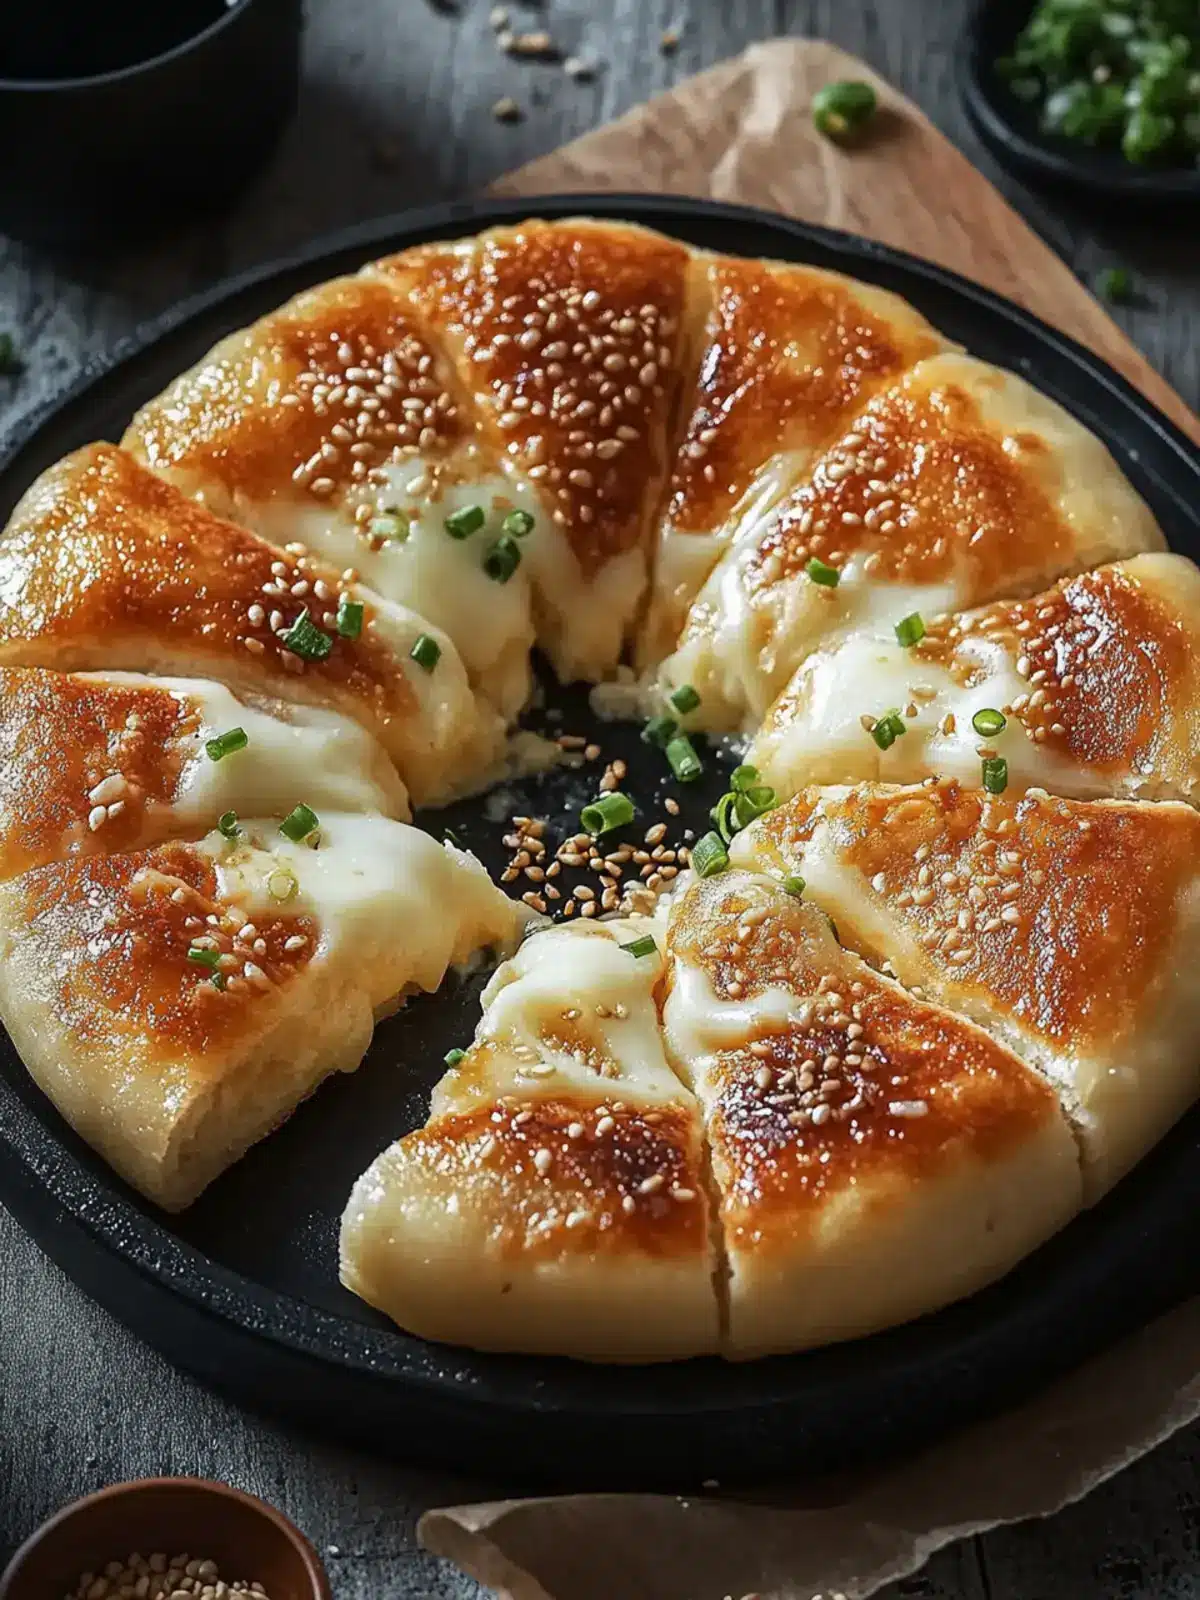
Optional: Serve hotteok immediately for the best gooey cheese pull experience!
Exact quantities are listed in the recipe card below.
Korean Cheese Hotteok Recipe Variations
Looking to add a personal touch? Unleash your creativity with these delightful twists and substitutions!
-
Sweet Twist: Add a teaspoon of brown sugar to the cheese filling for a touch of caramel flavor.
-
Herb Infusion: Mix in fresh herbs like basil or parsley to the cheese filling for a fragrant, savory kick.
-
Cheese Fusion: Experiment with different cheeses such as gouda or cheddar for unique flavor profiles that surprise the palate.
-
Spicy Kick: Incorporate diced pickled jalapeños or red pepper flakes into the cheese filling for a delicious heat that elevates the dish.
-
Nutty Crunch: Toss in finely chopped nuts like walnuts or almonds to the cheese mixture for added texture and richness.
-
Fruity Surprise: Try folding in a few pieces of finely chopped apples or pears into the cheese filling for a sweet and surprising contrast.
-
Vegan Option: Substitute cheese with a mix of nutritional yeast and cashew cream for a creamy, cheesy filling without dairy.
-
Chocolate Delight: For a dessert version, add melted chocolate in place of cheese for a decadent sweet treat that combines unexpected flavors.
These variations will not only keep things interesting but also allow you to cater to various tastes and dietary preferences!
Storage Tips for Korean Cheese Hotteok
Room Temperature: Keep cooked hotteok wrapped in aluminum foil at room temperature for up to 2 days, but it’s best enjoyed fresh for optimal gooeyness.
Fridge: Store leftover hotteok in an airtight container in the fridge for up to 3 days. Reheating in a skillet can help restore their crispiness.
Freezer: For longer storage, freeze uncooked hotteok after shaping for up to 2 months. Thaw in the fridge overnight and cook as usual for a fresh-tasting treat.
Reheating: Gently reheat cooked hotteok in a skillet over medium heat for about 3-4 minutes per side to revive the gooey center and crisp exterior.
What to Serve with Korean Cheese Hotteok?
Enhance your meal experience with these delightful pairings that complement the sweet, gooey goodness of hotteok.
-
Korean Barley Tea: A light, nutty drink, it refreshes the palate and balances the sweetness of the hotteok.
-
Light Kimchi: The tangy crunch of kimchi adds a zesty contrast that enhances the richness of the melted cheese.
-
Sweet Soy Dipping Sauce: A drizzle of this sweet and savory sauce brings an extra depth of flavor that marries beautifully with the hotteok.
-
Fresh Cucumber Salad: Crisp and refreshing, this salad adds a cool element that brightens up the meal while providing a crunchy texture.
-
Miso Soup: A warm bowl of miso soup offers a comforting and umami-rich pairing, creating a heartwarming meal experience.
-
Spicy Tofu Stew: For a more substantial meal, serve alongside this spicy stew for a delicious harmony of flavors and textures.
-
Mango Sticky Rice: End your meal on a sweet note with this creamy dessert that provides a delightful chewiness to match the hotteok.
-
Peach Iced Tea: A fruity, chilled drink that will cleanse your palate and complement the sweetness of your meal.
Expert Tips for Korean Cheese Hotteok
-
Perfect Rising: Allow the dough to rise until it doubles in size; rushing this step will lead to dense hotteok instead of fluffy, chewy balls.
-
Cheese Filling Control: Avoid overfilling each hotteok; limit to 2 tablespoons of filling to prevent leaks during cooking.
-
Gentle Heat: Cook on medium heat to ensure the dough is fully cooked without burning the exterior before the cheese melts perfectly.
-
Immediate Enjoyment: Serve hotteok right after cooking to maximize that delicious gooey cheese experience; they taste best fresh!
Make Ahead Options
These Korean Cheese Hotteok are perfect for meal prep enthusiasts! You can prepare the dough up to 24 hours in advance by following the initial steps of the recipe. After kneading, simply place the dough in a greased bowl, cover it with a damp cloth, and refrigerate it to maintain its quality. When you’re ready to cook, allow the dough to come back to room temperature for about 30 minutes before proceeding with the shaping and filling steps. The cheese filling can also be made ahead and stored in the refrigerator for up to 3 days. Just remember to allow everything to warm slightly before you finish cooking them, ensuring your hotteok are just as delicious and gooey as if made fresh!
Korean Cheese Hotteok Recipe FAQs
How do I select the right ingredients for Korean Cheese Hotteok?
Absolutely! When choosing your ingredients, opt for all-purpose flour for a great balance of chewiness and structure. For the cheese, shredded mozzarella is perfect for that gooey stretch, but feel free to experiment with provolone or Monterey Jack for unique flavors. Ensure your milk is warm—not too hot, as this could kill the yeast and prevent the dough from rising.
What’s the best way to store leftover hotteok?
Very good question! If you have any leftover hotteok, place them in an airtight container in the fridge for up to 3 days. To regain their delightful crispness upon reheating, warm them in a skillet over medium heat for about 3-4 minutes per side until heated through.
Can I freeze Korean Cheese Hotteok?
You can indeed! To freeze uncooked hotteok, shape them and place them on a baking sheet in the freezer for about an hour until firm. Transfer them to a freezer-safe bag or container, storing for up to 2 months. When you’re ready to enjoy, simply thaw them in the fridge overnight and cook as instructed.
What should I do if my hotteok dough doesn’t rise properly?
Ah, the age-old rising dilemma! If your dough isn’t rising as expected, check the freshness of your instant yeast first—it should be less than a year old. Ensure you’re using warm, but not hot, milk for activation, and also make sure to cover the dough with a damp cloth in a warm spot. If it’s too cold, try putting the dough in a slightly warmed oven turned off or in a sunny area for warmth.
Are there any dietary considerations I should keep in mind?
Definitely! This Korean Cheese Hotteok recipe is vegetarian-friendly, but if you’re concerned about lactose intolerance or allergies to dairy, you might substitute the cheese with a dairy-free cheese alternative. Always double-check the meal with guests to ensure everyone can enjoy these delightful treats!
Can I make the dough ahead and store it?
Absolutely! You can prepare the dough ahead of time and refrigerate it after the first rise for up to 24 hours. When you’re ready to make your hotteok, just allow it to come to room temperature before shaping and cooking. This is a great time-saver for busy days!
Melt-in-Your-Mouth Korean Cheese Hotteok Recipe You’ll Love
Ingredients
Equipment
Method
- Prepare the Dough: In a large mixing bowl, whisk together the flour, instant yeast, sugar, and salt. Create a well in the center, then pour in the warm milk and melted butter. Mix until shaggy.
- Knead the Dough: Lightly flour your surface and transfer the shaggy dough. Knead for 5-7 minutes until smooth and elastic.
- Let Dough Rise: Place the kneaded dough in a greased bowl, cover with a damp cloth, and let rise for 1 to 1.5 hours until it doubles in size.
- Mix Cheese Filling: In a separate bowl, combine the mozzarella cheese, sugar, cornstarch, and a pinch of salt.
- Shape the Hotteok: Once risen, punch down the dough and divide into 8 pieces. Roll each into a ball, flatten, fill with cheese mixture, and seal.
- Cook the Hotteok: Heat a non-stick skillet over medium heat, add oil, place filled dough balls seam-side down, flatten slightly and cook 2-3 minutes per side until golden brown.