
Sometimes, the simplest ingredients can lead to the most delightful surprises in the kitchen. The first time I tried my hand at making these Easy Salted Chickpea Chips, I was pleasantly shocked at how quickly they disappeared. With just a handful of pantry staples, this recipe transformed my ordinary snacking routine into a crunchy, flavorful experience.
Imagine the warm, nutty aroma of chickpea flour baking in the oven, mingling with your favorite seasonings, creating a crunchy snack that satisfies your cravings without the guilt of fast food. These chips are not just a healthier alternative; they’re incredibly versatile, easily customizable, and perfect for sharing at gatherings or indulging solo during movie night.
If you’re ready to elevate your snack game and keep those takeout menus tucked away, let me guide you through this simple recipe that promises crispy, seasoned perfection. It’s time to enjoy the satisfaction of homemade snacks that pack a punch!
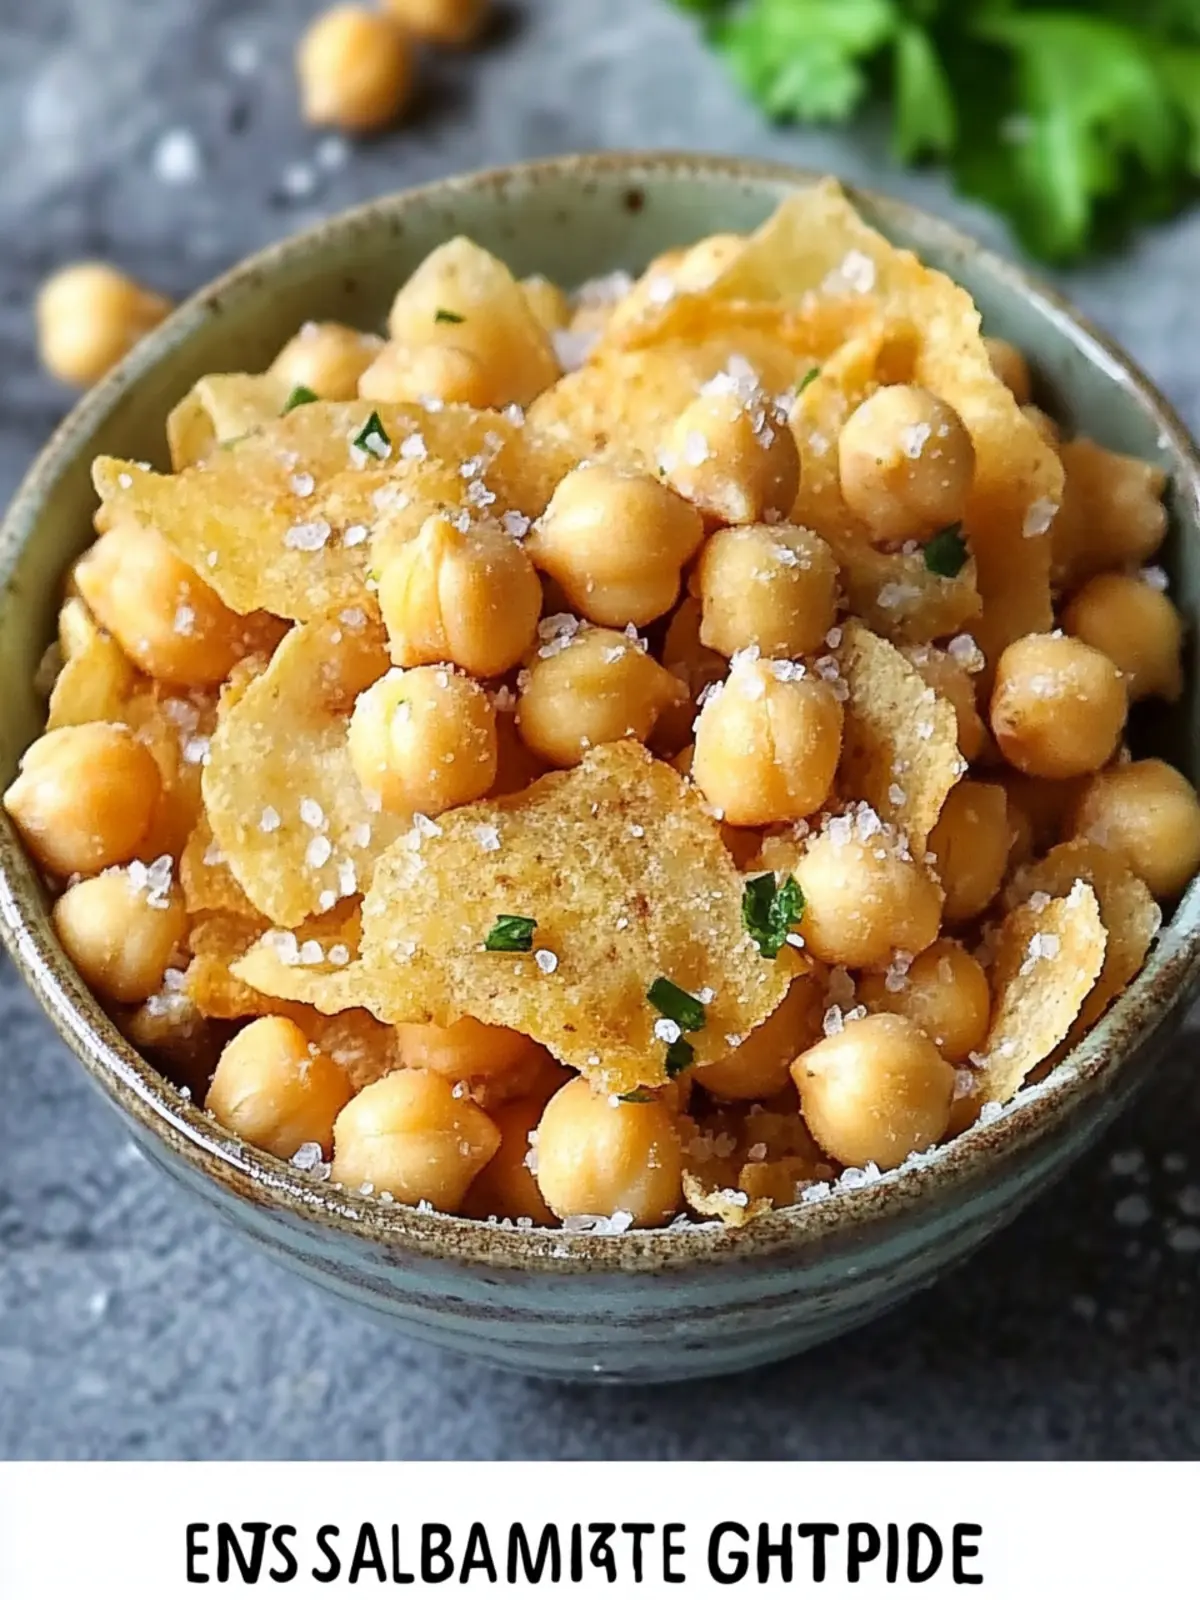
Why will you love Easy Salted Chickpea Chips?
Crunchy Delight: These chips deliver an irresistible crunch that will have you reaching for more!
Quick to Make: With just a few simple steps, you’ll have fresh, homemade snacks ready in no time.
Healthier Snacking: Made from chickpea flour, they’re a nourishing choice, free from preservatives found in store-bought chips.
Customizable Flavors: Experiment with your favorite spices for a unique twist every time you make them.
Crowd-Pleaser: Perfect for sharing, these chips are sure to impress friends and family at your next gathering.
For more exciting flavor ideas, don’t forget to check out our seasoning tips!
Easy Salted Chickpea Chips Ingredients
• Get ready to create your own crispy snack!
For the Chips
- Chickpea flour – A nutritious base that gives these chips their delightful texture.
- Seasonings – Your choice of spices—feel free to mix it up based on what you love!
- Olive oil – Adds richness and helps the chips crisp up beautifully.
- Water – Essential for binding the ingredients and achieving the right dough consistency.
- Kosher salt – Enhances flavor—adjust to your taste for those perfect salted chickpea chips!
How to Make Easy Salted Chickpea Chips
-
Preheat oven: Start by preheating your oven to 350°F, ensuring it’s nice and hot for perfect baking. Prepare a baking sheet by lining it with parchment paper to prevent sticking.
-
Mix dry ingredients: In a medium bowl, blend the chickpea flour and your favorite seasonings together. This step will ensure an even distribution of flavors, giving your chips an amazing taste.
-
Add olive oil: Stir in the olive oil, allowing it to coat the flour mixture. This adds richness to your chips and enhances their crunchy texture.
-
Combine with water: Gradually pour in the water, mixing until the dough begins to form a ball. If it feels too dry, add water a teaspoon at a time until the desired consistency is reached.
-
Knead and roll: Transfer the dough to your floured surface. Knead it gently until it forms a smooth ball. Divide the ball in half and roll it out directly on the parchment-papered baking sheet to about ⅛-¼ inch thick for optimal crispiness.
-
Cut shapes: Use a pizza cutter or knife to slice the rolled dough into squares or any shapes you prefer. This is where you can get creative with your chip sizes!
-
Make more chips: If you have any leftover dough, don’t throw it away! Roll it out and cut additional shapes, sprinkling extra seasoning, including Kosher salt on top.
-
Bake to perfection: Bake the chips in your preheated oven until they begin to brown, which usually takes around 15-20 minutes. Once they’re out, let them cool to achieve that delightful crunch.
Optional: Serve with your favorite dip for an extra tasty treat!
Exact quantities are listed in the recipe card below.
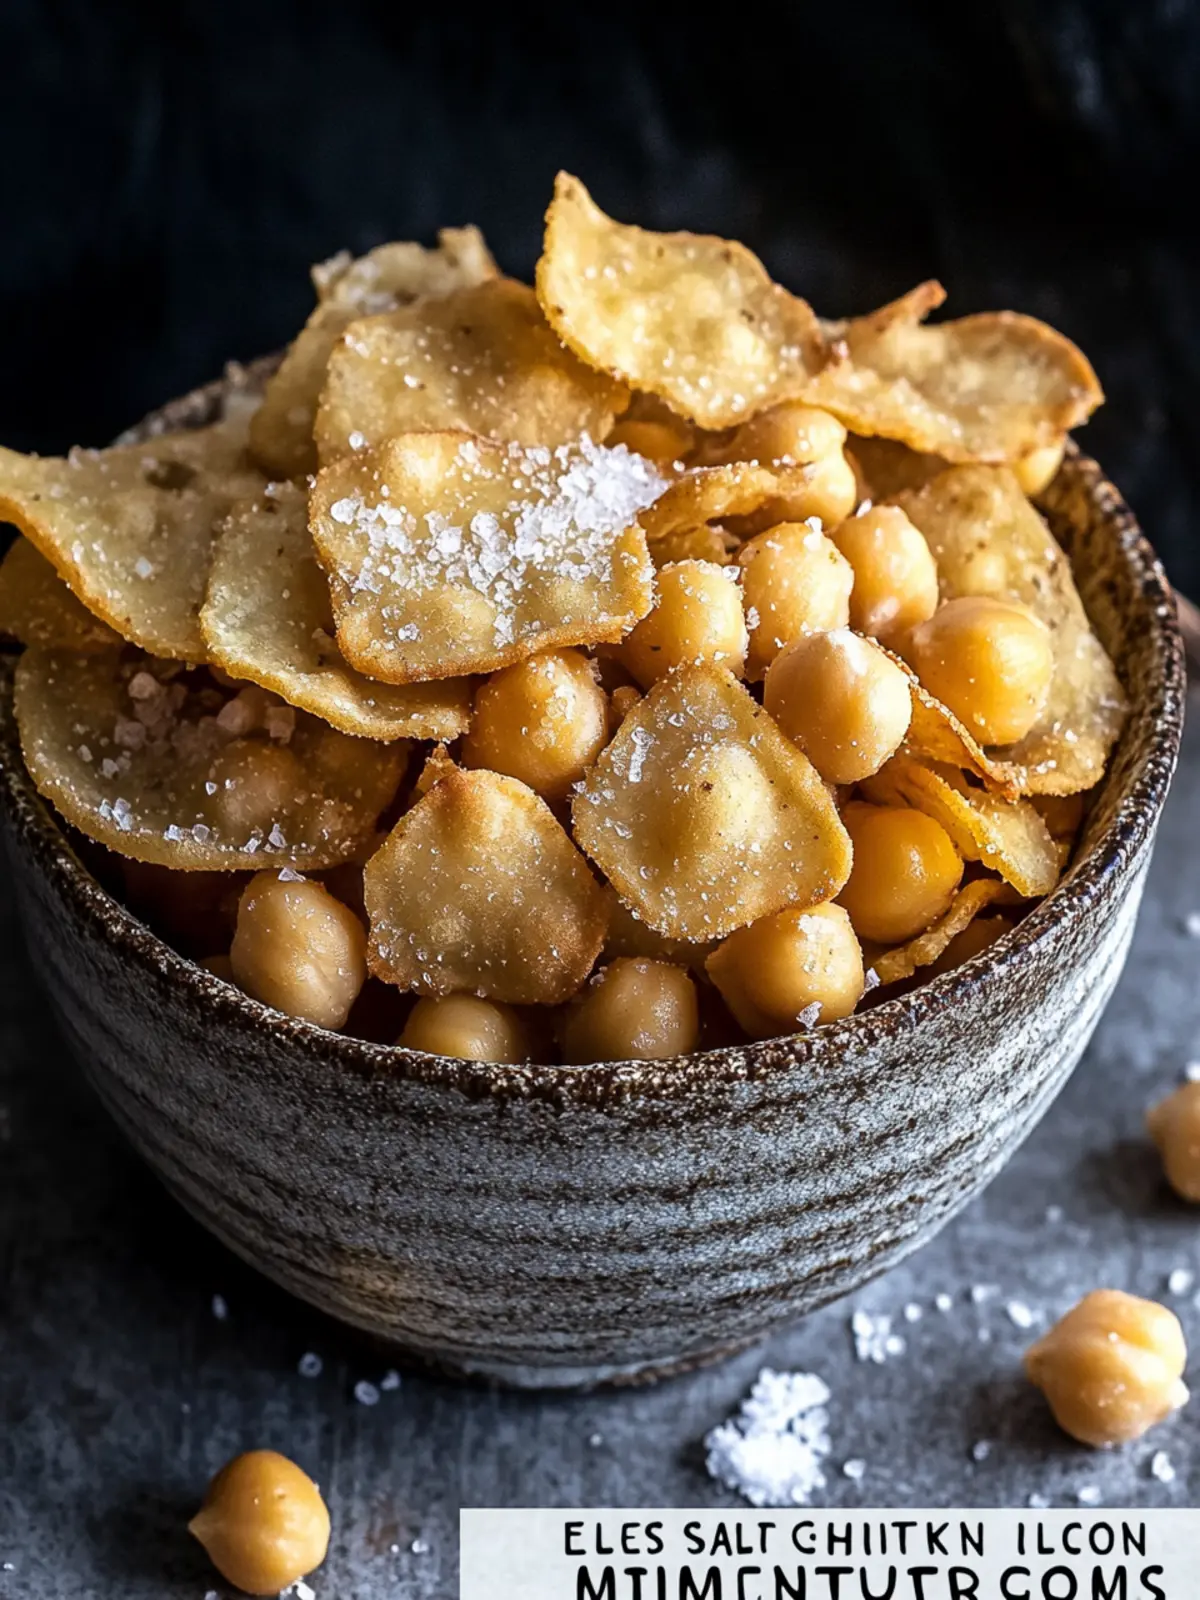
Easy Salted Chickpea Chips Variations
Feel free to explore these variations that can elevate your crunchy snack experience!
-
Spicy Kick: Add a teaspoon of cayenne pepper or chili powder to the dry ingredients for heat that tingles your taste buds. Spice lovers will appreciate this zing!
-
Herb Infusion: Fold in dried herbs like rosemary or thyme for a fragrant twist that will transport your snacking experience to new culinary heights.
-
Garlic & Onion: Incorporate powdered garlic and onion into the mix for a savory flavor burst that’s reminiscent of your favorite snack foods. Perfect for dipping with hummus!
-
Nutritional Yeast: Enhance the cheesy flavor without dairy by mixing in a couple of tablespoons of nutritional yeast. It adds a delightful savory note, great for plant-based diets!
-
Cheesy Delight: Grate some Parmesan or a vegan cheese alternative into the dough for a rich, cheesy flavor that will make these chips hard to resist. Cheese lovers, rejoice!
-
Sundried Tomato: Chop sundried tomatoes and fold them into the dough for a tangy punch of flavor. It’s a great way to add a gourmet touch to your snacking!
-
Zesty Lemon: Add fresh lemon zest to the mix for a refreshing citrus note that brightens the flavors and makes every crunchy bite feel like a burst of sunshine.
-
Sweet Variation: Swap out some seasonings for cinnamon and a sprinkle of sugar for a sweet chip twist, perfect for pairing with yogurt or enjoying on their own. Indulge without guilt!
How to Store and Freeze Easy Salted Chickpea Chips
Room Temperature: Keep the chips in an airtight container for up to 3 days to maintain their crispiness. Avoid exposure to moisture.
Fridge: If necessary, store in the fridge for 5–7 days, but be aware they may lose some crunchiness. Ensure they are well-wrapped.
Freezer: For long-term storage, freeze your chips in a freezer-safe bag for up to 2 months. Reheat in the oven for a few minutes to restore crispiness.
Reheating: To enjoy your leftovers, simply bake them at 350°F for about 5-10 minutes until they are warm and crispy again.
Tips for the Best Easy Salted Chickpea Chips
Knead Well: Ensure you knead the dough thoroughly until it’s smooth; this creates even texture for your Easy Salted Chickpea Chips.
Watch the Bake Time: Keep an eye on your chips as they bake; overcooking can lead to burnt edges. Remove them once they start to brown.
Use Fresh Spices: For the best flavor, use fresh seasonings. Old spices can dull your chips’ taste, making them less exciting.
Cut Uniformly: Cut the dough into evenly sized pieces for uniform cooking. This way, all your chips will bake evenly and have the same delightful crunch.
Store Properly: Keep leftovers in an airtight container to maintain their crispiness. Avoid storing them in humid environments to prevent sogginess.
What to Serve with Easy Salted Chickpea Chips?
Imagine the joy of a cozy gathering where everyone is indulging in delightful snacks paired perfectly together.
- Homemade Guacamole: This creamy dip works beautifully with the crunch of chickpea chips, offering a fresh and zesty balance.
- Spicy Hummus: Adding a touch of spice complements the mild nuttiness of the chips, creating a satisfying flavor explosion with every bite.
- Salsa Fresca: A vibrant, chunky salsa adds a refreshing contrast that brightens up your snacking experience. It’s a colorful addition to your table!
- Creamy Yogurt Dip: The cool, tangy flavor of yogurt dip offers a delightful balance to warm, seasoned chickpea chips, perfect for dipping.
- Cheese Platter: Pair these chips with a selection of cheeses for a sophisticated touch; their crunch provides a perfect contrast to creamy textures.
- Roasted Vegetables: Serve alongside seasoned roasted veggies for a wholesome, colorful snack spread that invites everyone to dig in.
- Chilled White Wine: A crisp, chilled white wine opens up the flavors of your snack table, upgrading those evening conversations.
- Dark Chocolate Squares: For a sweet touch, dark chocolate serves as an unexpected yet delightful counterpart to your salty chickpea chips.
With these pairings, you’re set for a sensational snack time that engages both the palate and the heart!
Make Ahead Options
These Easy Salted Chickpea Chips are perfect for meal prep enthusiasts looking to save time during busy weeks! You can prepare the dough up to 24 hours in advance by mixing the chickpea flour with seasonings and olive oil, then adding water to form a ball. Store the dough tightly wrapped in plastic wrap in the refrigerator to maintain its freshness and prevent it from drying out. When you’re ready to bake, simply roll out the chilled dough, cut into your desired shapes, and bake as directed. This way, you’ll have scrumptious homemade chips on hand, ready to impress at a moment’s notice!
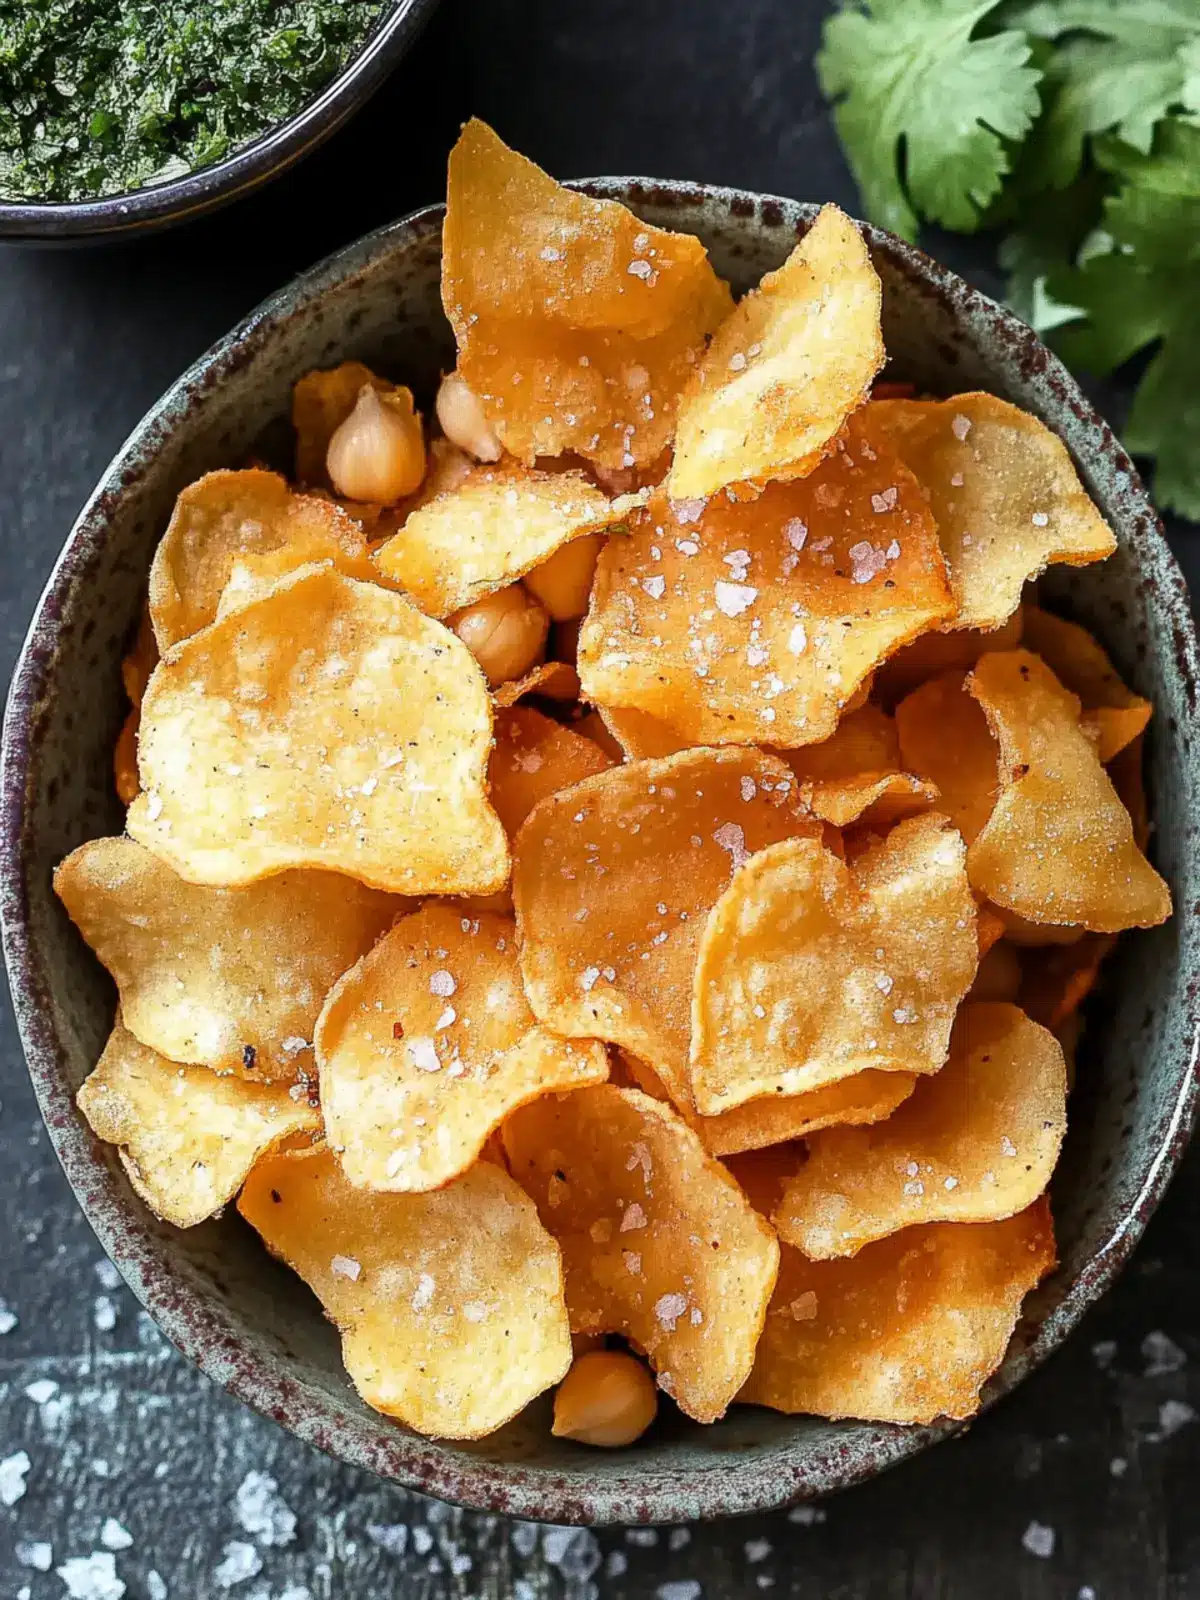
Easy Salted Chickpea Chips Recipe FAQs
What type of chickpea flour should I use?
Absolutely! Look for fine-quality chickpea flour, often labeled as ‘besan’ in Indian stores. It should have a smooth texture, as coarser flour may not yield the same crispy result you’re seeking.
How should I store leftover chips?
Keep your chips in an airtight container at room temperature for up to 3 days. This helps maintain their delightful crunch! If you notice them softening, you might want to pop them back in the oven for a few minutes to crisp them back up.
Can I freeze the chips?
Yes, you can! For freezing, place the chips in a single layer on a baking sheet and freeze until firm, then transfer them to a freezer-safe bag for up to 2 months. When you’re ready to enjoy them, simply bake at 350°F for about 5-10 minutes to bring back that crunch.
What can I do if my chickpea dough is too dry?
If your dough is looking dry and crumbly, don’t sweat it! Just add water a teaspoon at a time while mixing until the dough comes together. Kneading it well also helps incorporate moisture for a perfect consistency.
Are these chips pet-friendly?
While the ingredients themselves aren’t toxic to pets, it’s always best to keep these treats to humans only. Dogs and cats can be sensitive to high-seasoned or salty snacks, so stick to pet-friendly snacks for your furry friends!
How do I customize the seasoning for my chickpea chips?
The more the merrier! Feel free to experiment with spices like garlic powder, paprika, or even nutritional yeast for a cheesy flavor. Blend in herbs like rosemary or thyme for a refreshing twist. Enjoy getting creative in the kitchen!
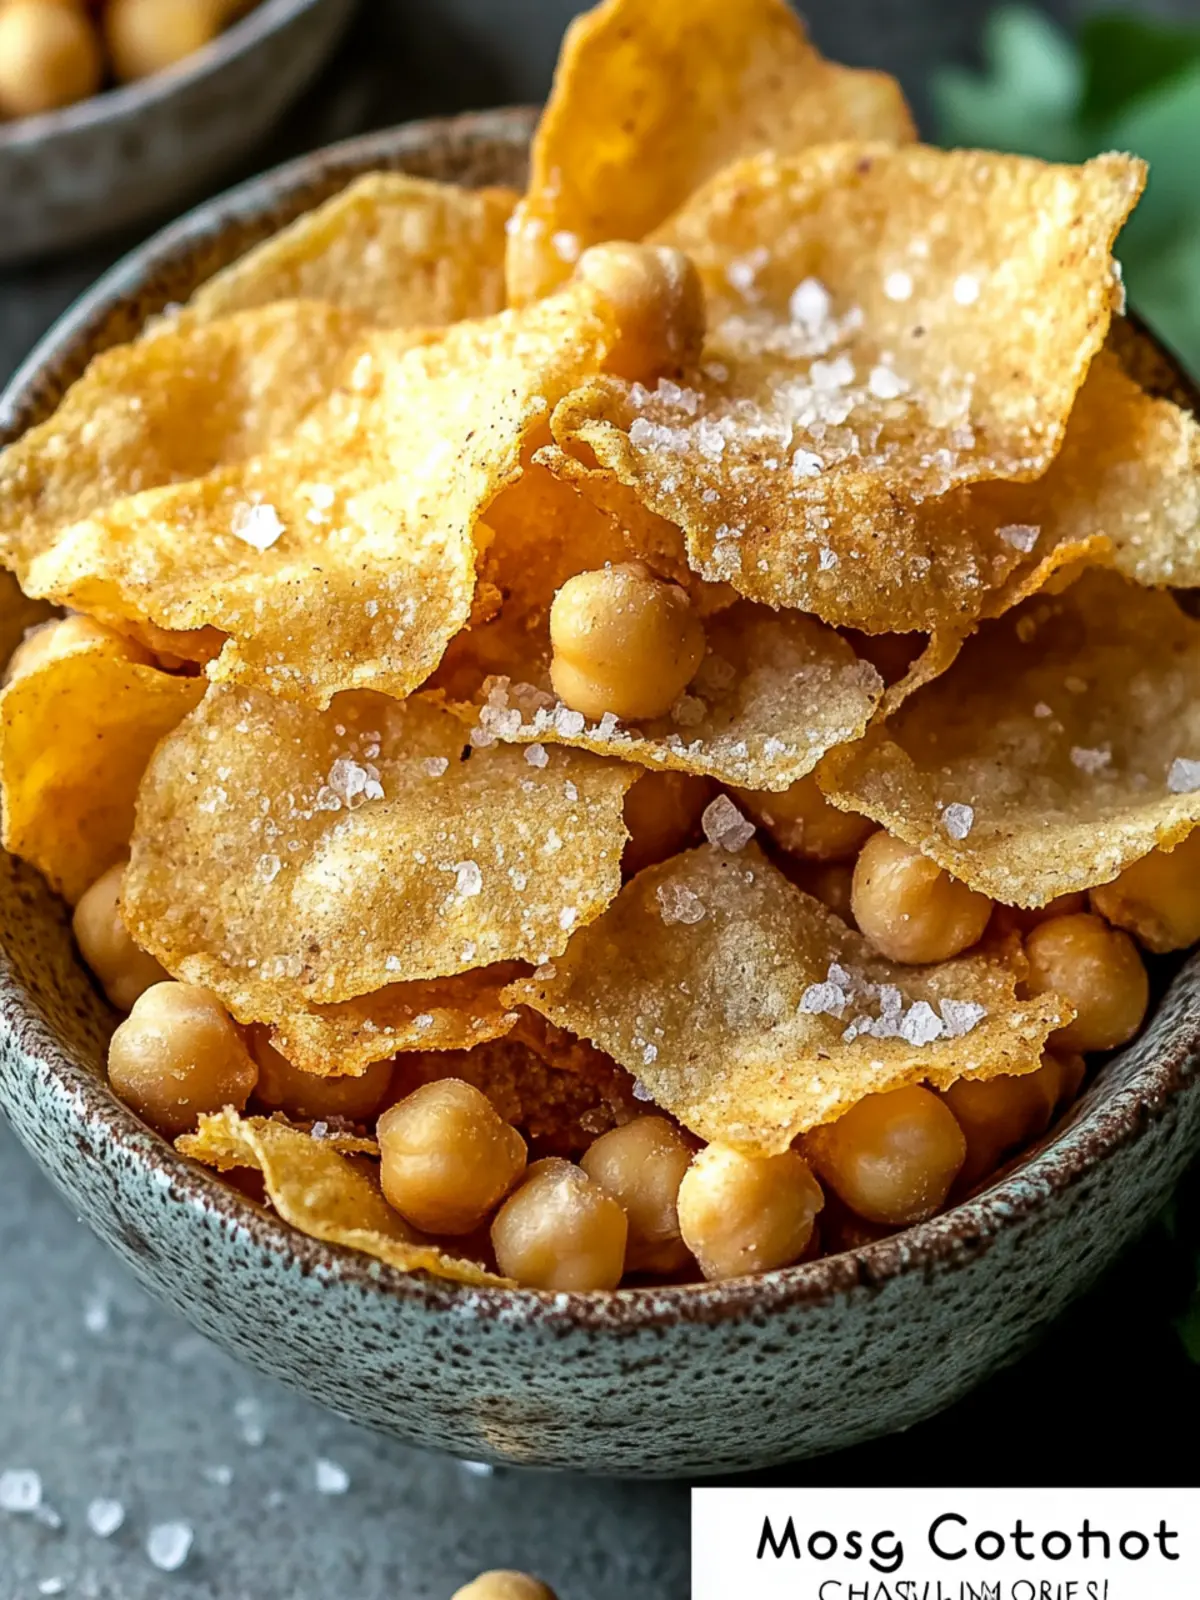
Satisfy Cravings with Easy Salted Chickpea Chips at Home
Ingredients
Equipment
Method
- Preheat your oven to 350°F and line a baking sheet with parchment paper.
- In a medium bowl, blend the chickpea flour and seasonings together.
- Stir in the olive oil until the flour mixture is coated.
- Gradually add water until the dough begins to form a ball.
- Knead the dough on a floured surface and roll it out to about ⅛-¼ inch thick.
- Cut the rolled dough into shapes using a pizza cutter or knife.
- Use leftover dough to make more chips while sprinkling extra seasoning on top.
- Bake the chips until browned, around 15-20 minutes, then let them cool.